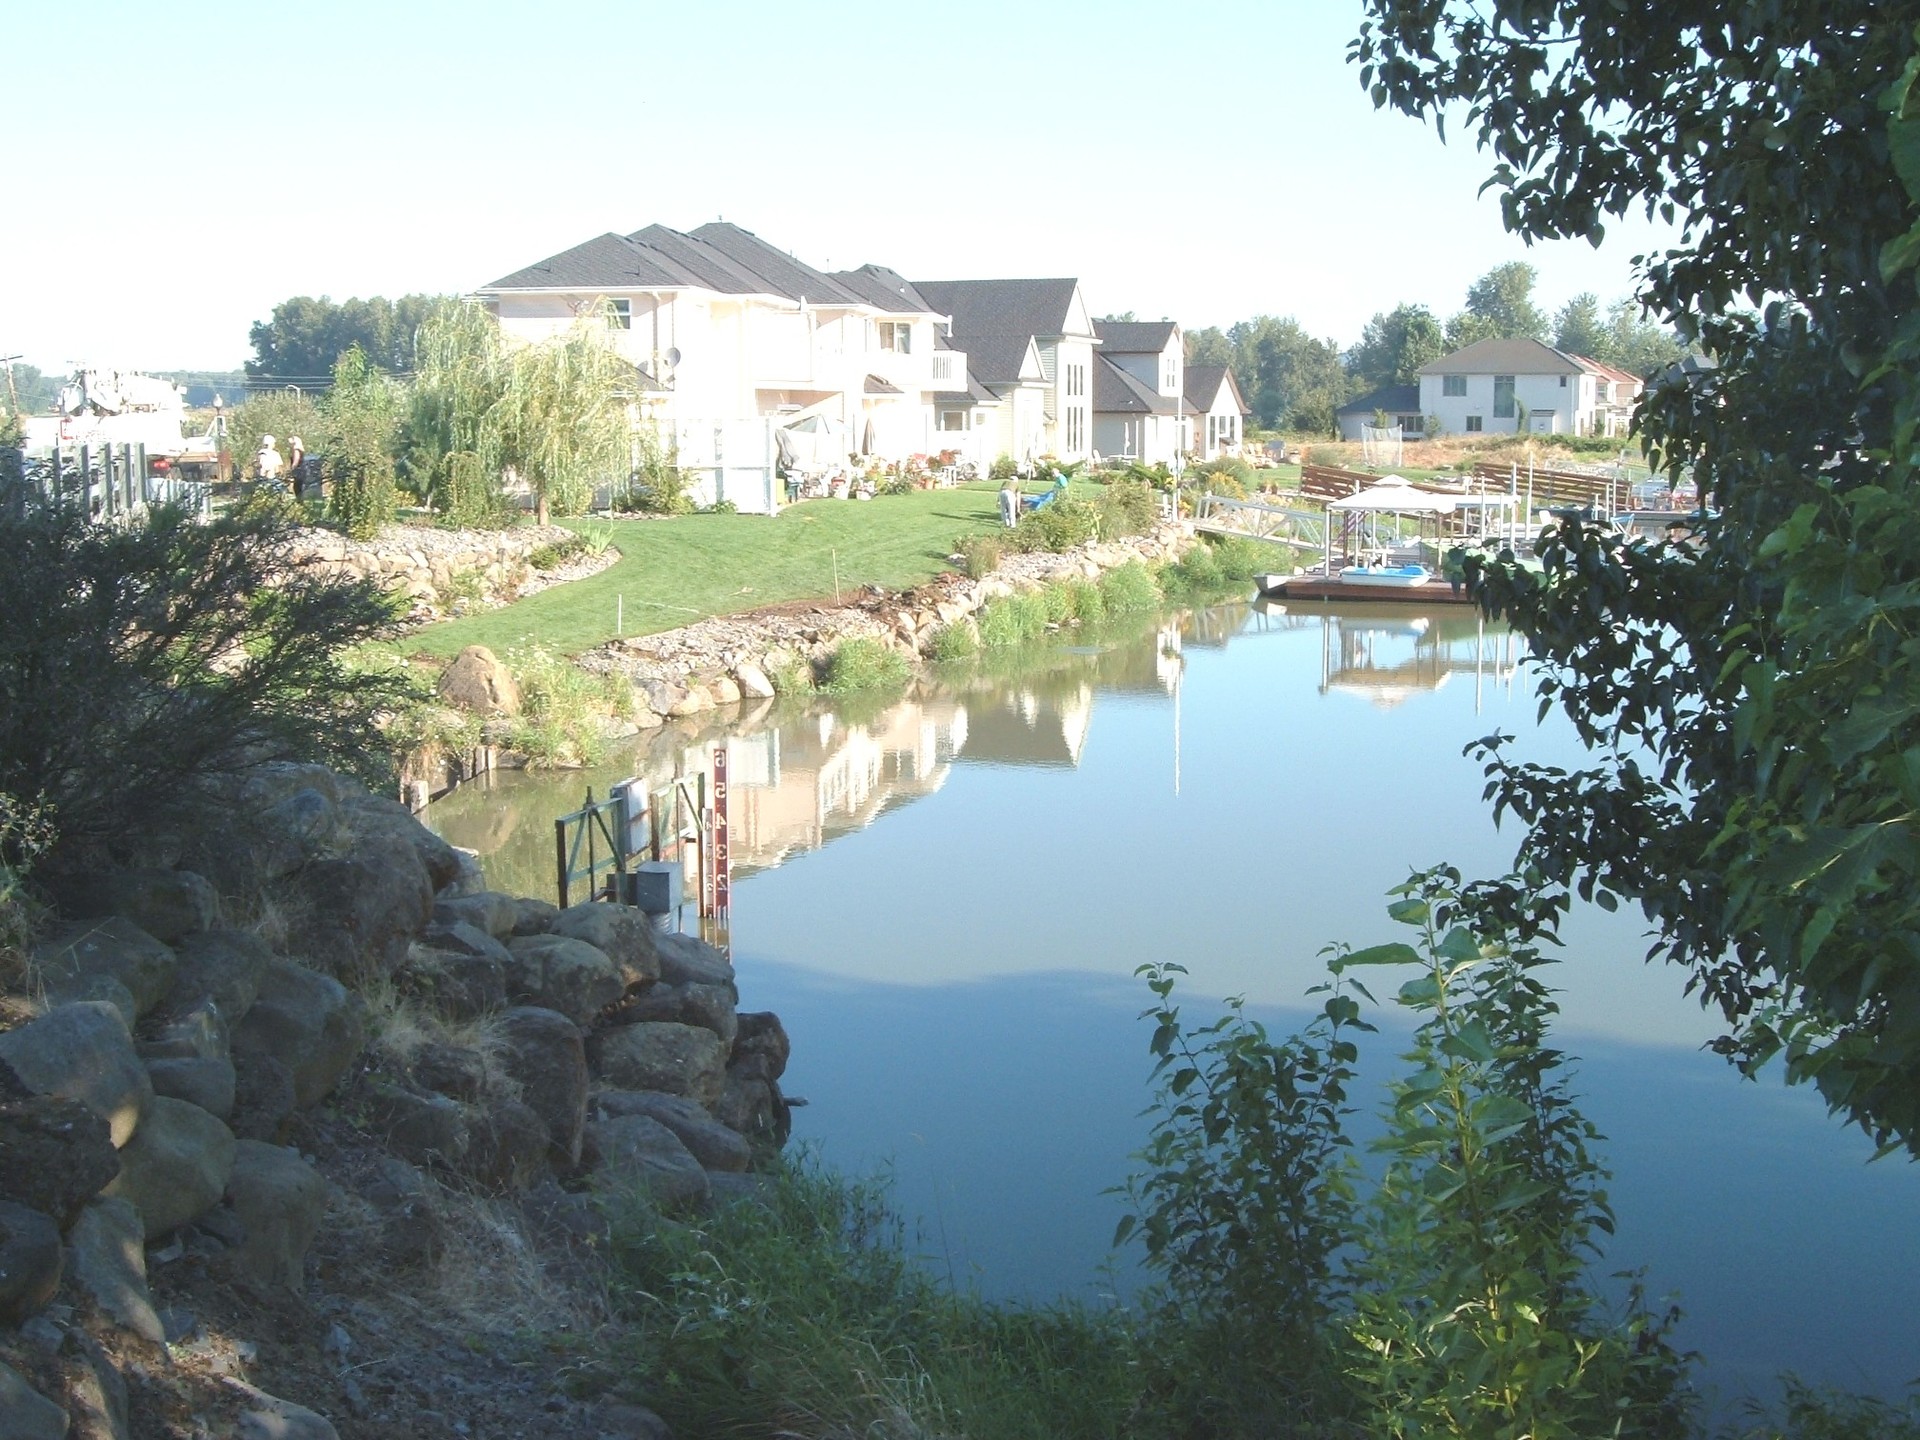
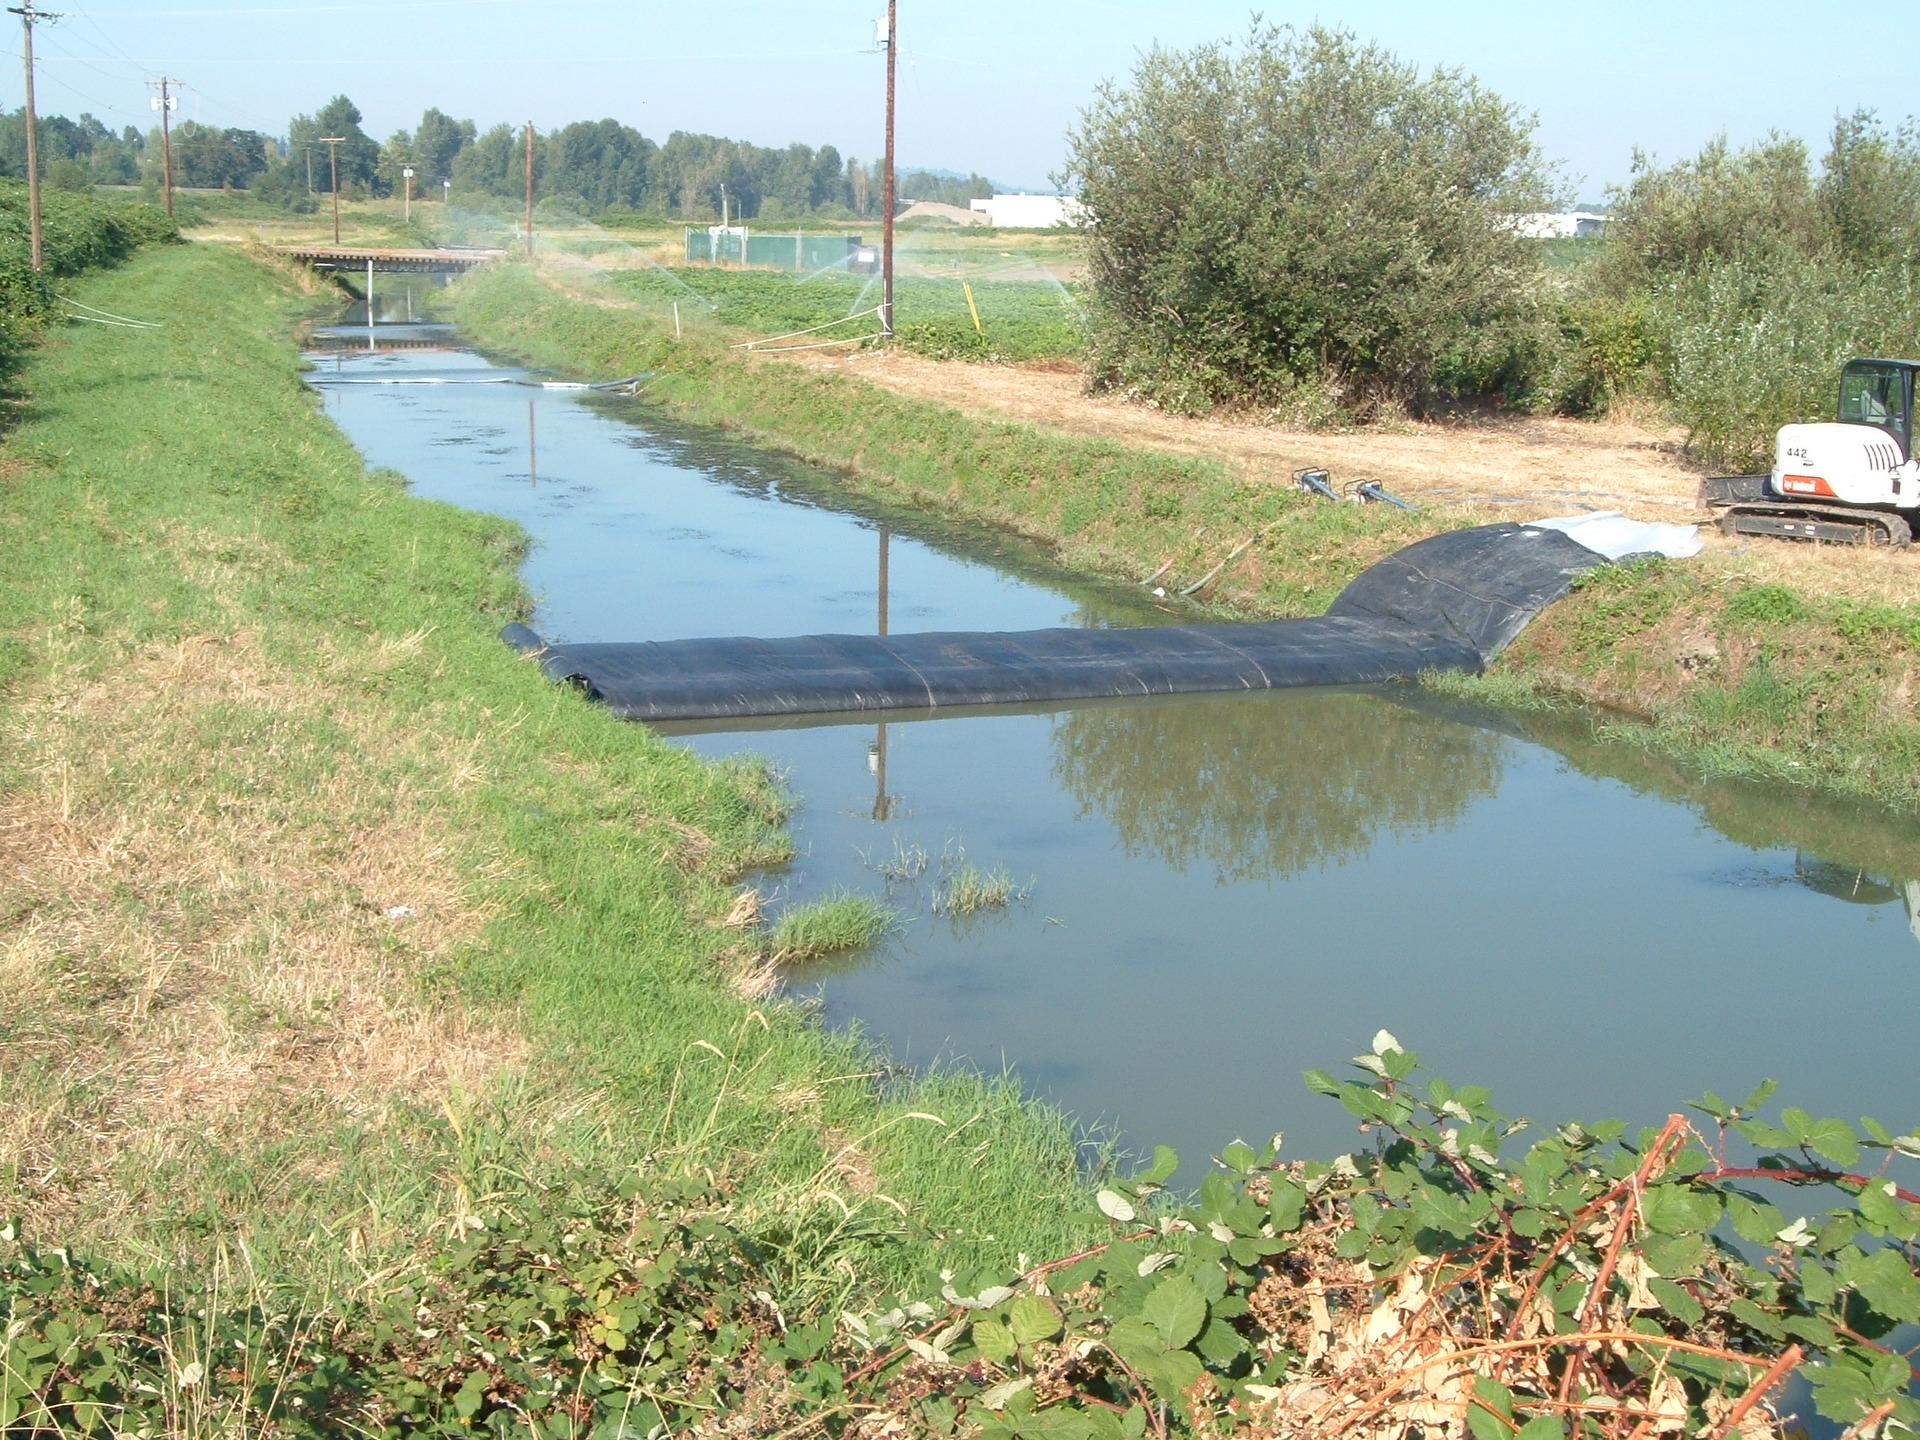
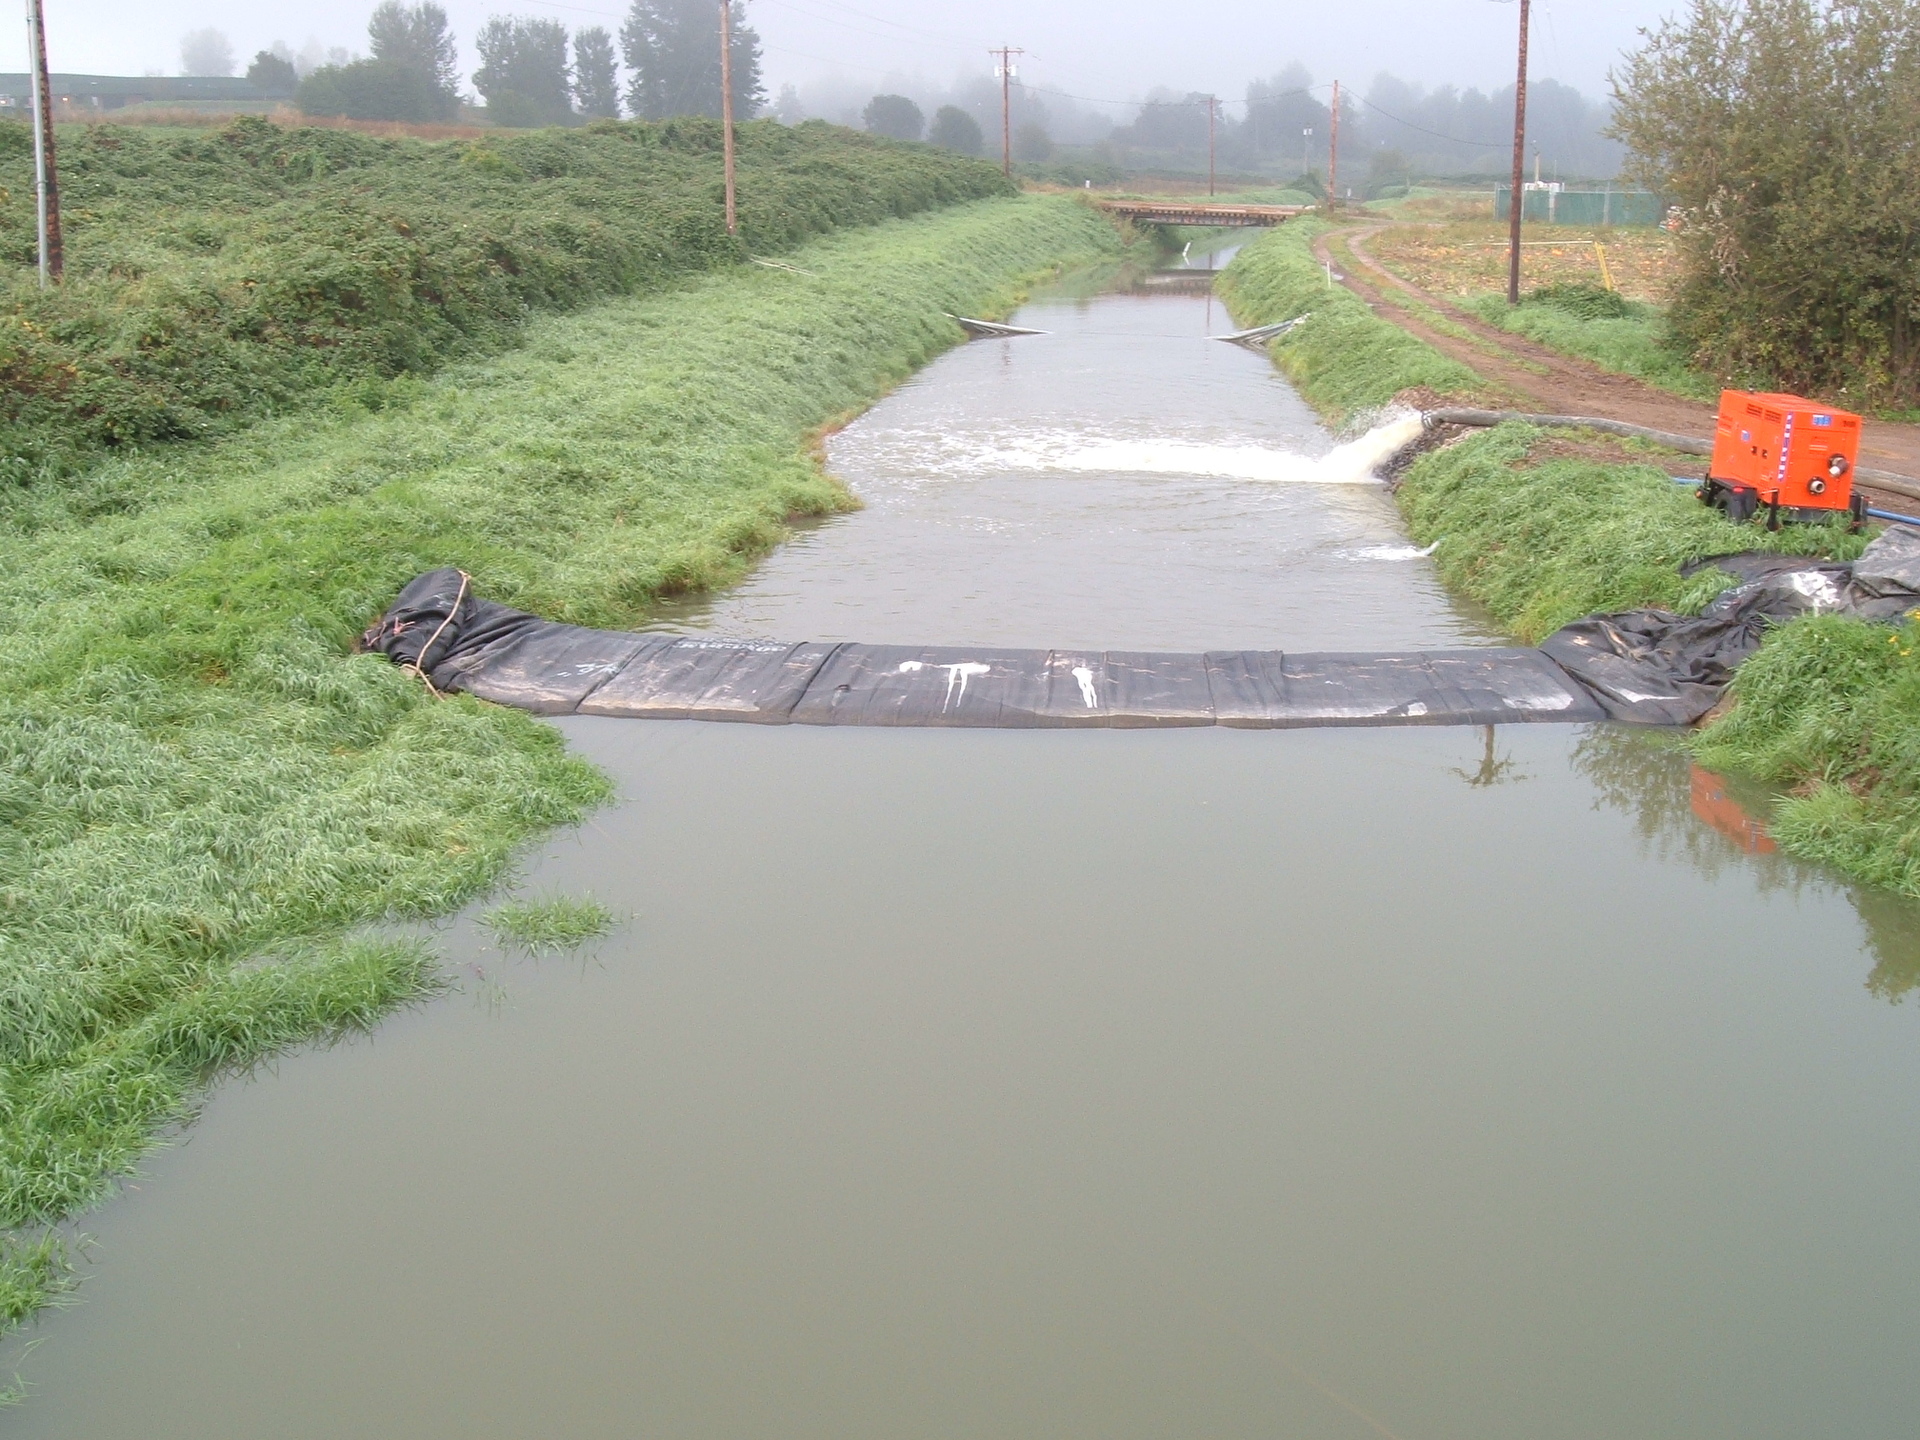
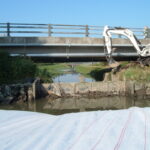
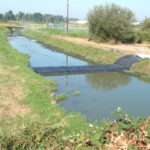
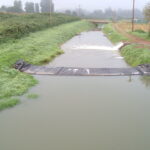
1.) Standing near the ending bank looking at the bank where the AquaDam will launch from (starting bank).
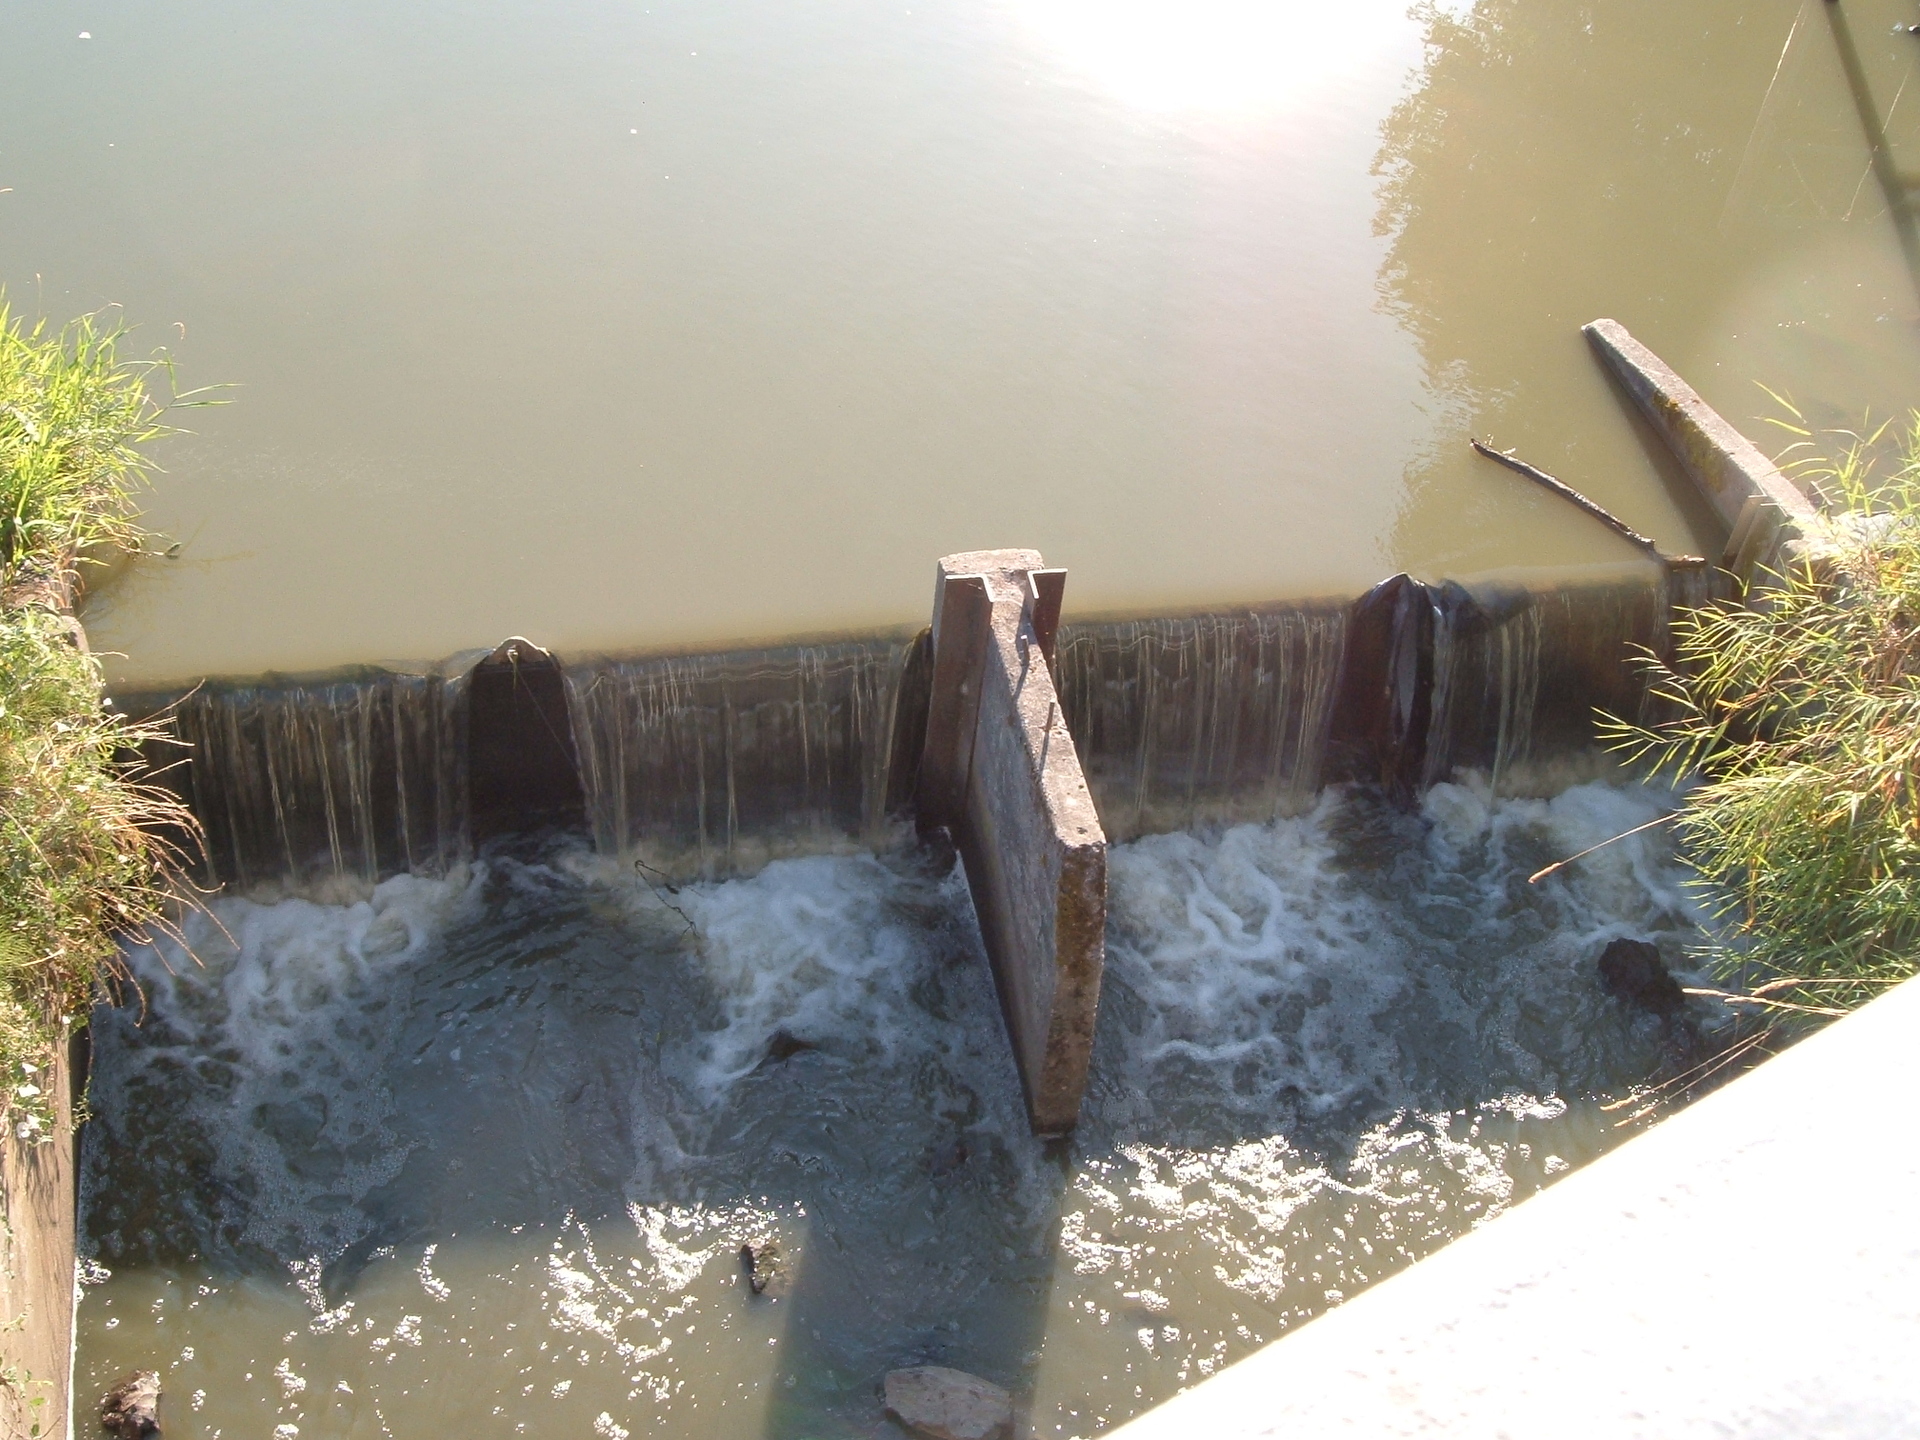
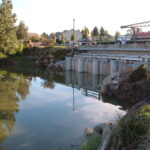
2.) The old weir that will be replaced.

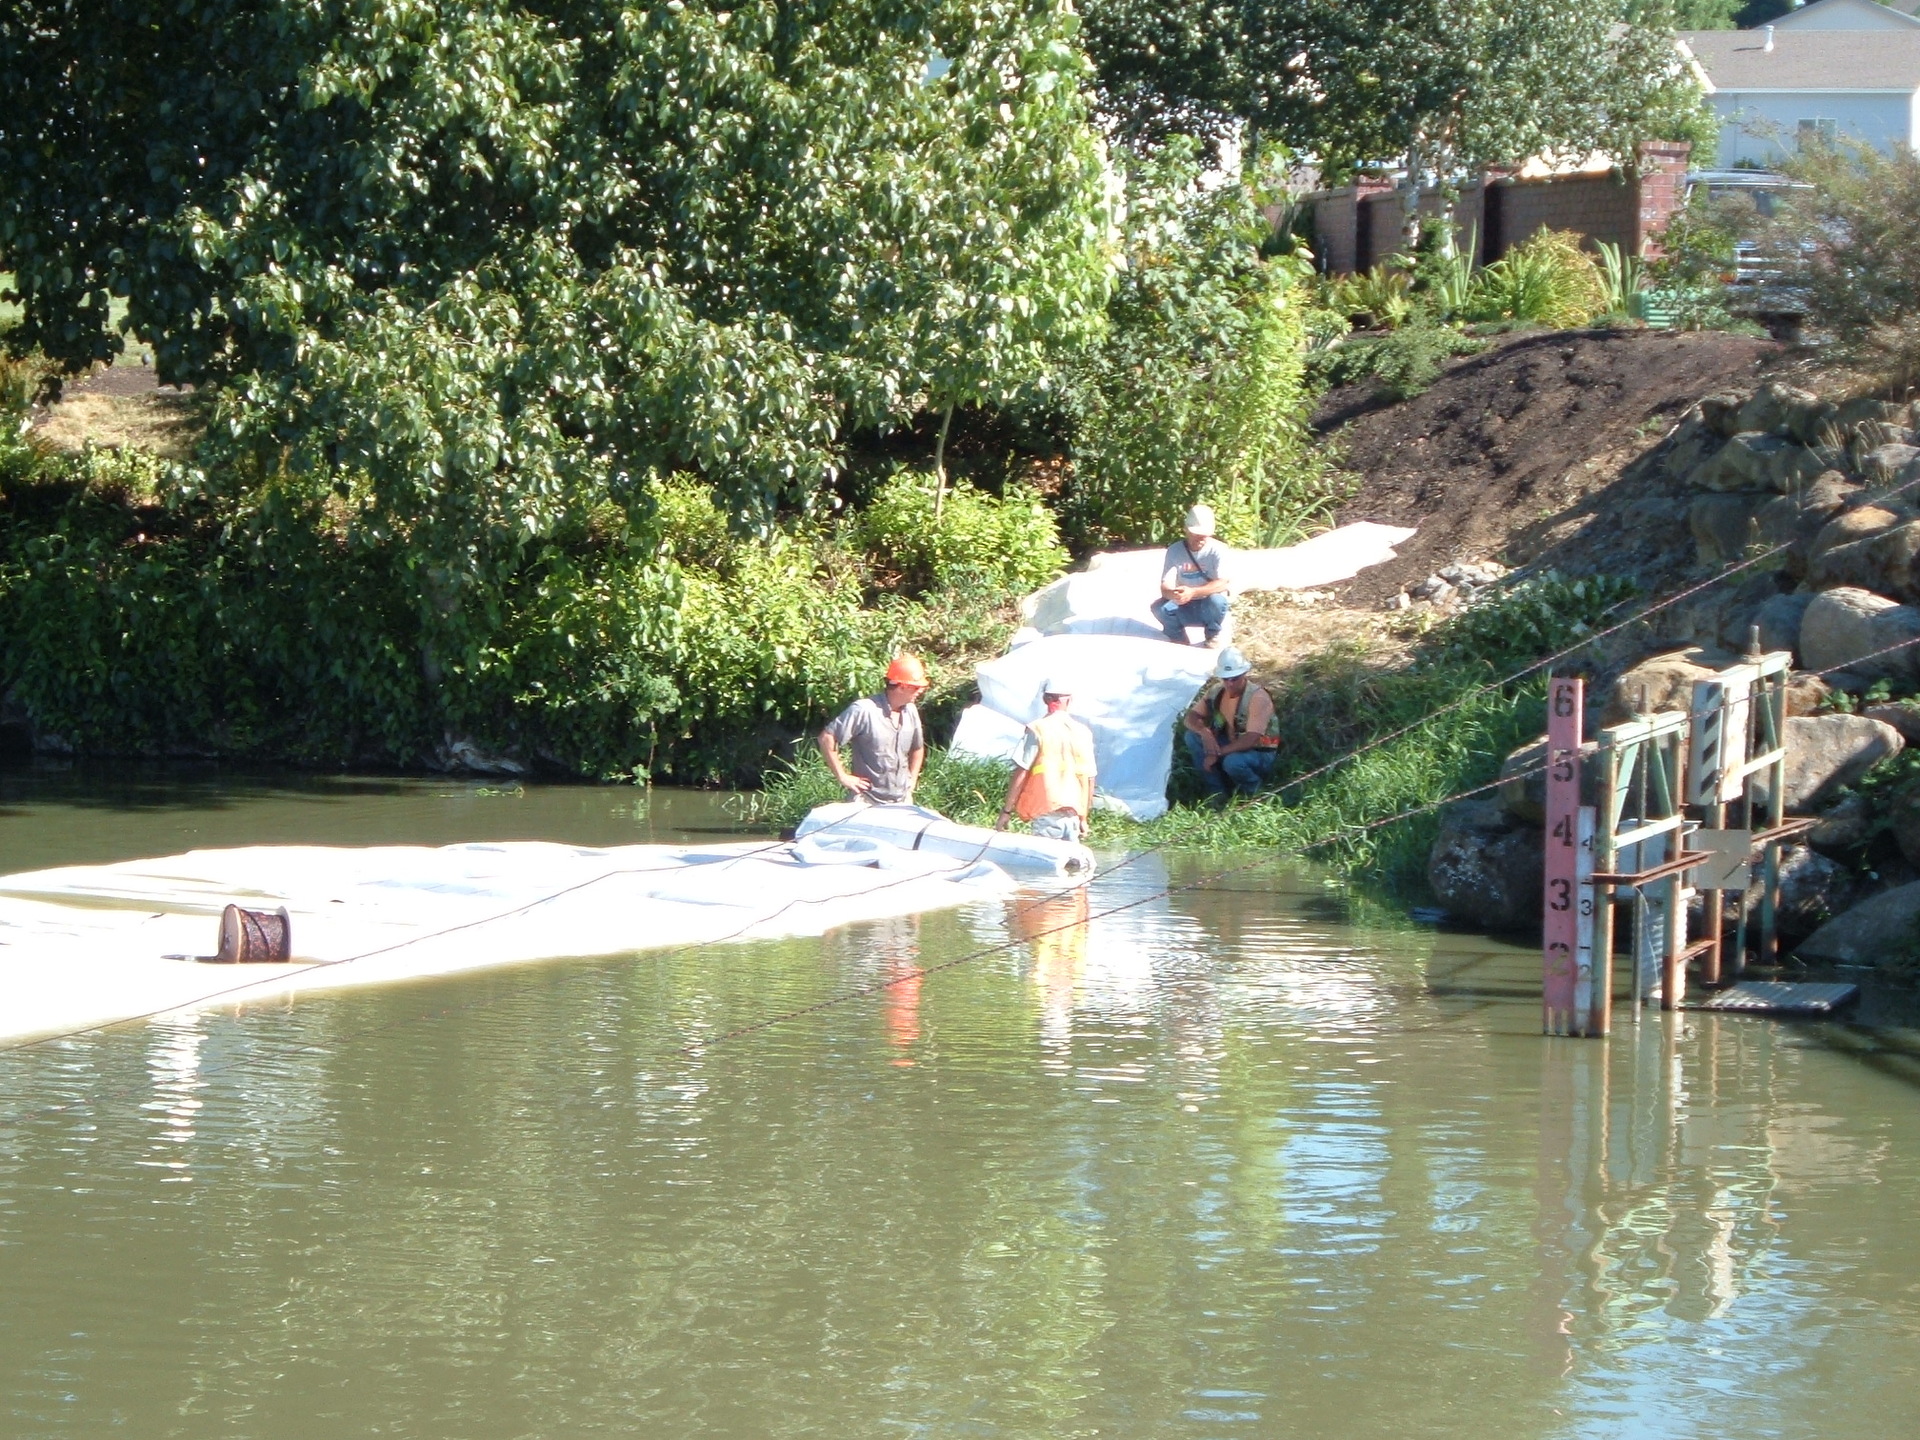
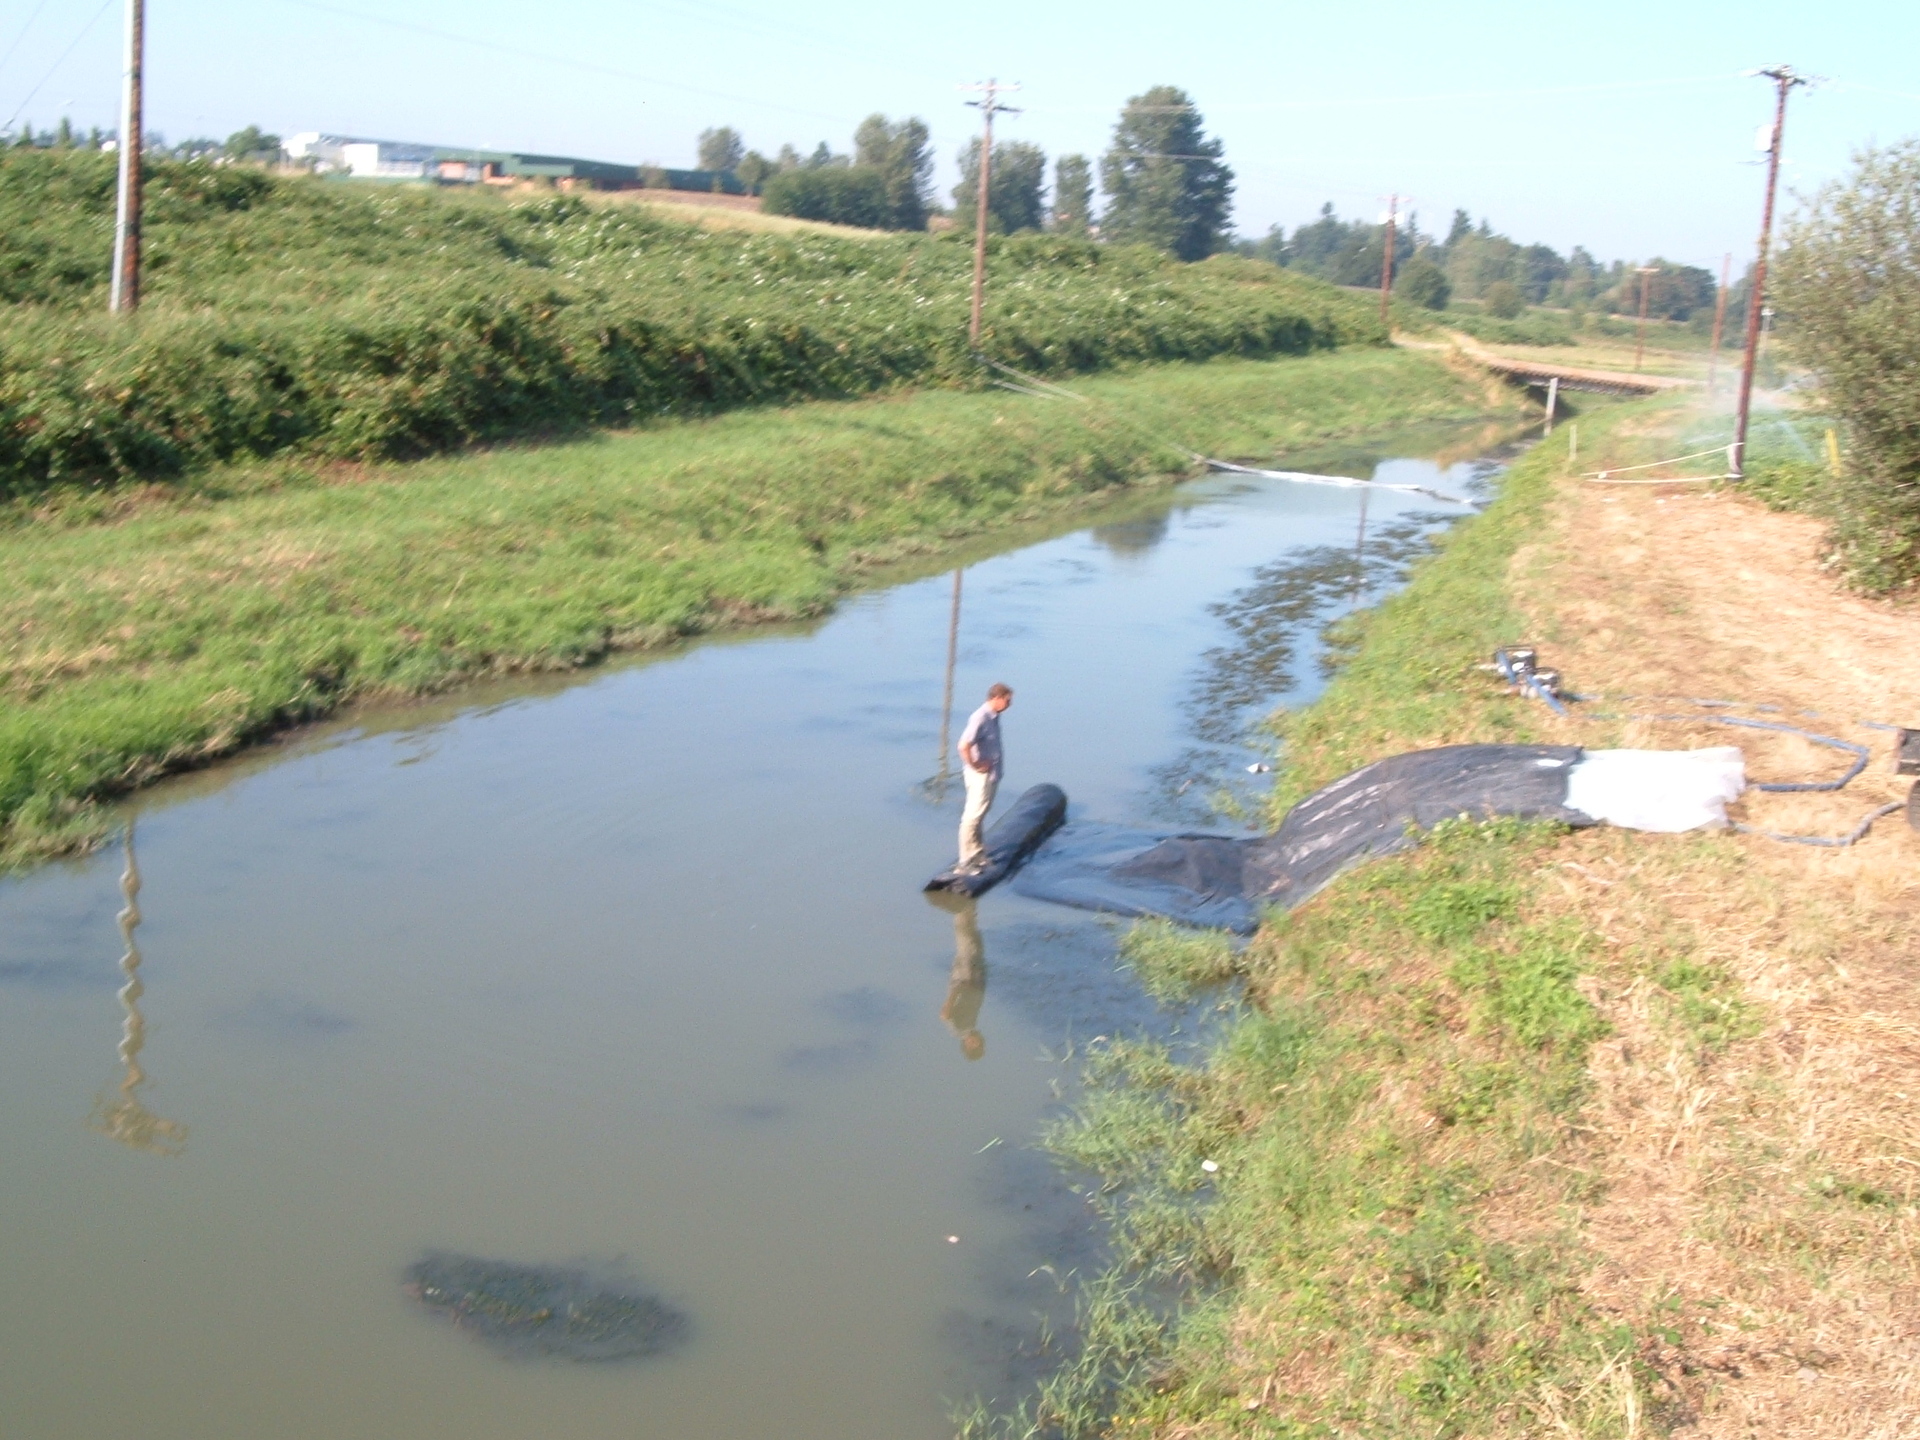
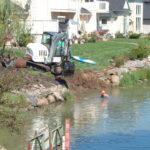
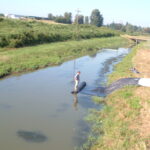
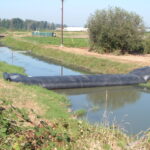
3.) A worker verifying the water depths, where the AquaDam will sit, prior to starting installation.
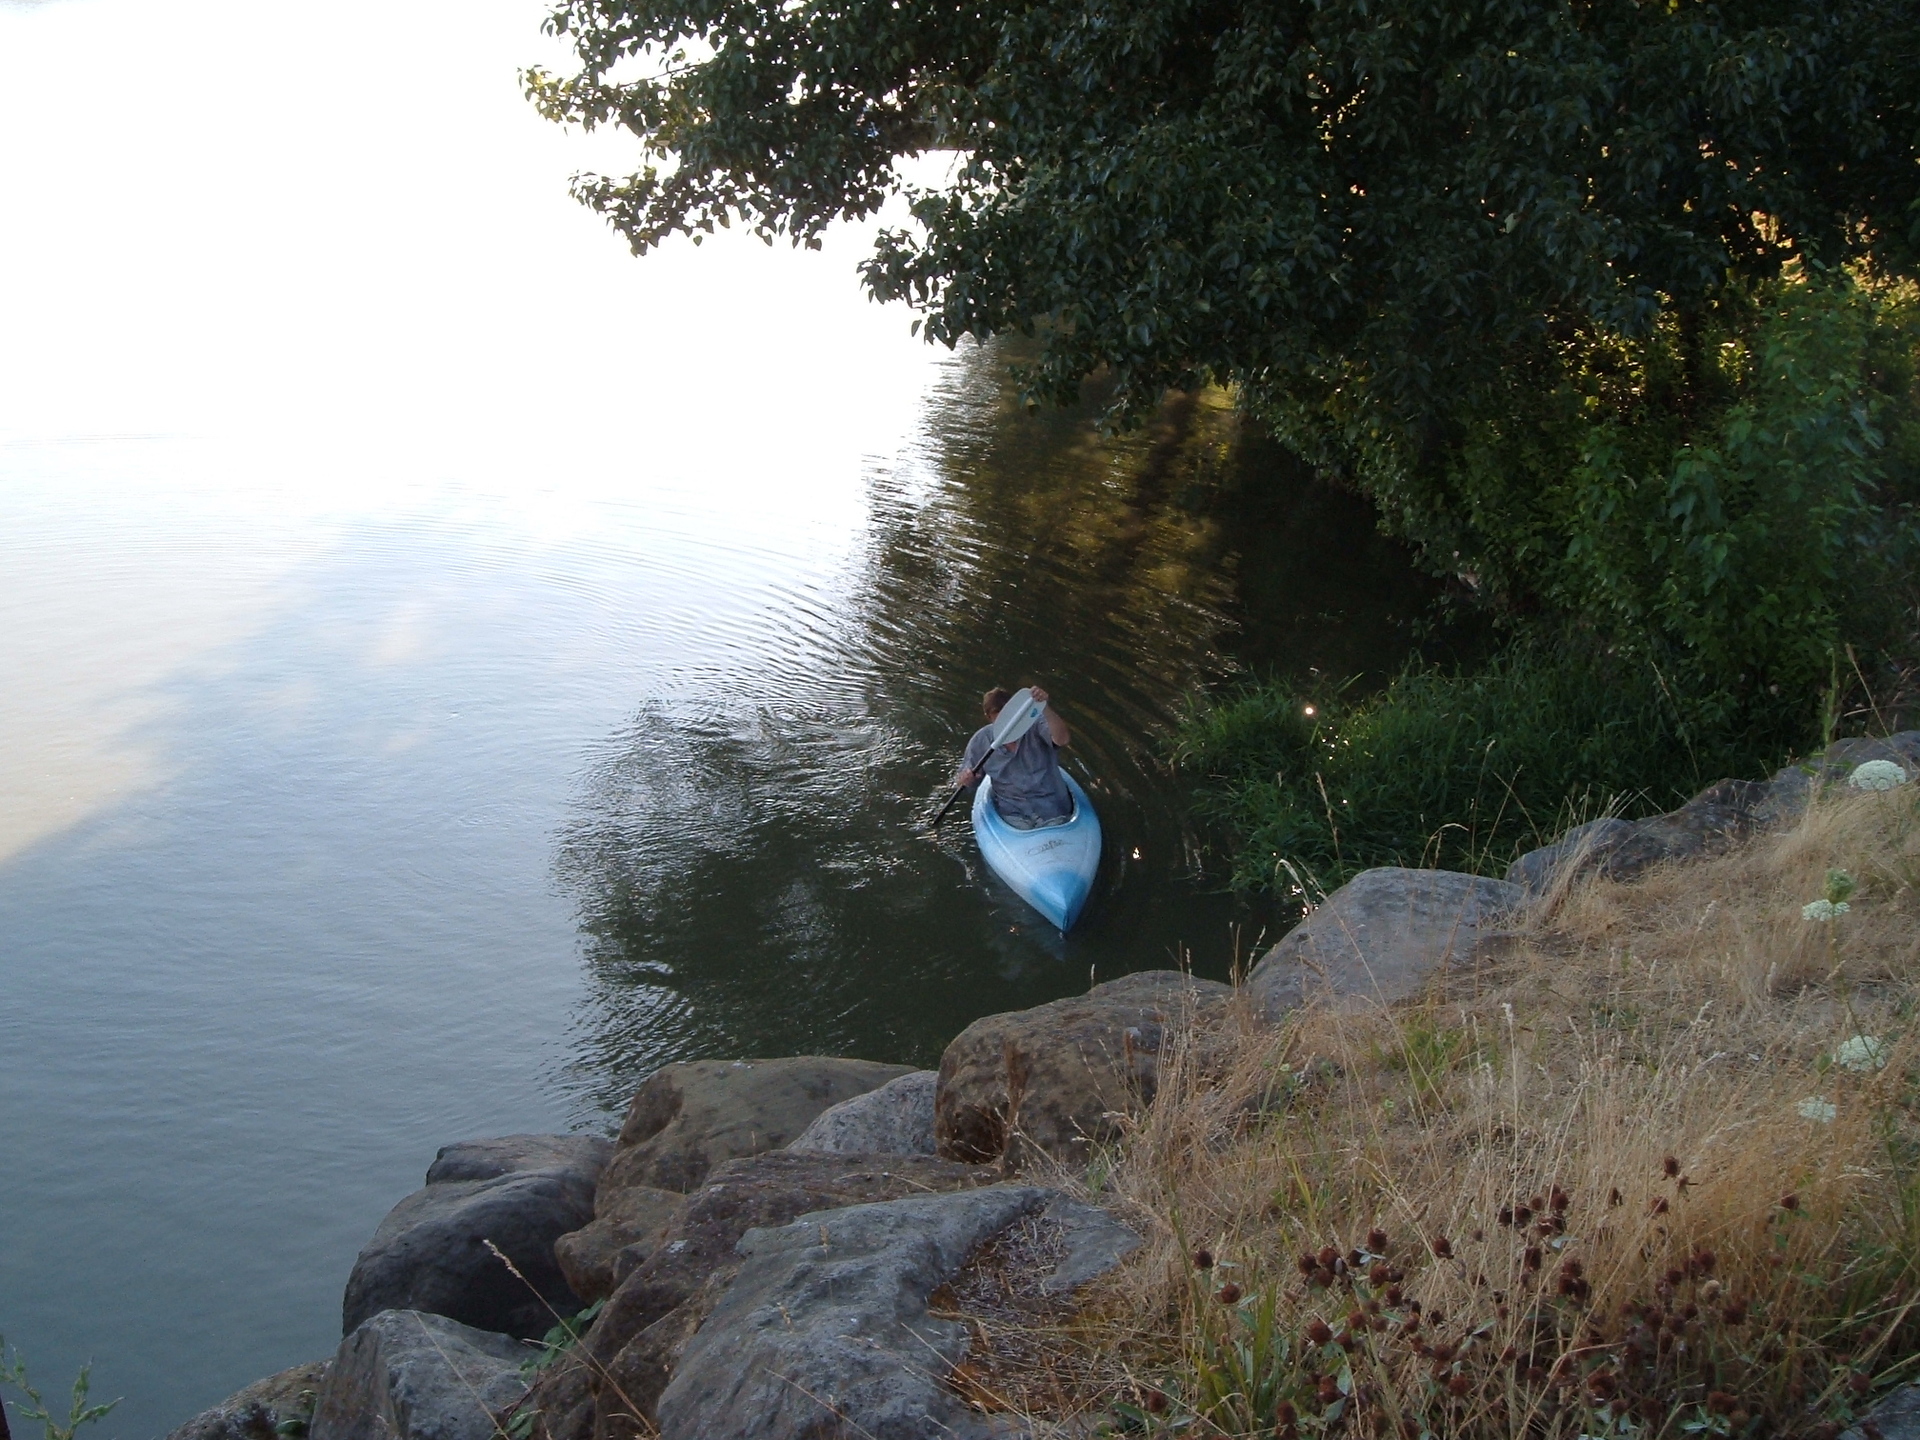
4.) Verifying water depths and that there are not any large obstructions along the path where the AquaDam will sit, is important.
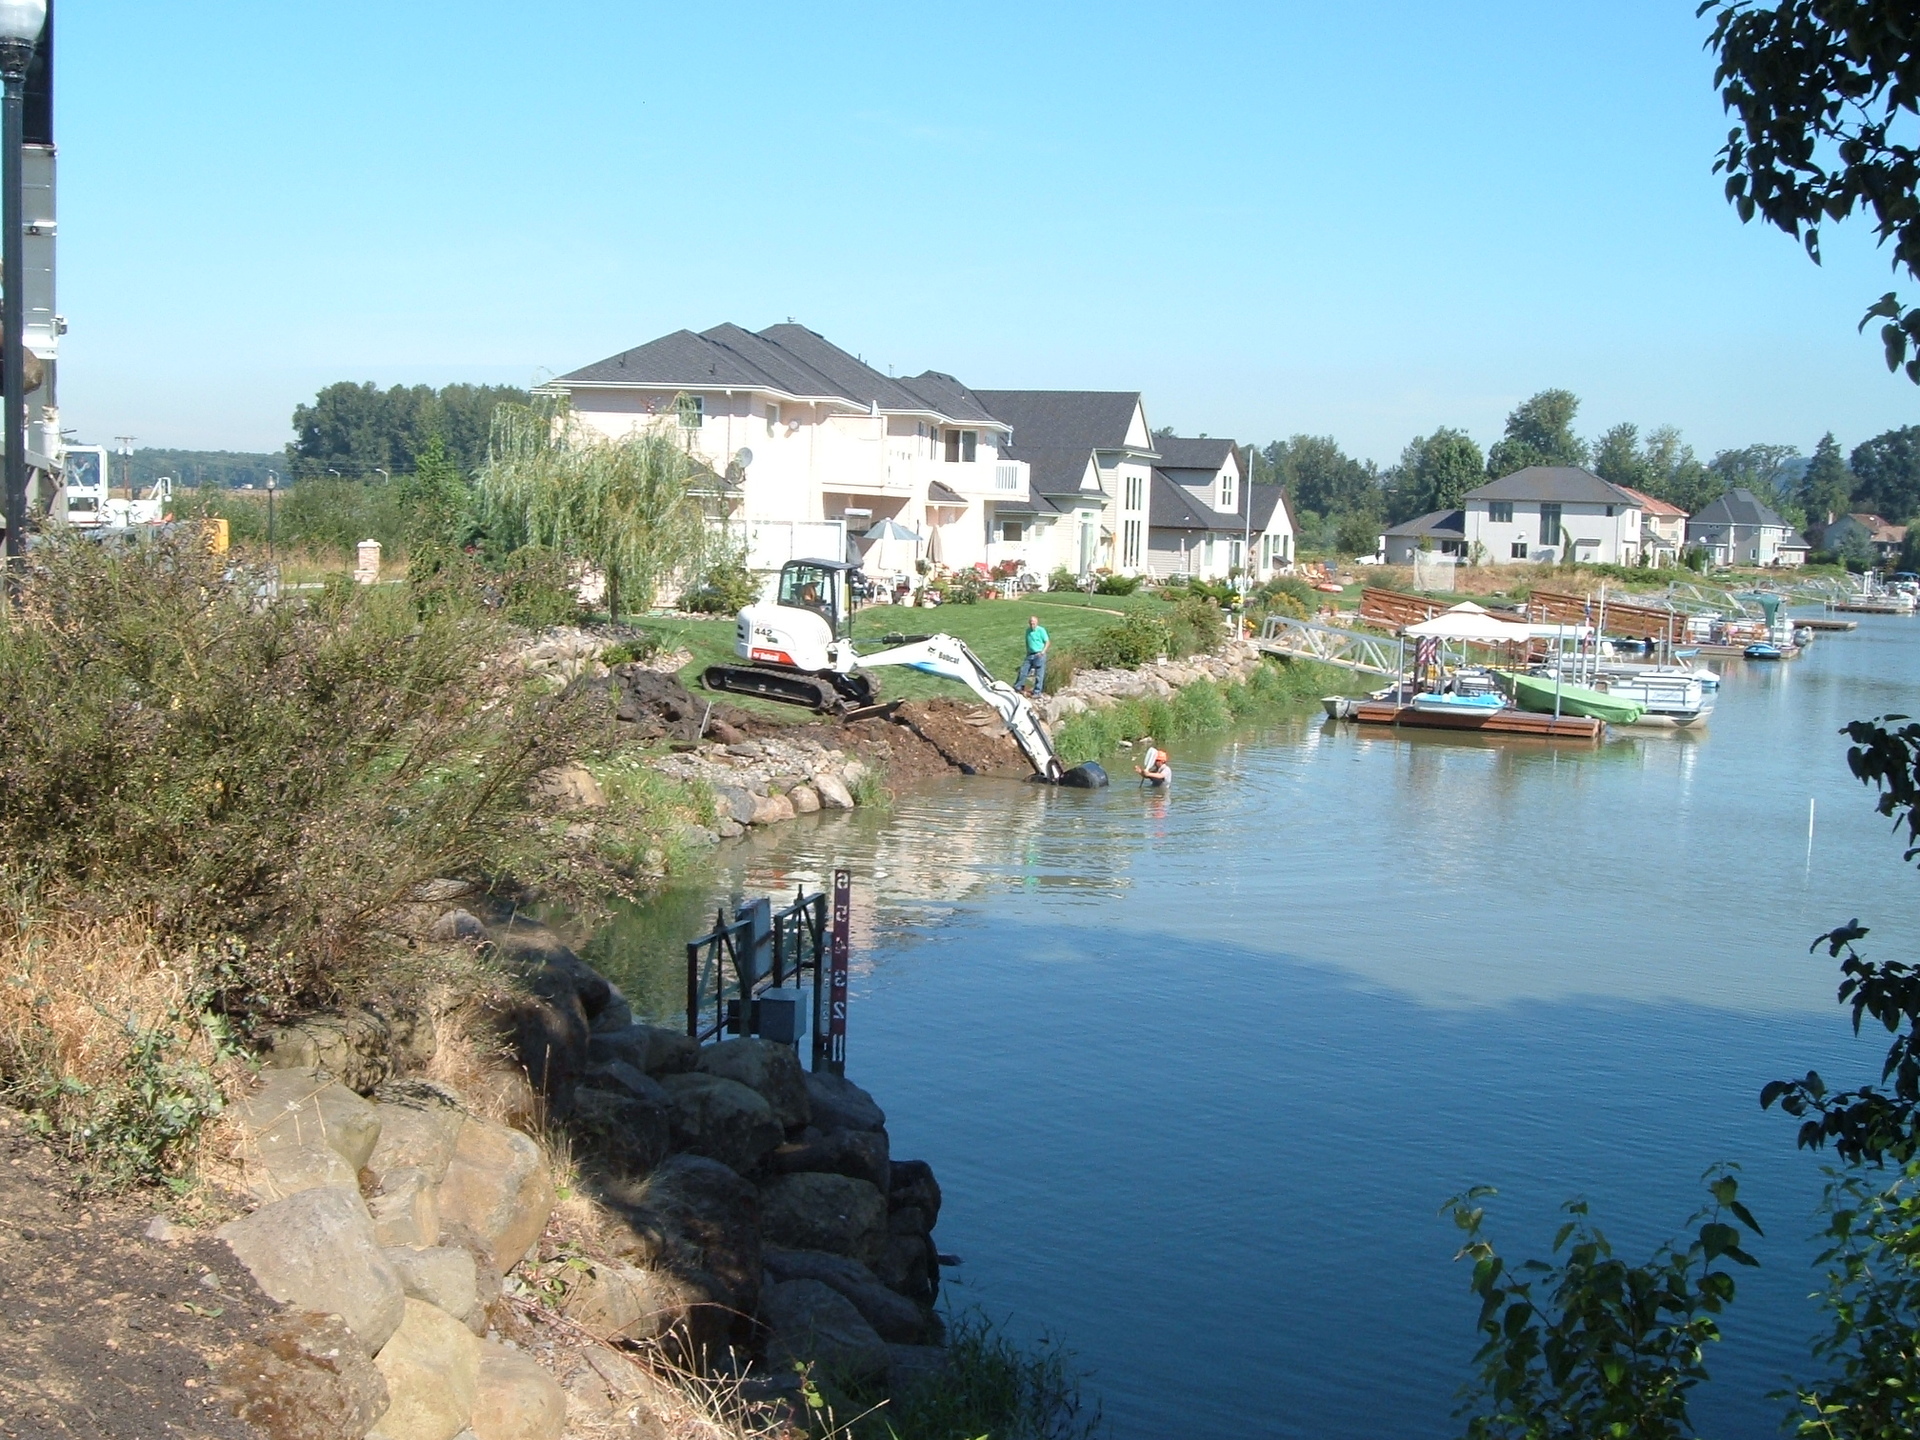
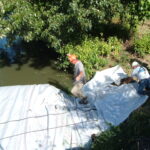
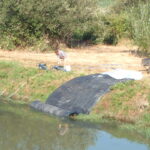
5.) Clearing shrubs, aggregate, and other debris will allow an AquaDam to make a better seal.
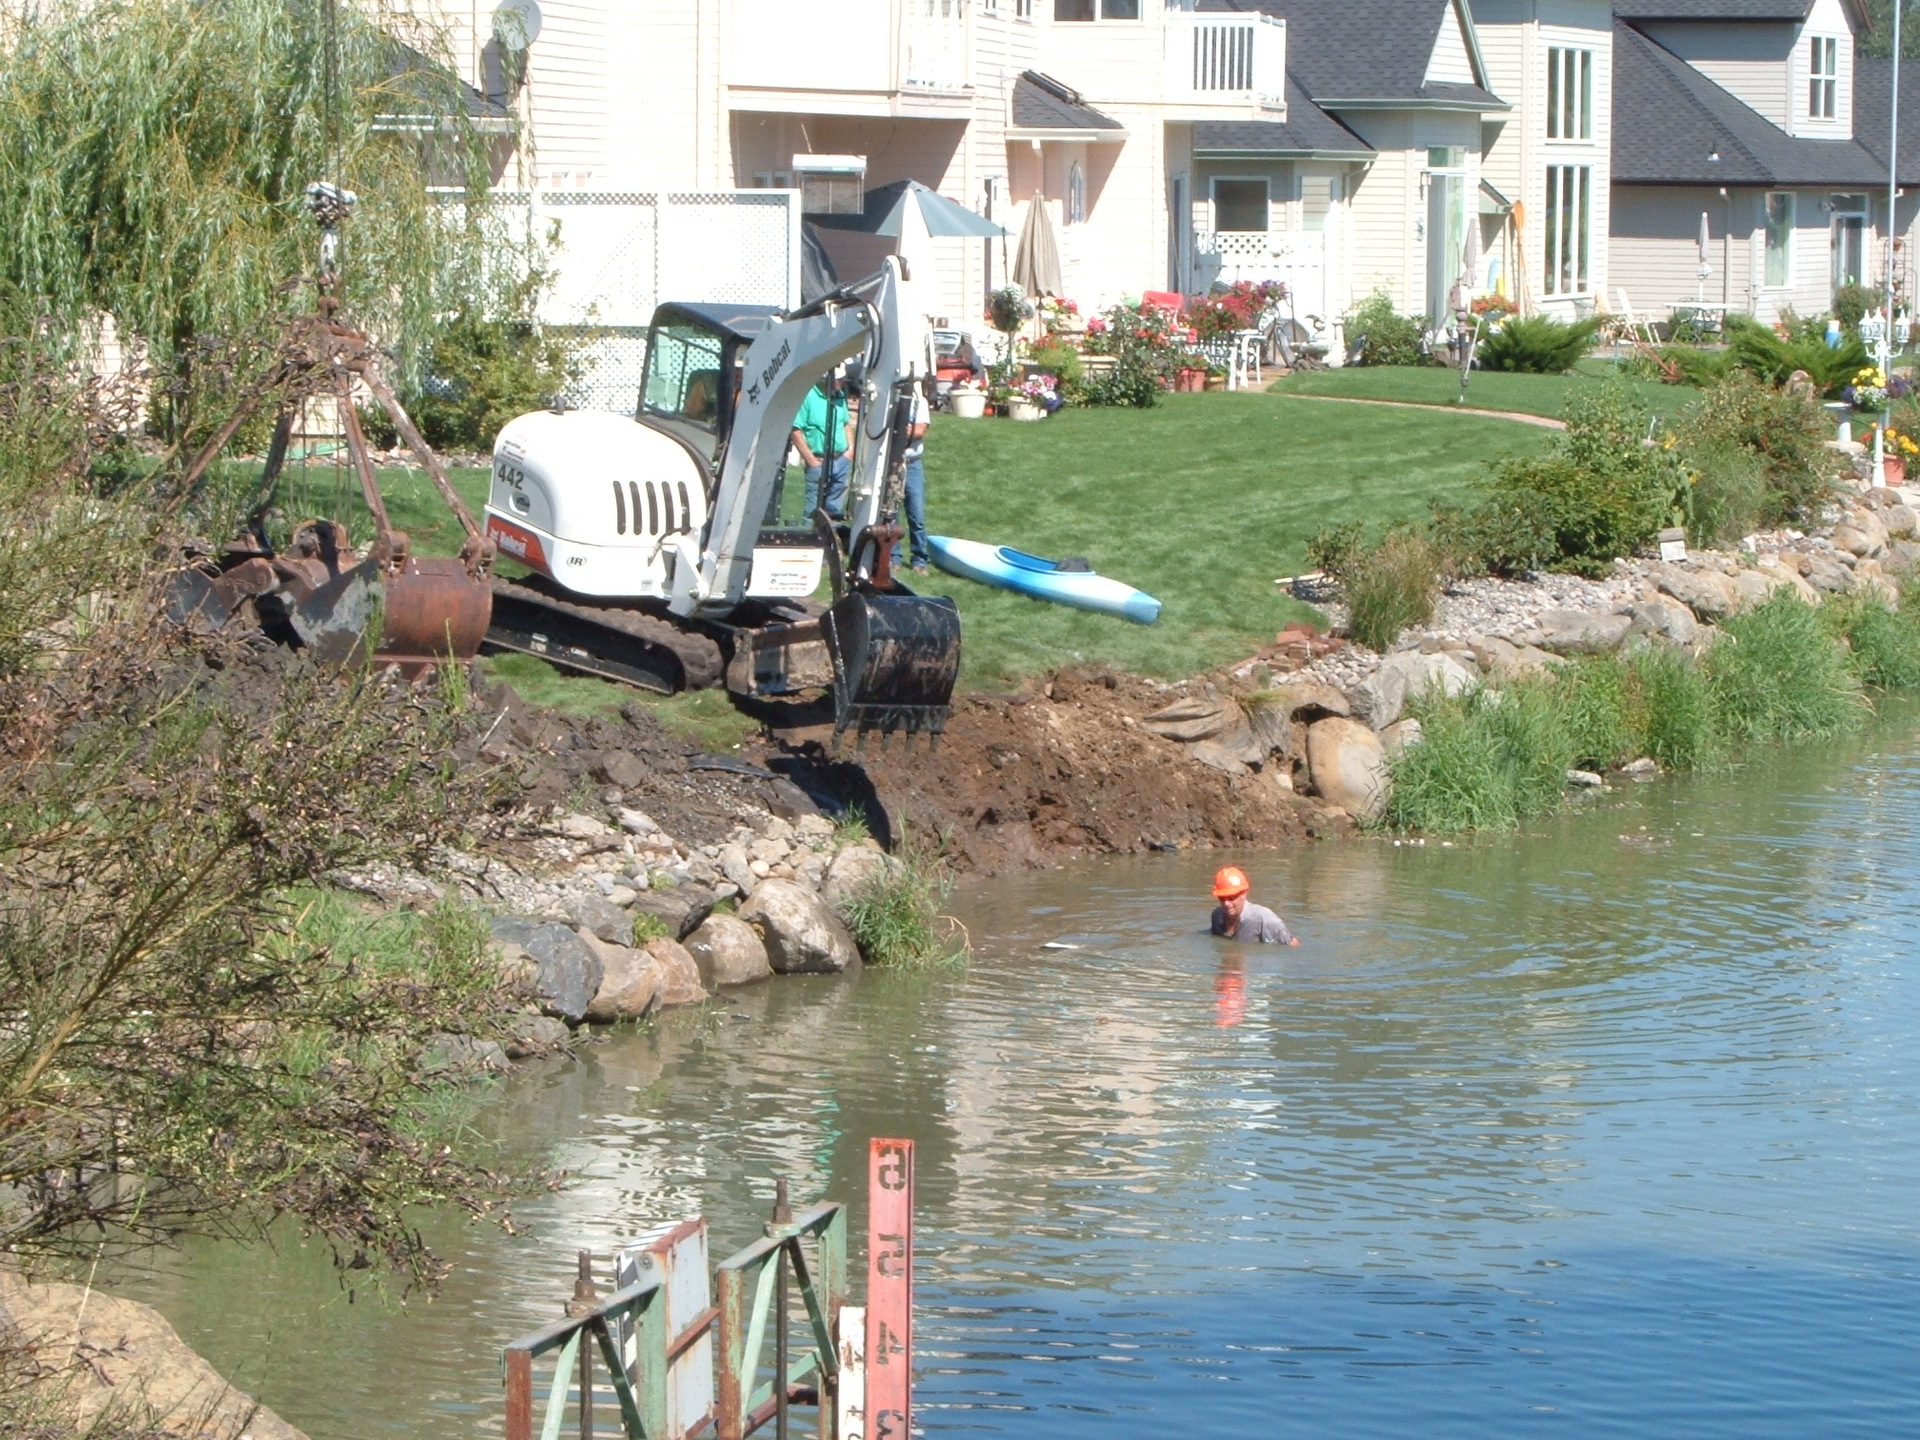
6.) While clearing the starting bank, it is important not to dig a hole where the AquaDam will sit.
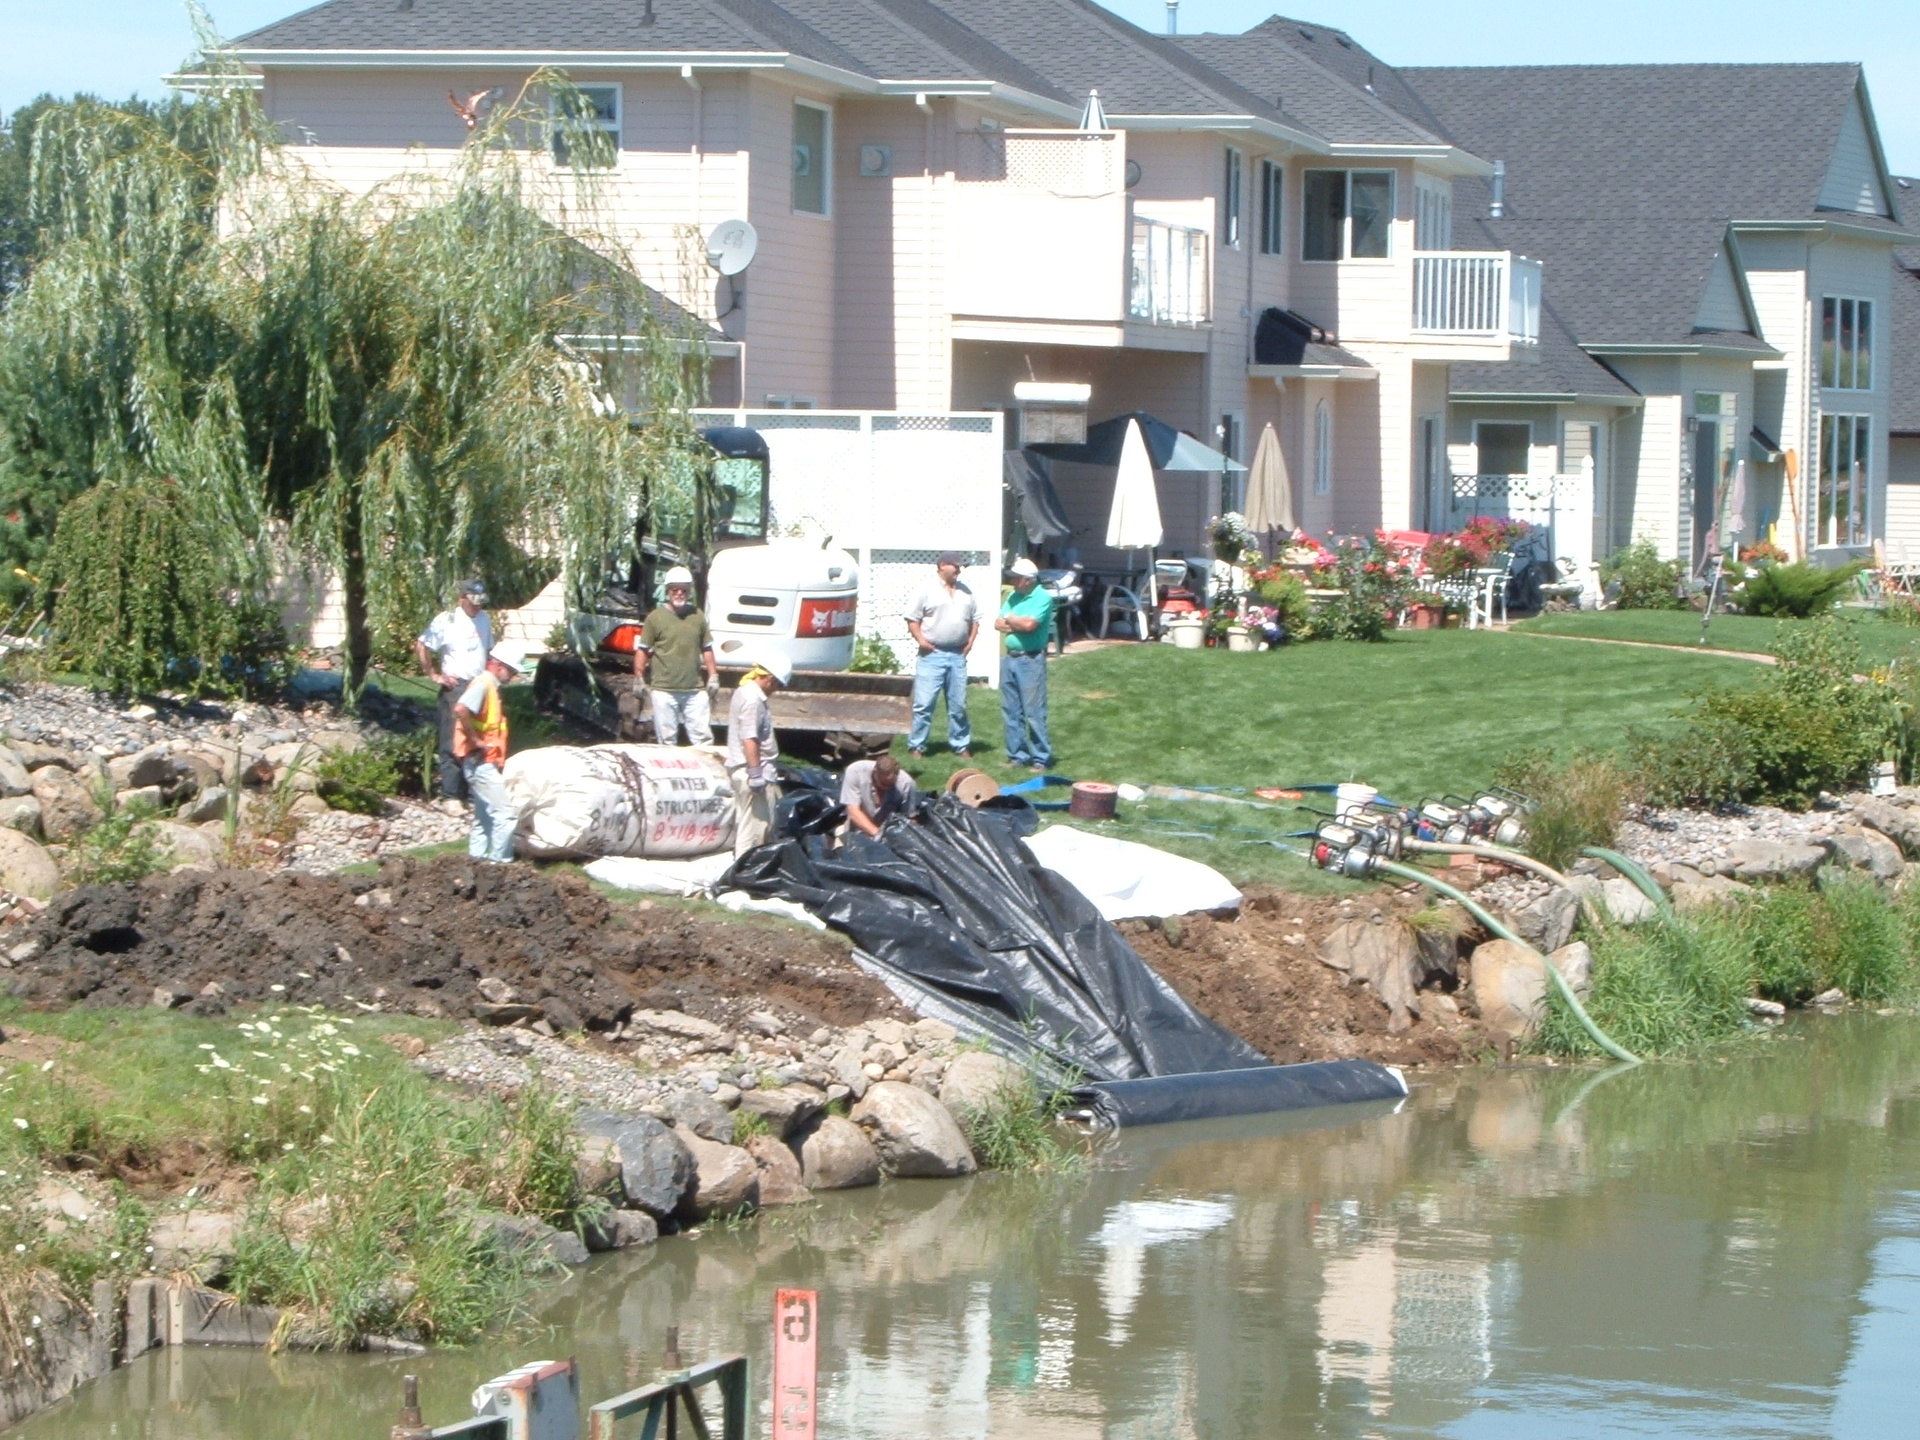
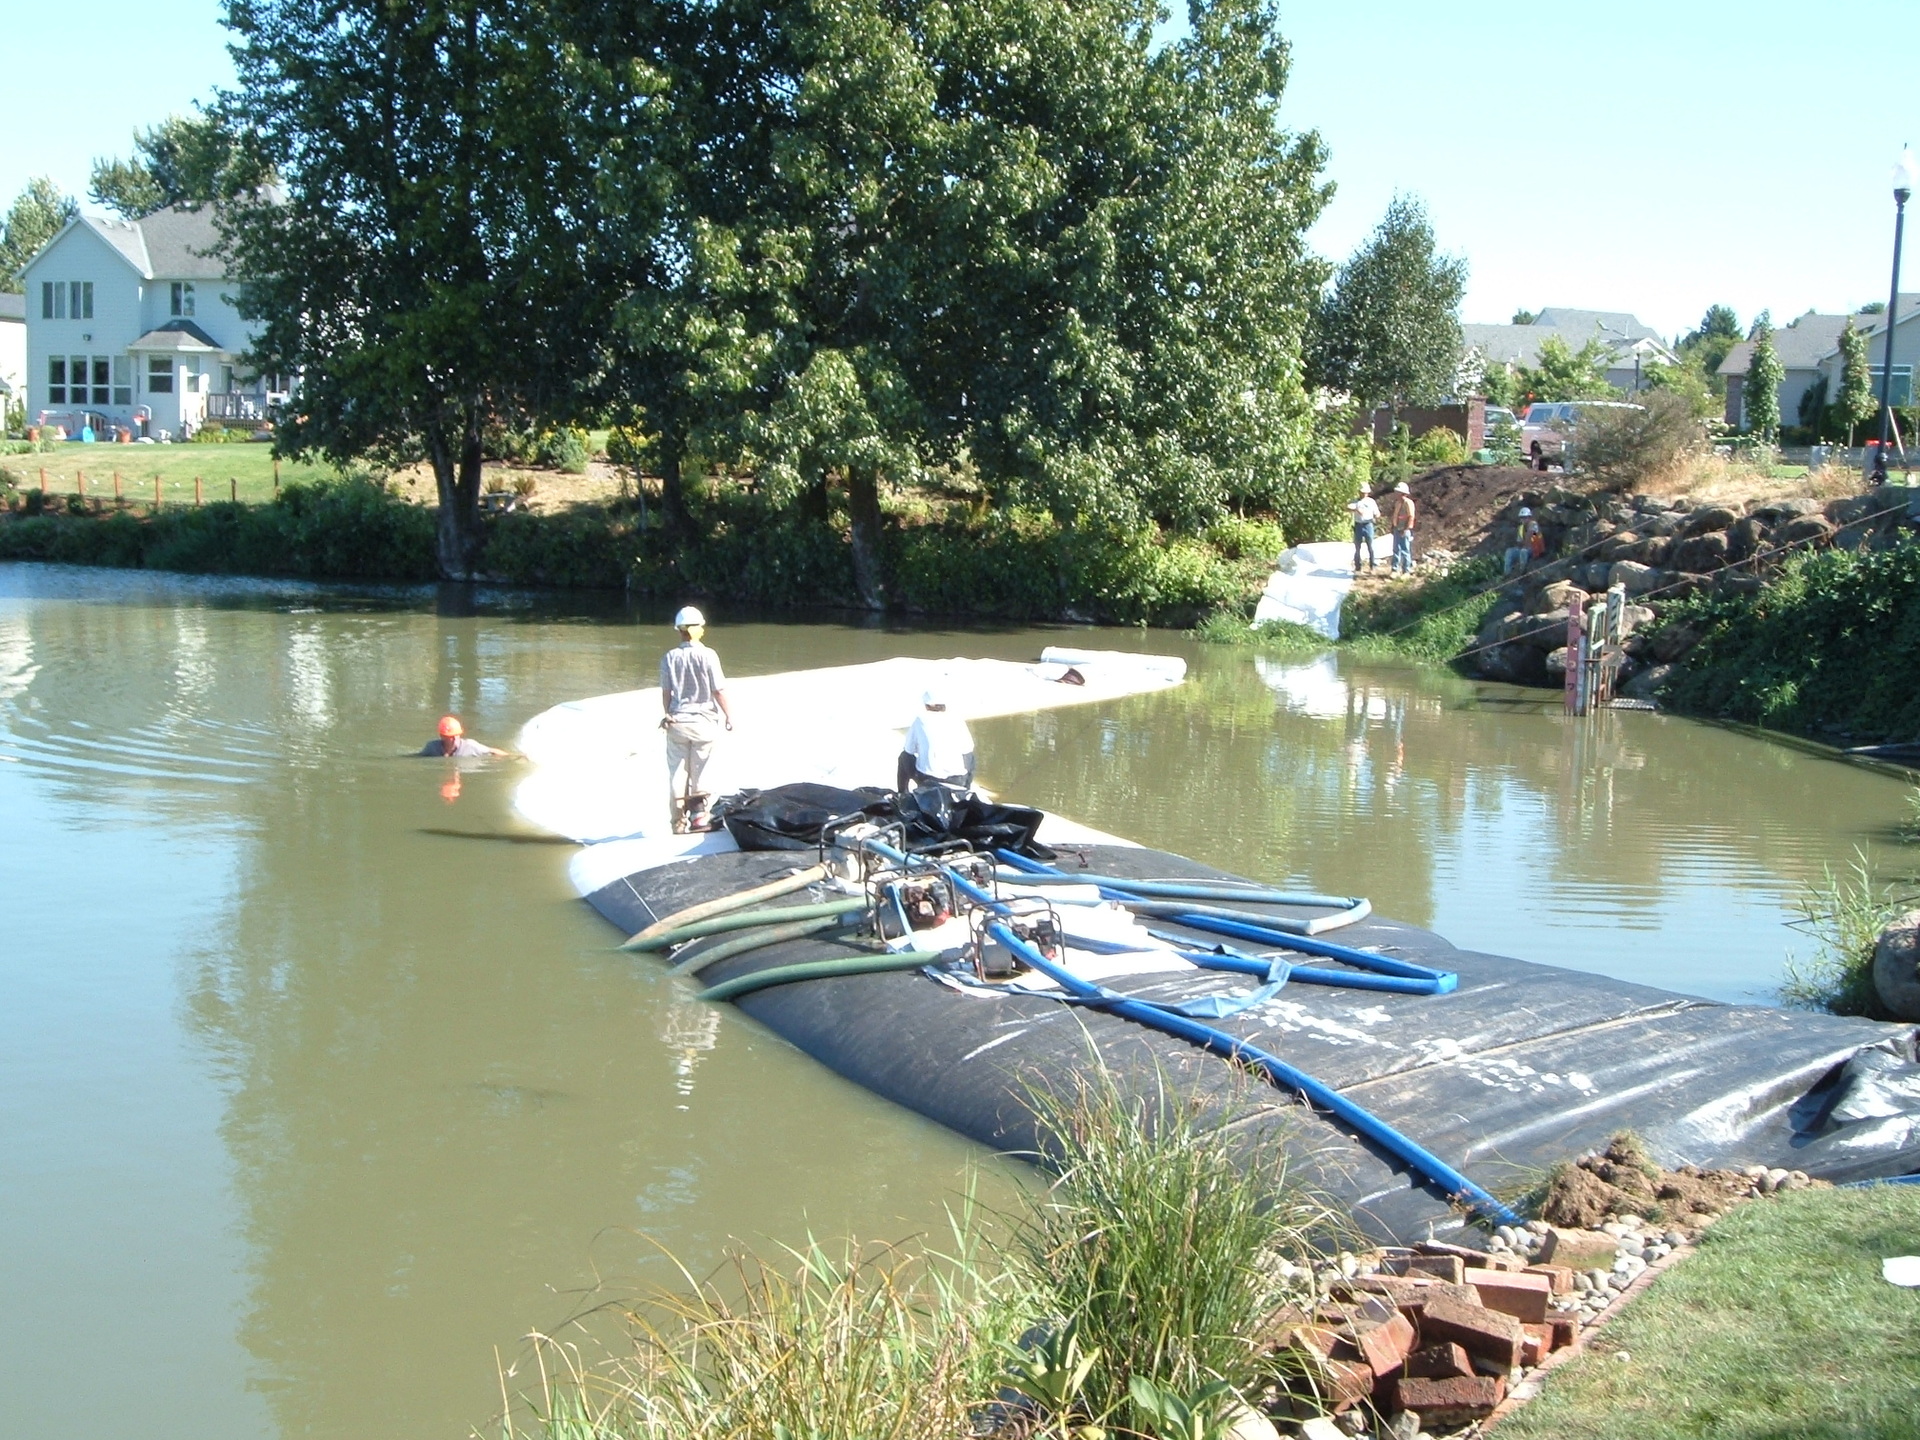
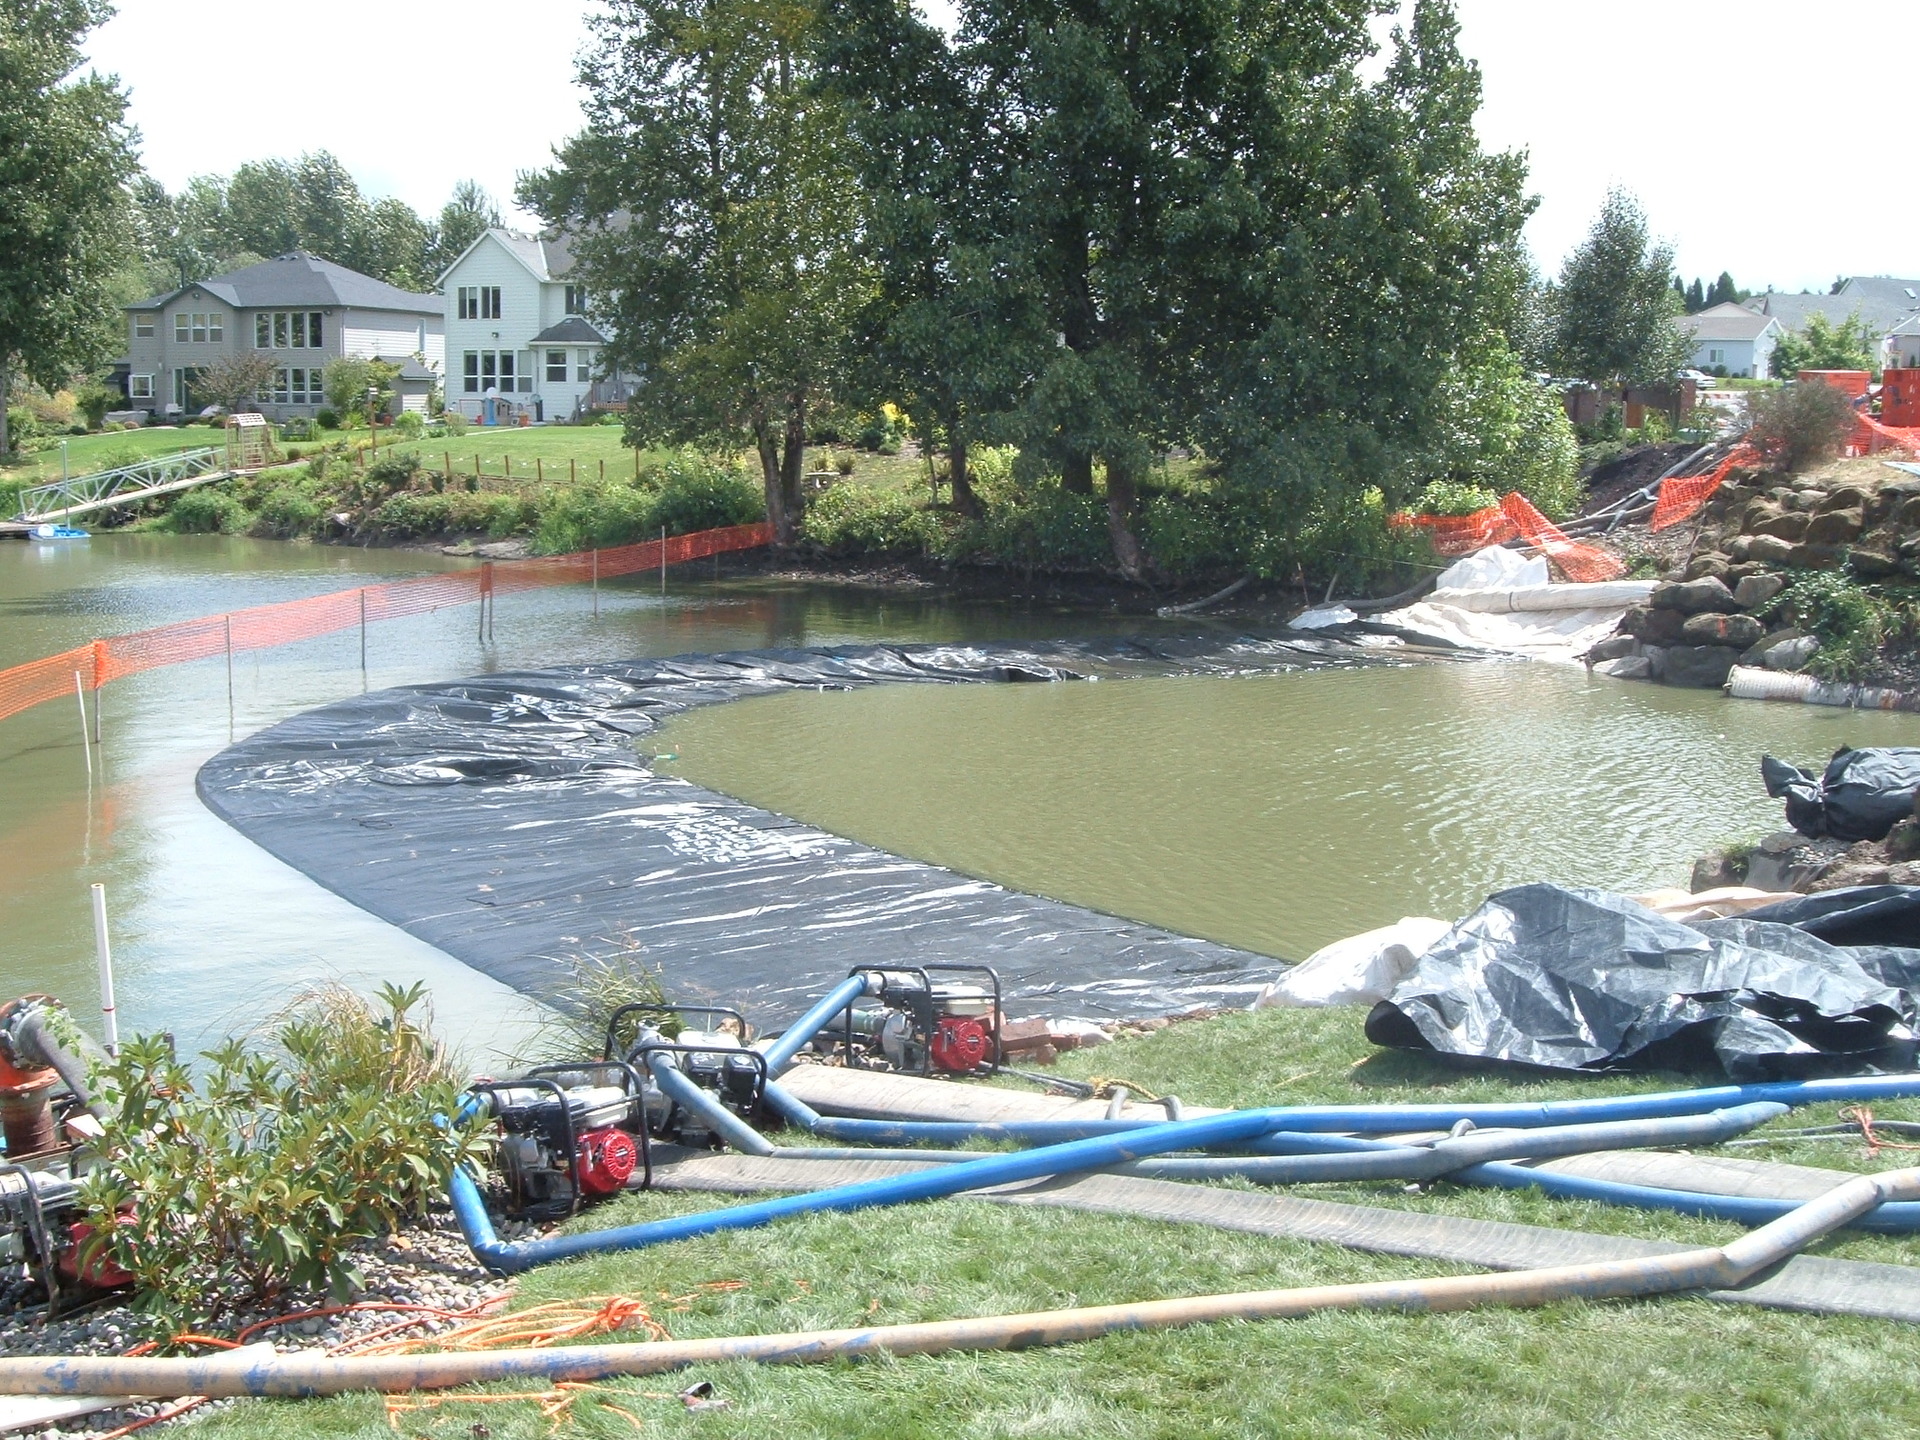
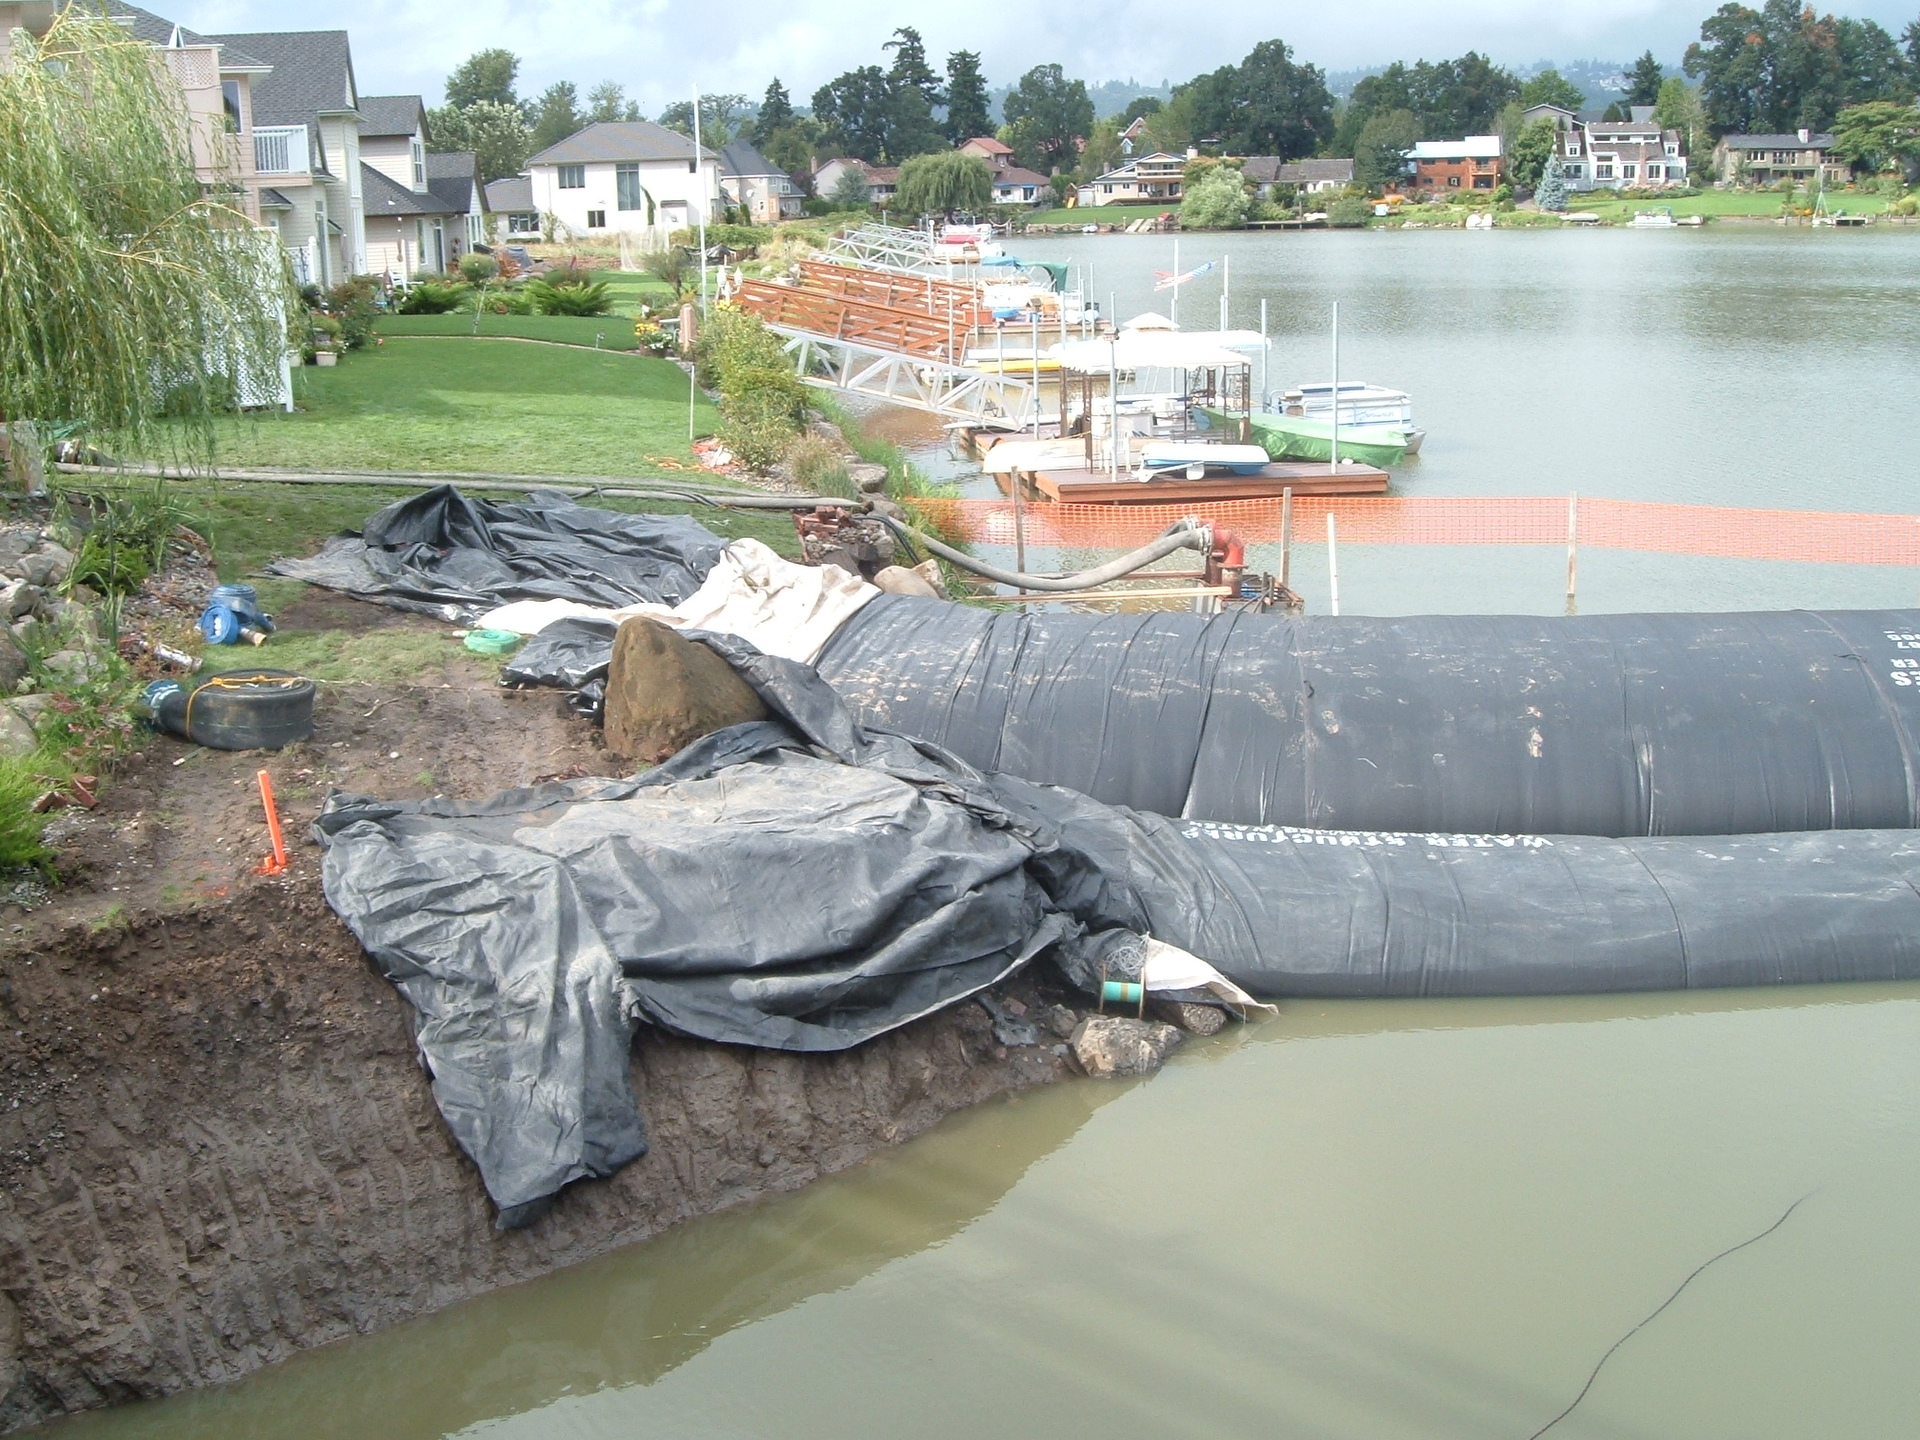
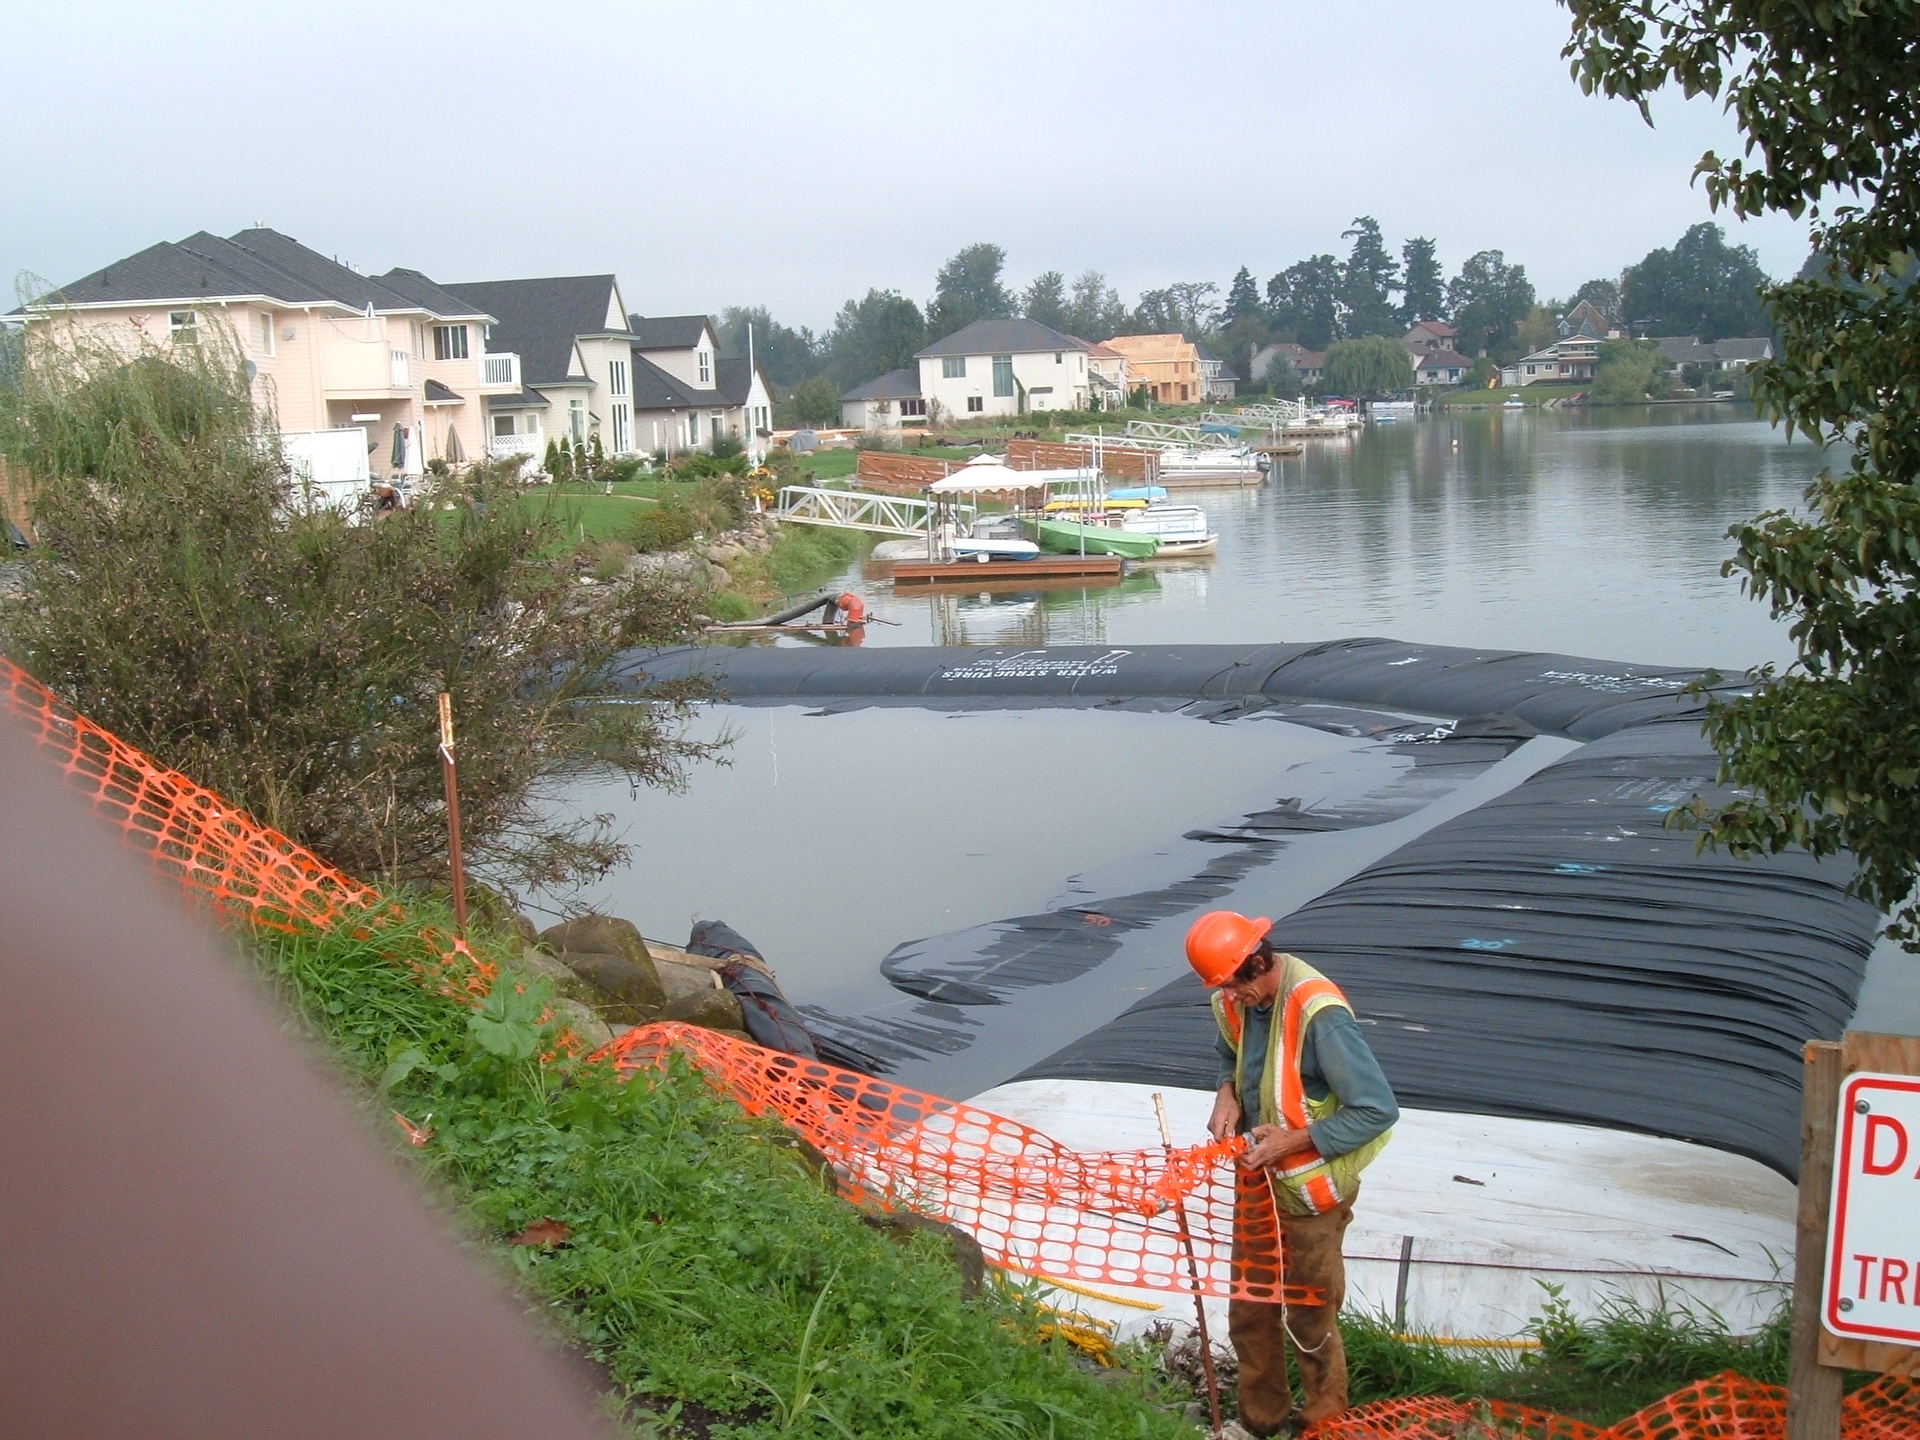
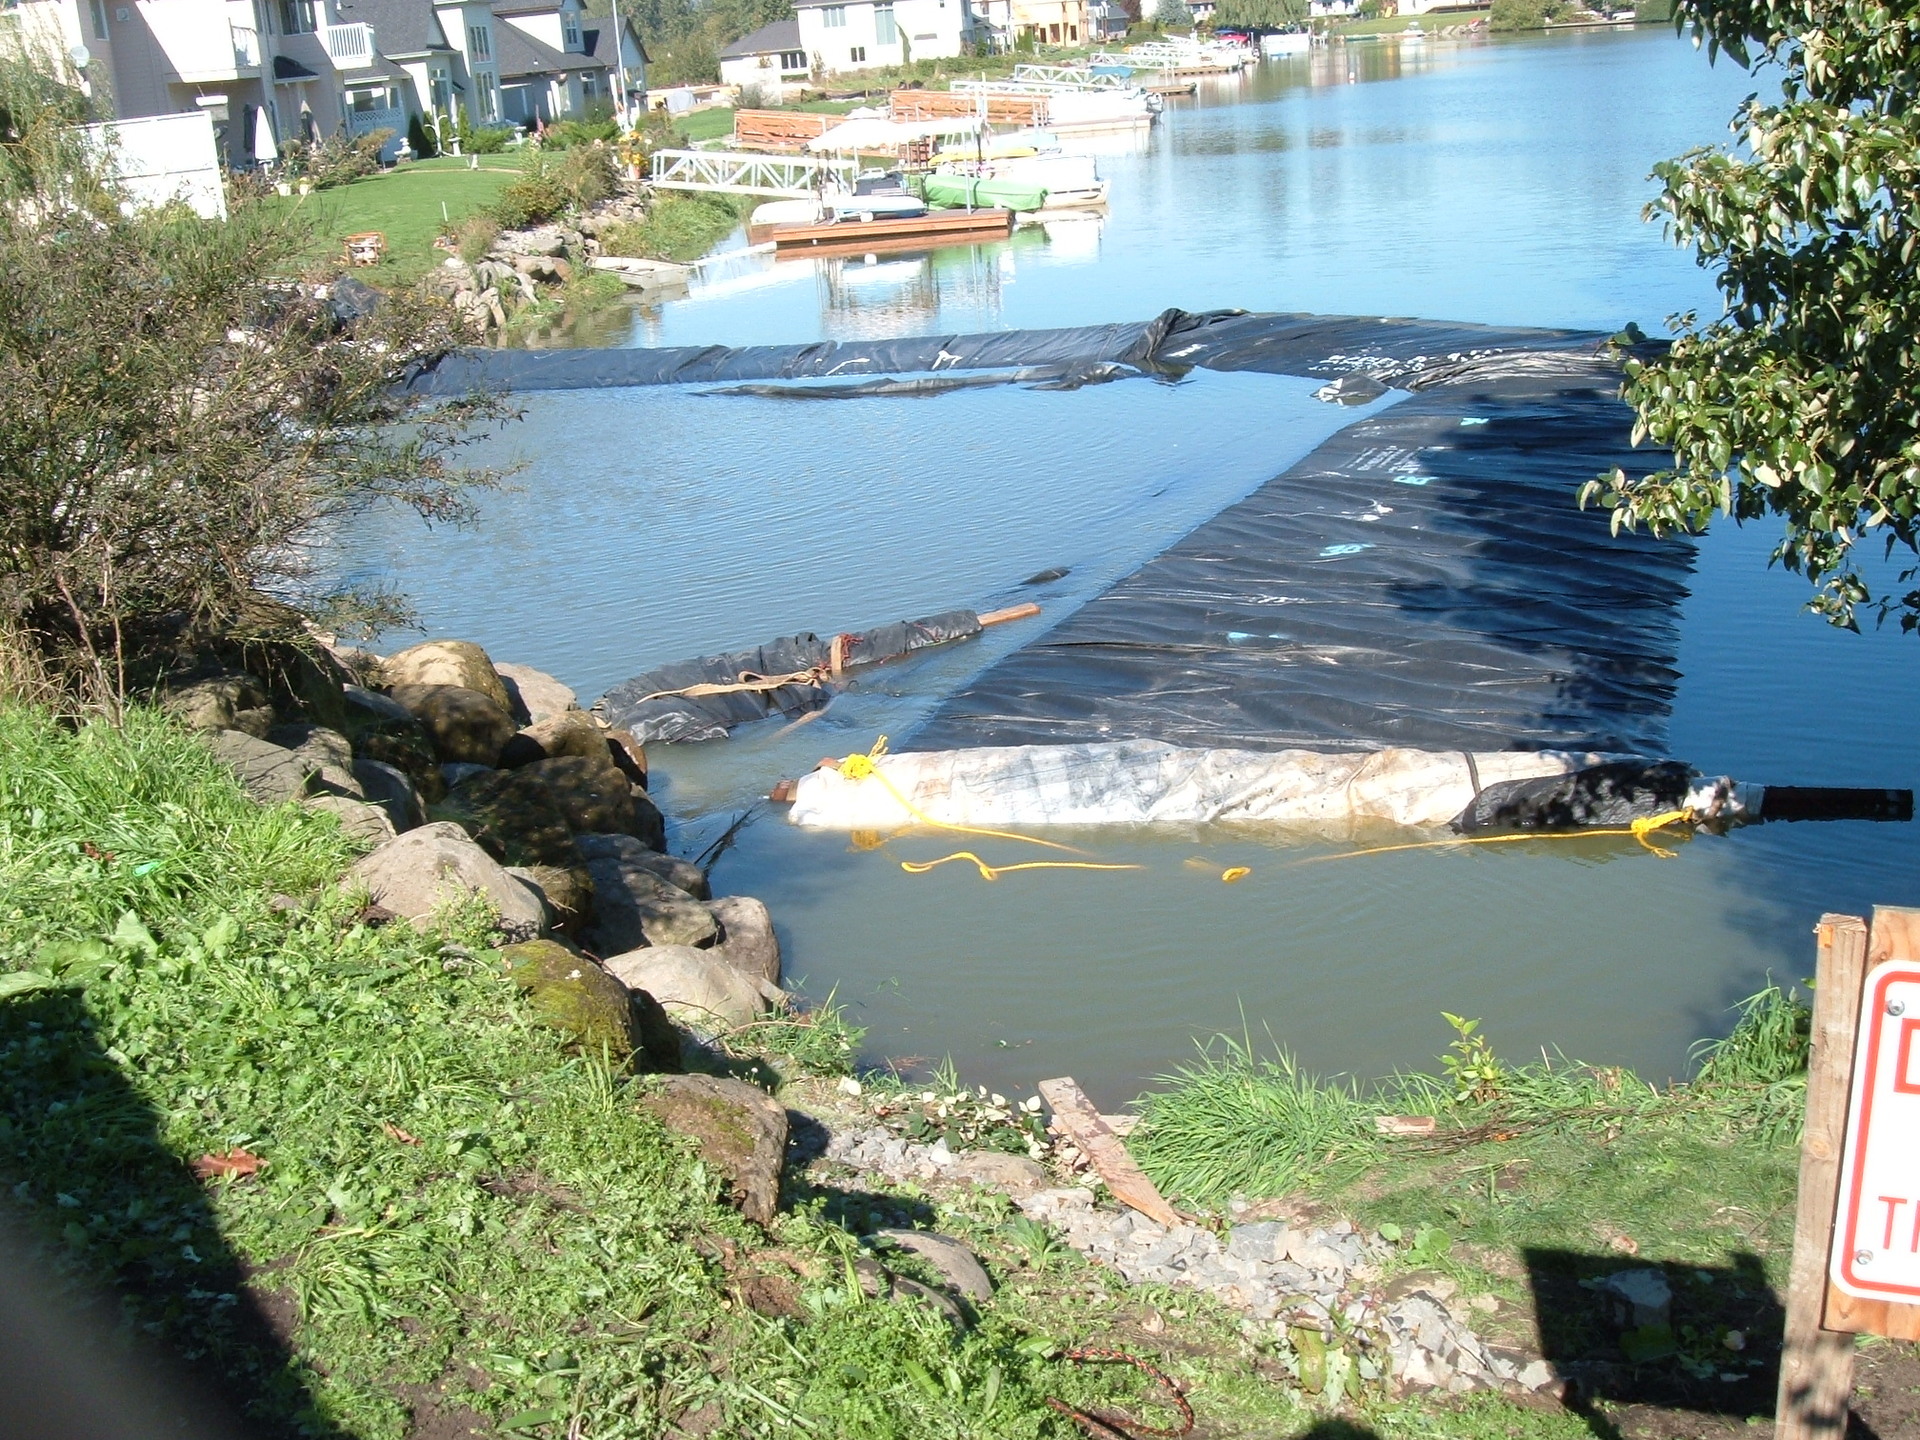
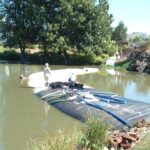
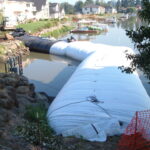
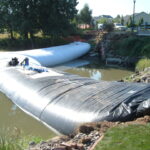
7.) The starting bank was cleared, the starting point (open end) has been anchored, and this AquaDam has been launched into the water. Workers are putting fill hoses in the two fill-tubes, so that the AquaDam can be filled with water.
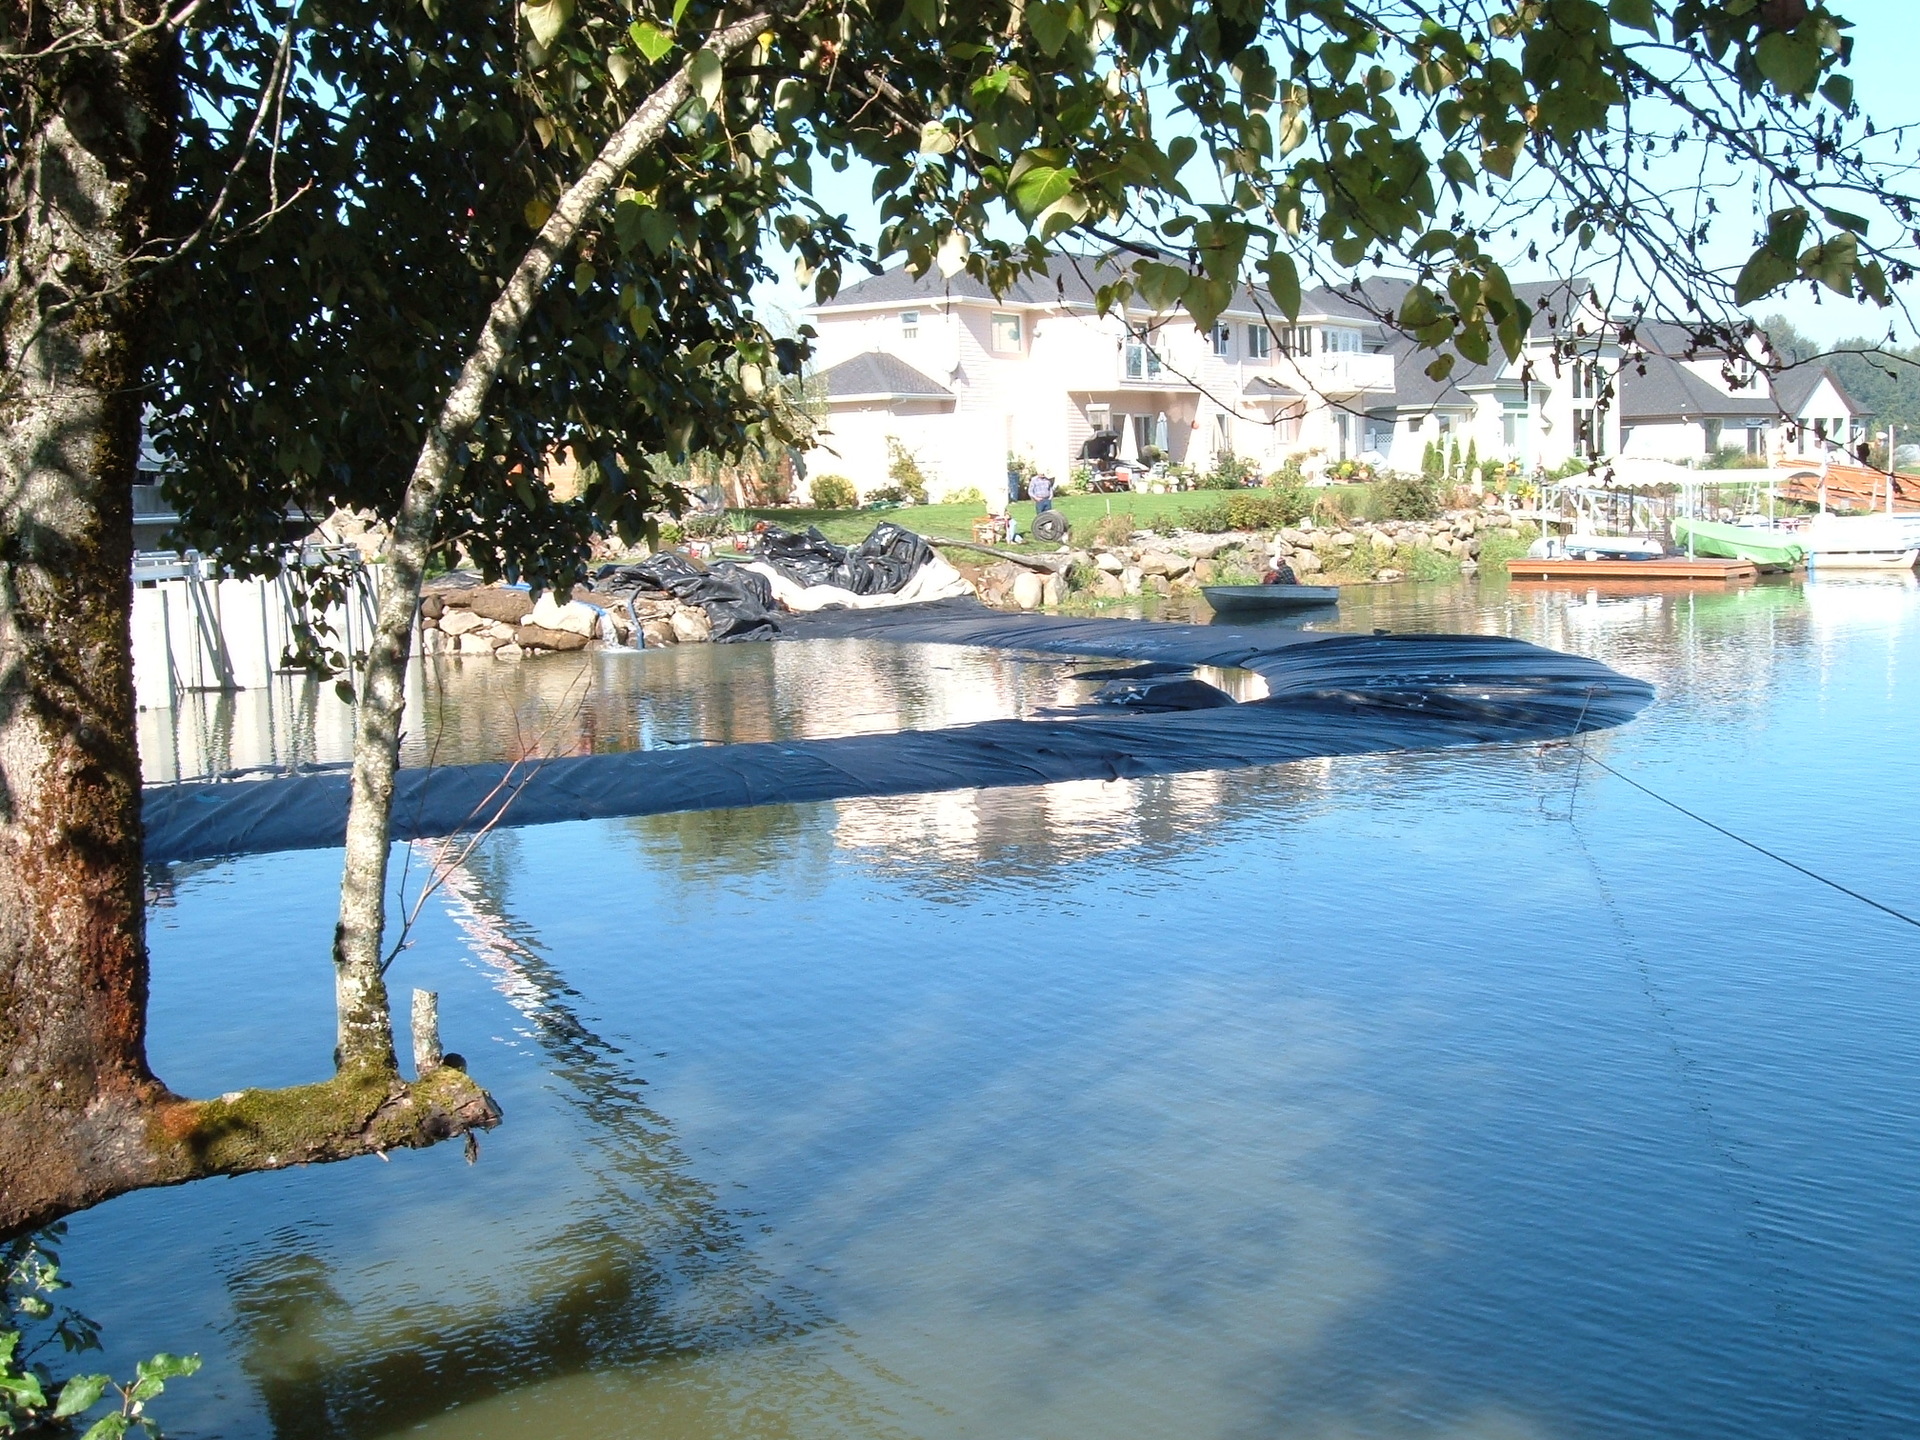
8.) Filling the AquaDam with water will help it unroll. Ropes tied back to anchors on shore were used to maneuver the direction of where this AquaDam was positioned. Keeping tension on the roll (rolled-up length) to prevent it from unrolling allows the unrolled length to gain head above the surrounding water.
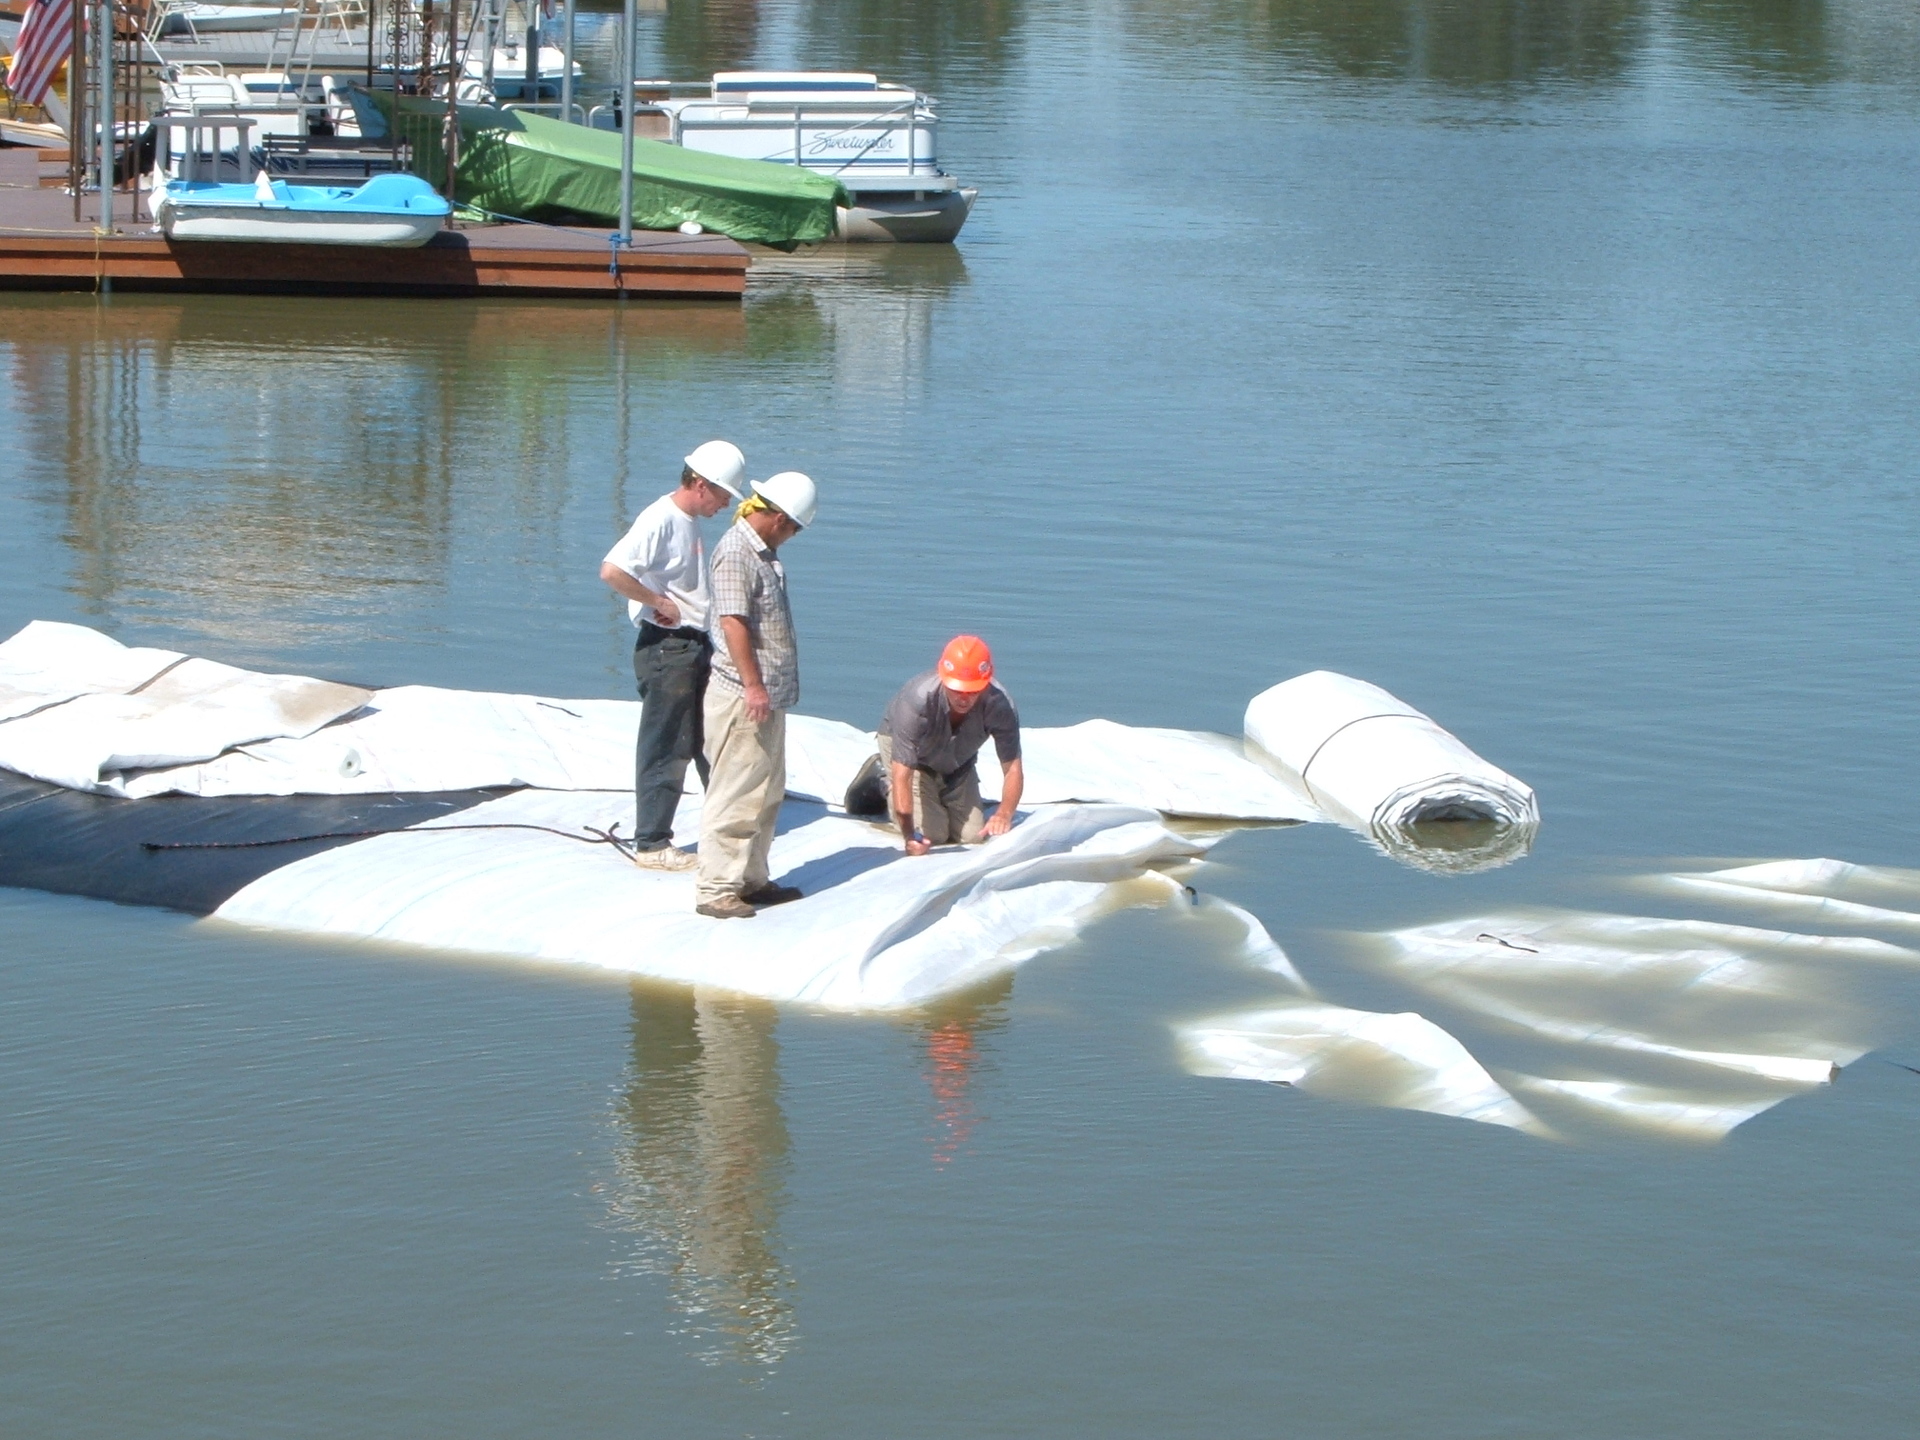
9.) This AquaDam has a connection collar that is being prepared for the connection to another AquaDam.
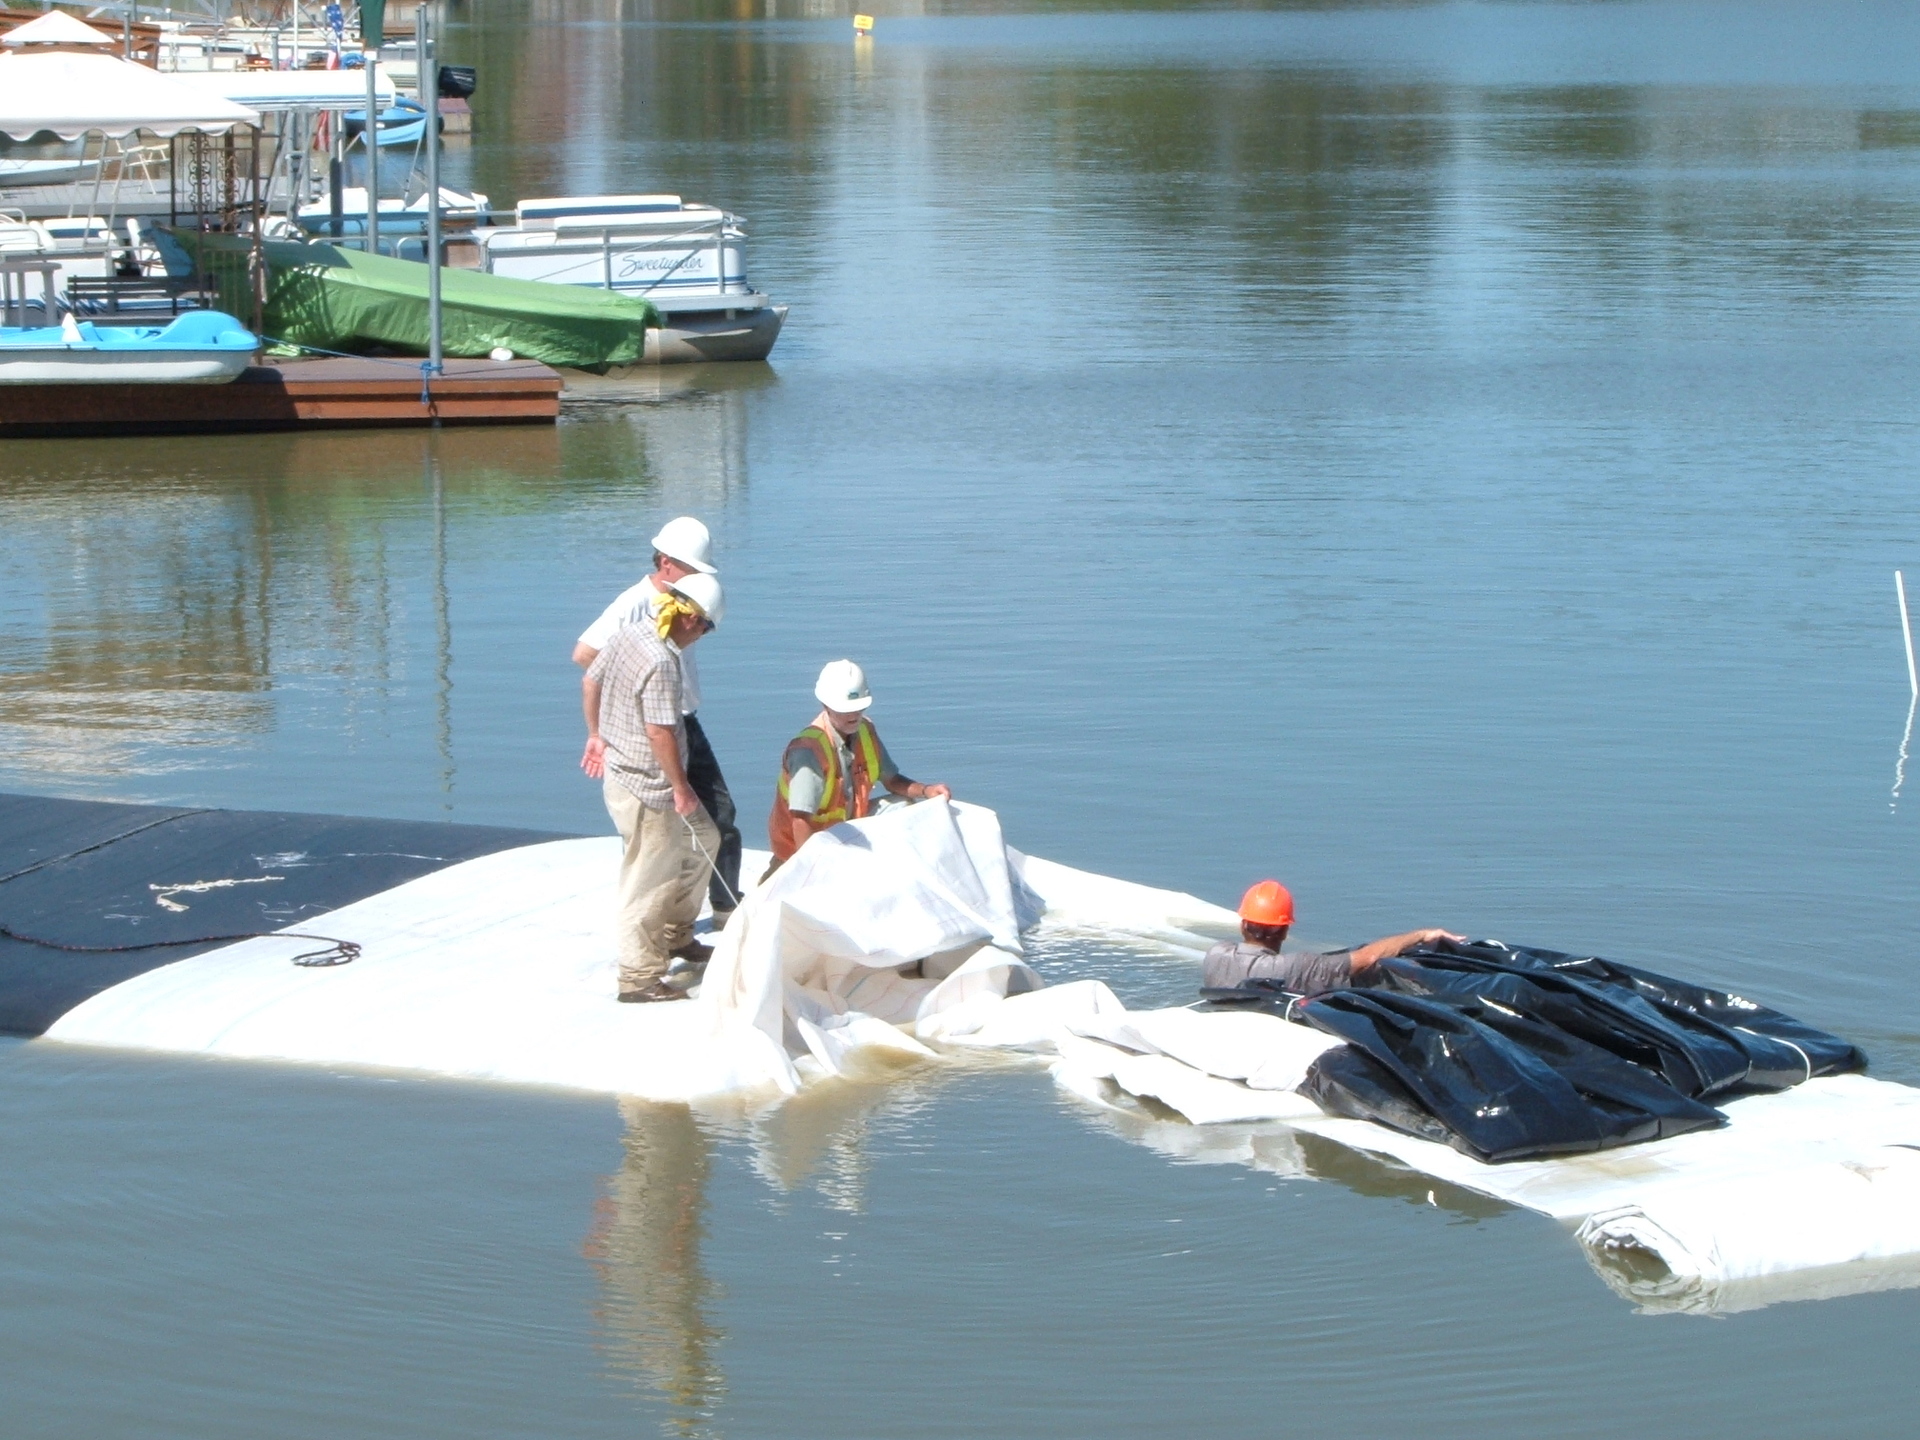
10.) The workers on the left have pulled back the connection collar of the first AquaDam. Another worker (orange hat) has the second AquaDam ready to make the connection with the first AquaDam.
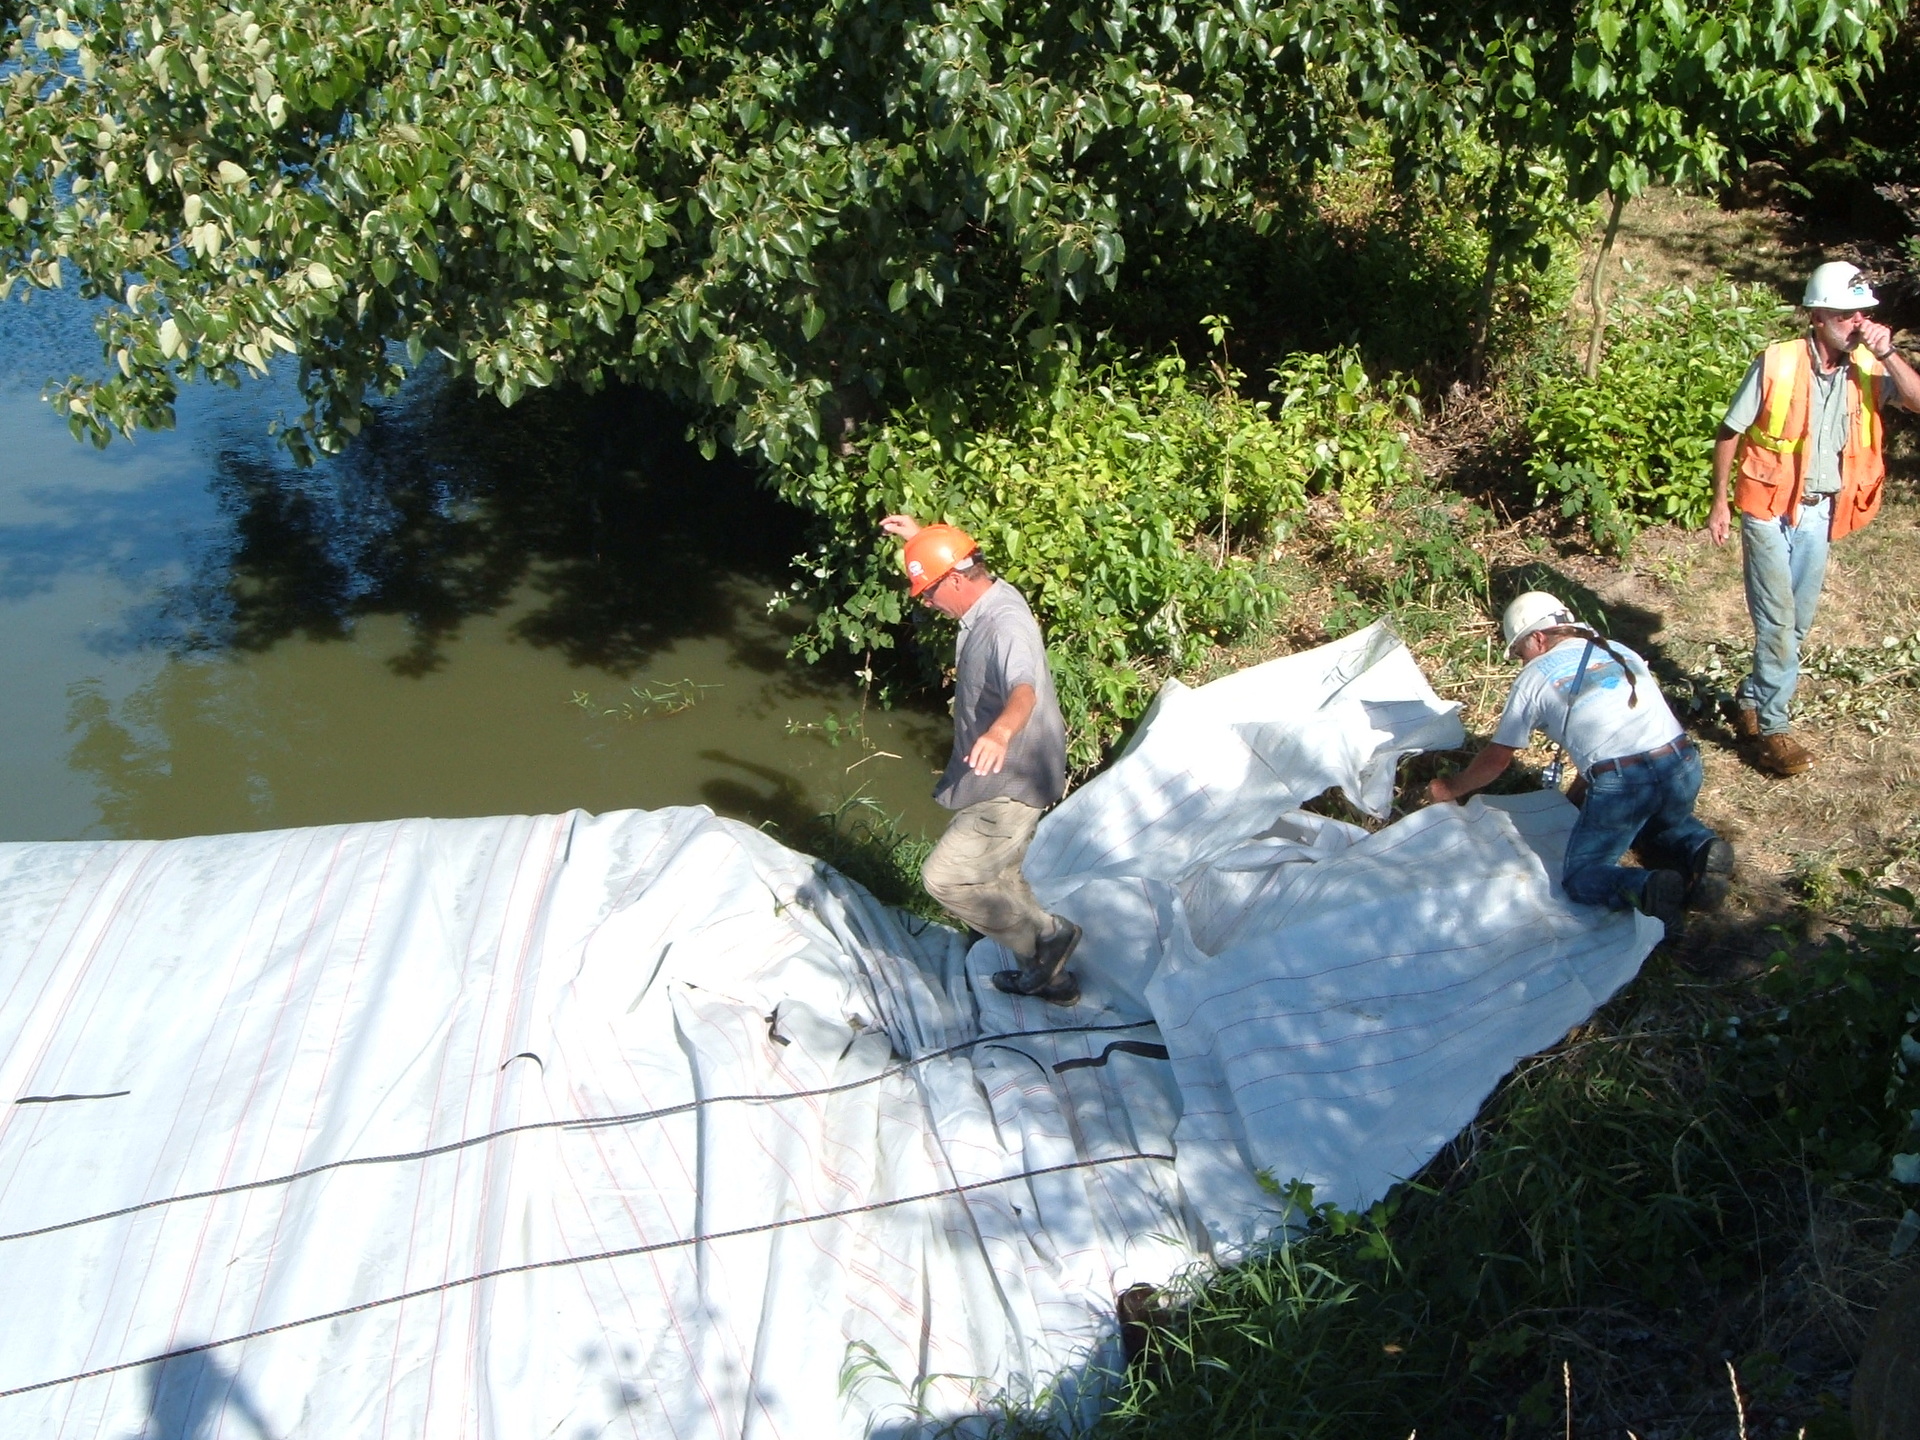
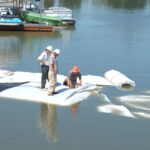
11.) The worker in the water pushes the fill-tubes through holes cut into the connection collar, while the other workers pull the fill-tubes up onto the first AquaDam. Next the starting point (open end) of the second AquaDam will need to be pulled up onto the first AquaDam and laid out, width wise, inside of the connection collar.
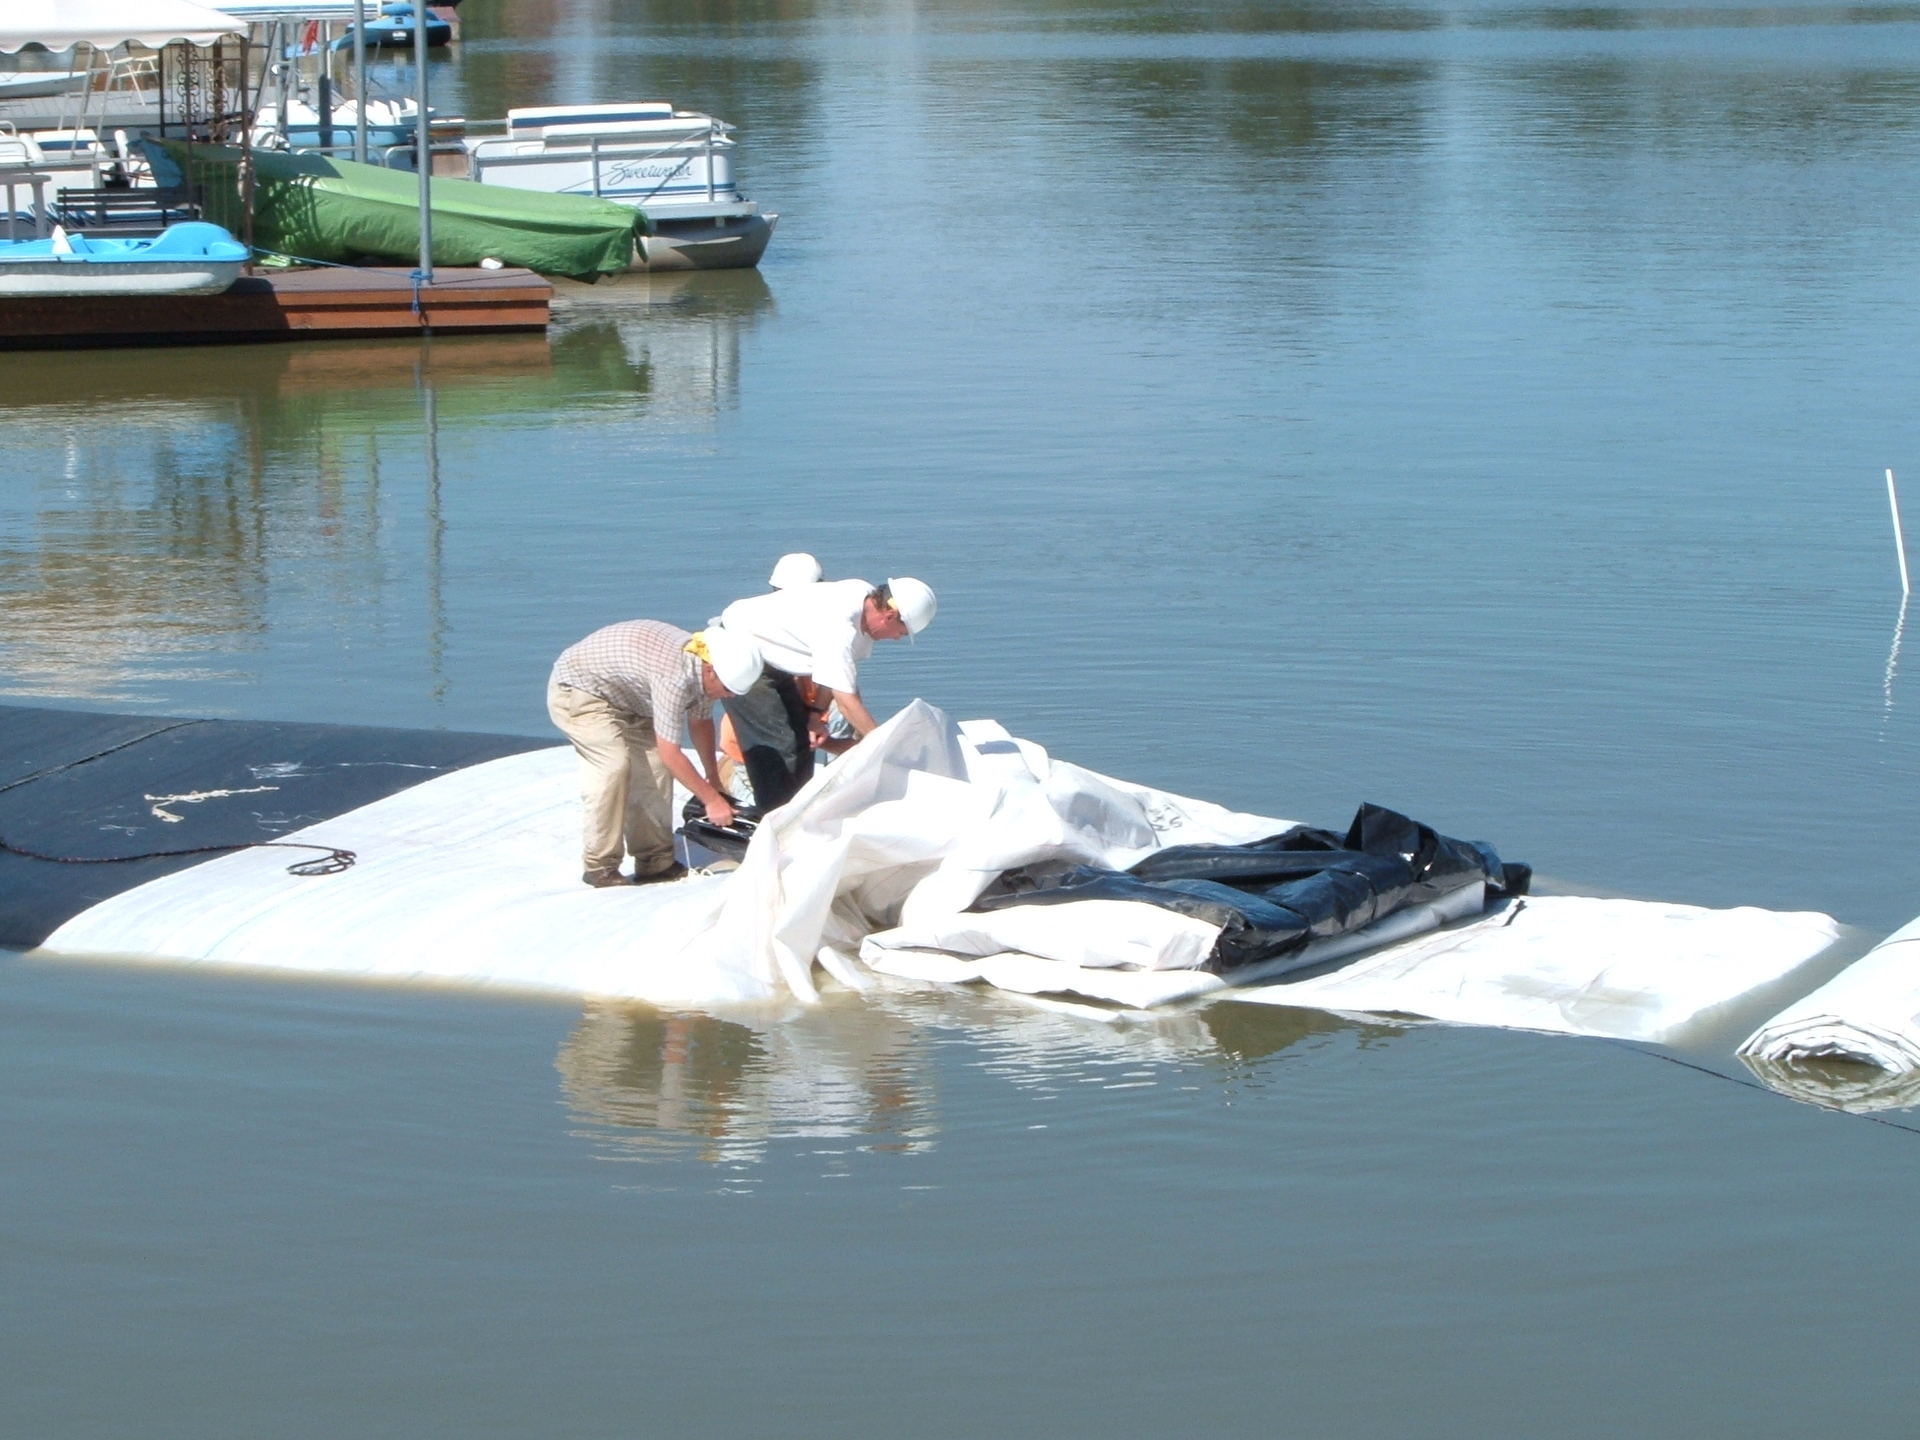
12.) Making the connection may take a bit of shuffling around, with the material, to get the two dams lined up.
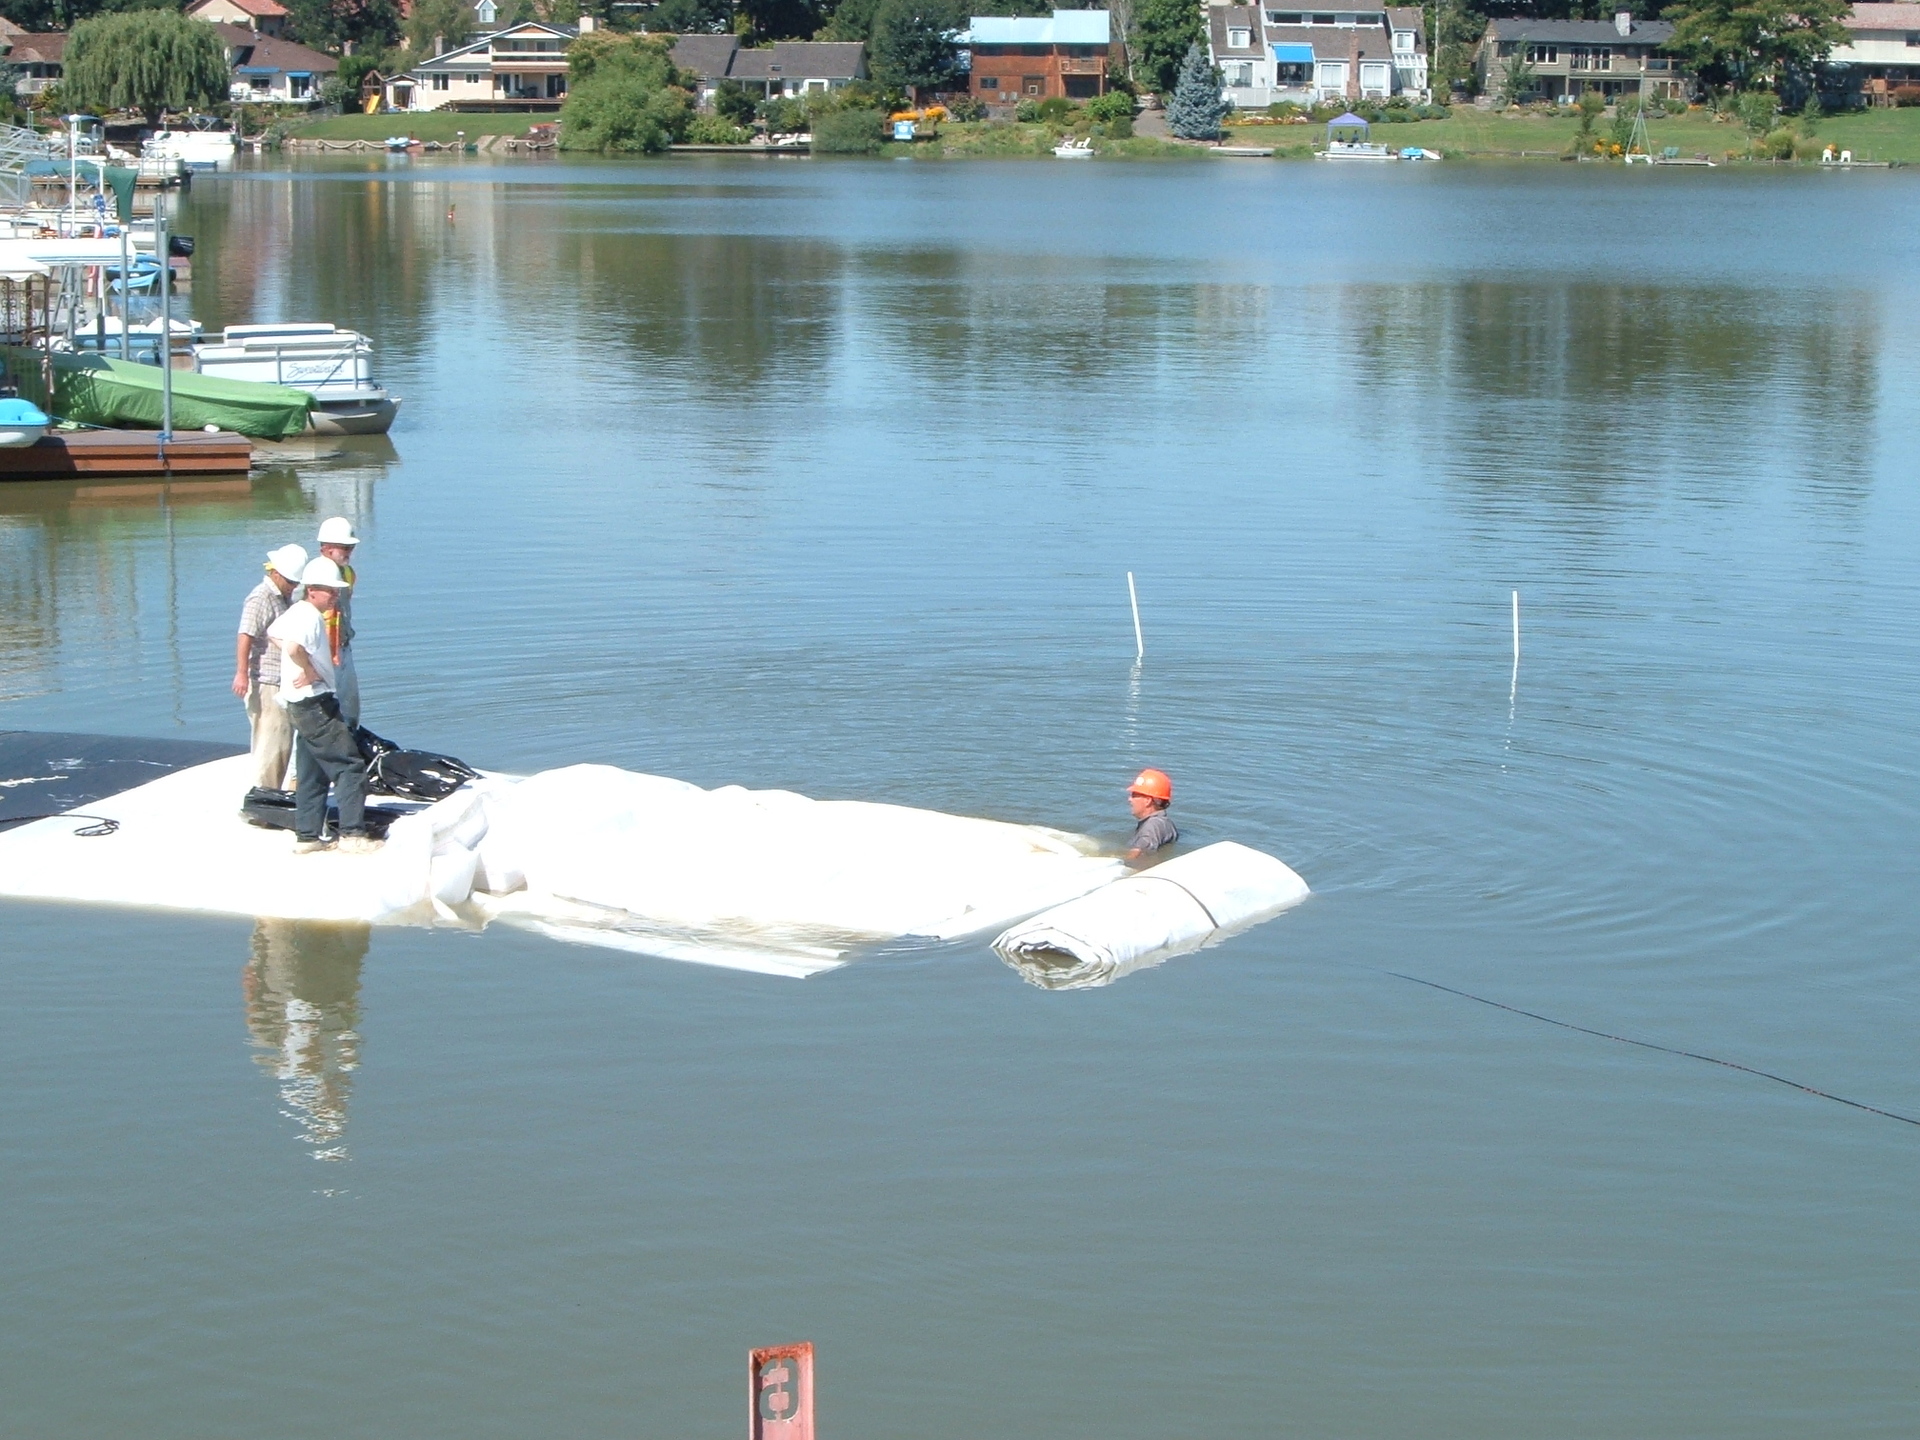
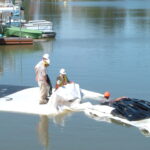
13.) Workers needed to pull the fill-tubes (of the second AquaDam) up on top of the first AquaDam a bit farther. Attention should be paid when making connections with an AquaDam, because a poor connection may lead to seepage or worse.
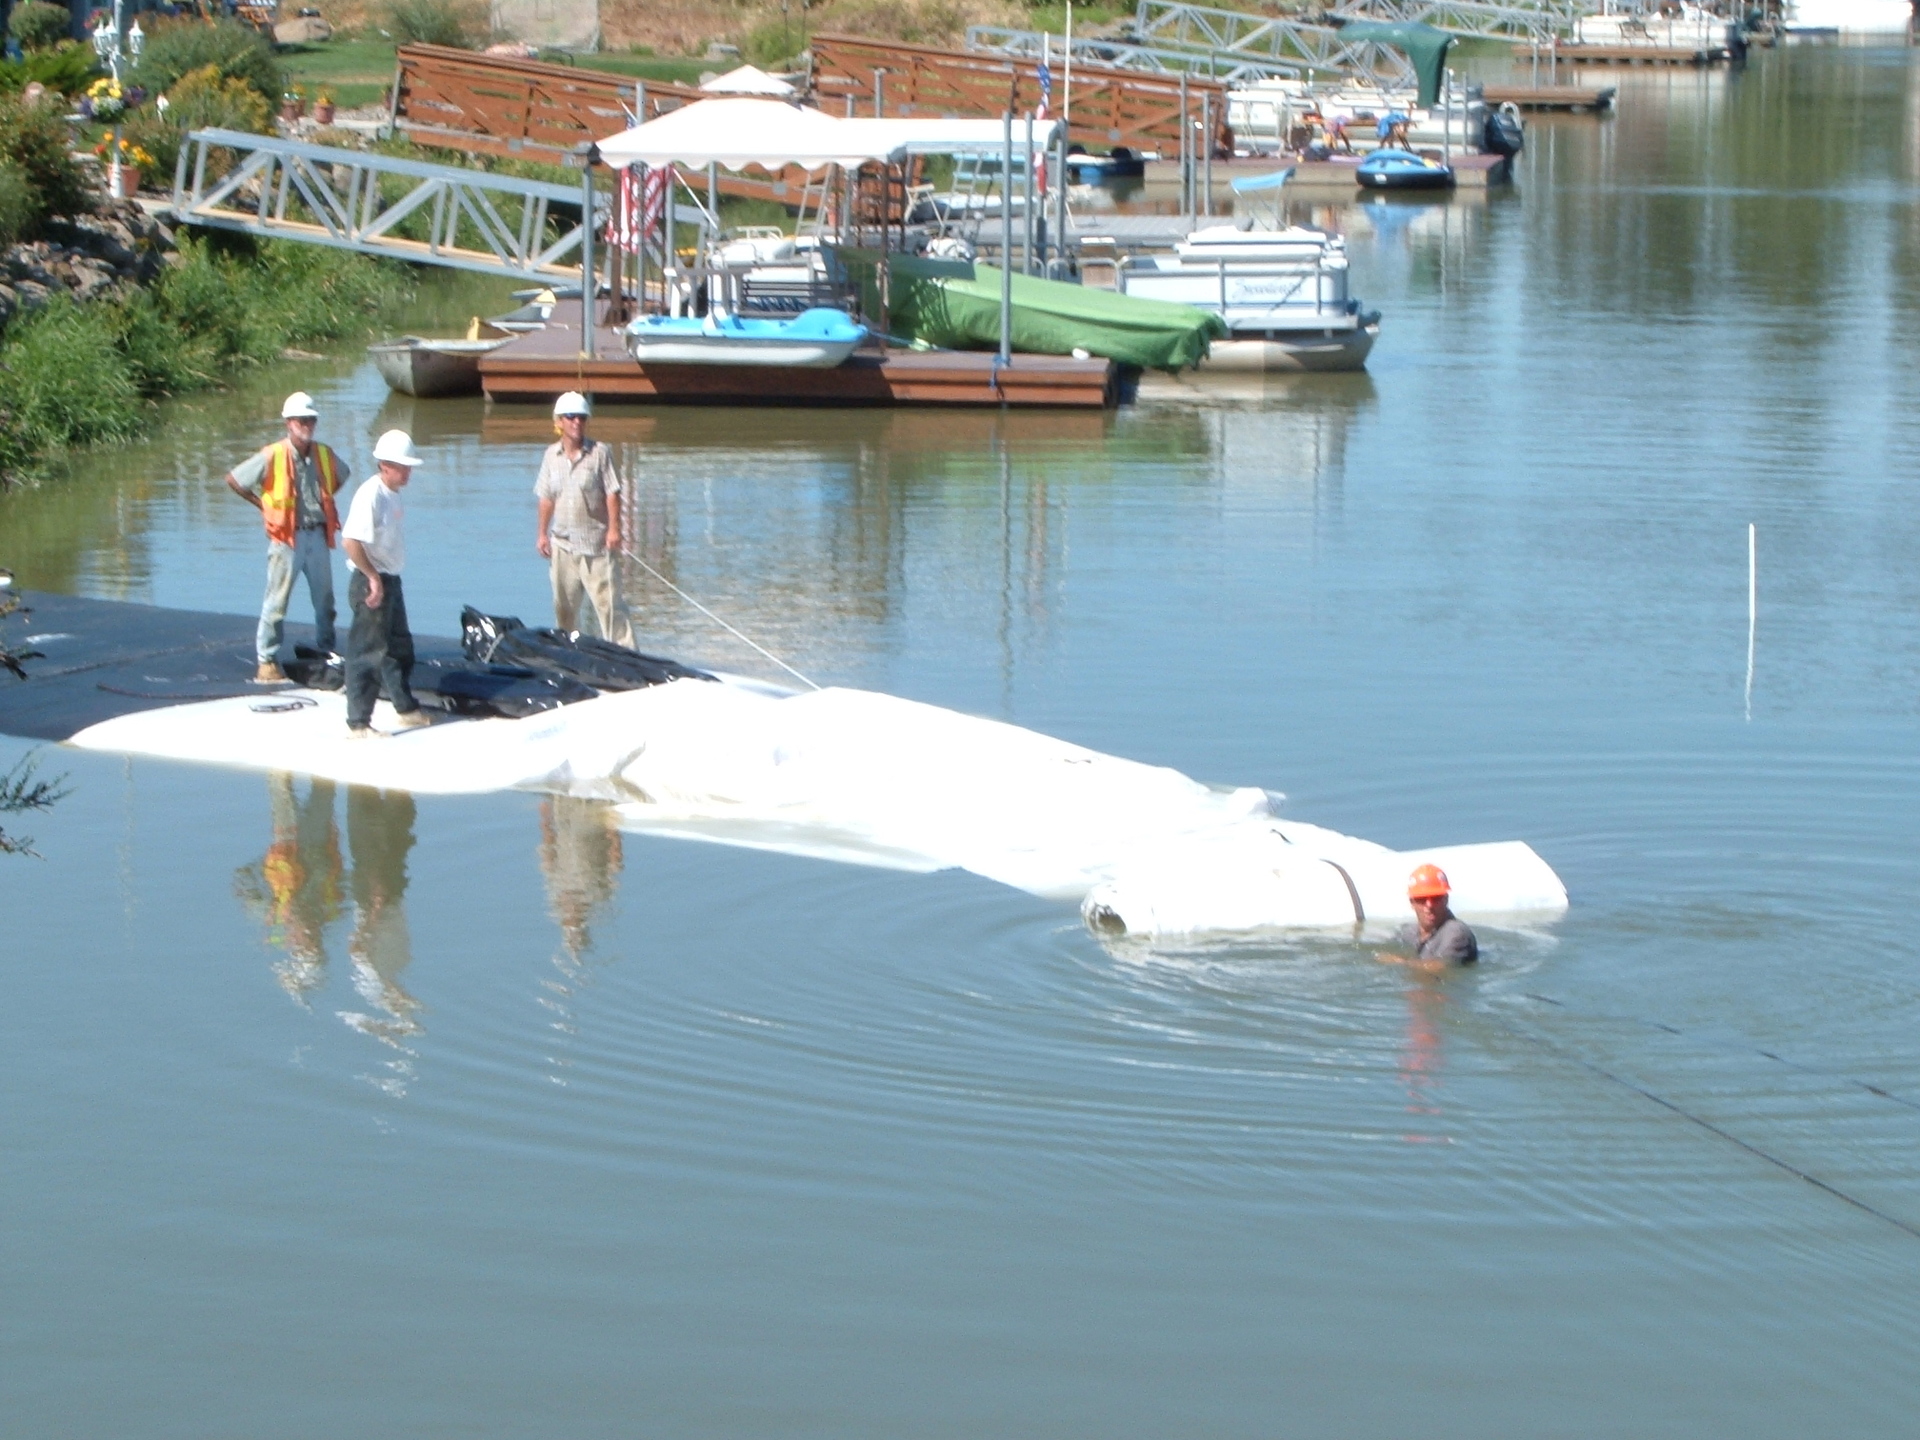
14.) The second AquaDam is being unrolled a few feet so that there will be enough material in the collar to make a better connection.
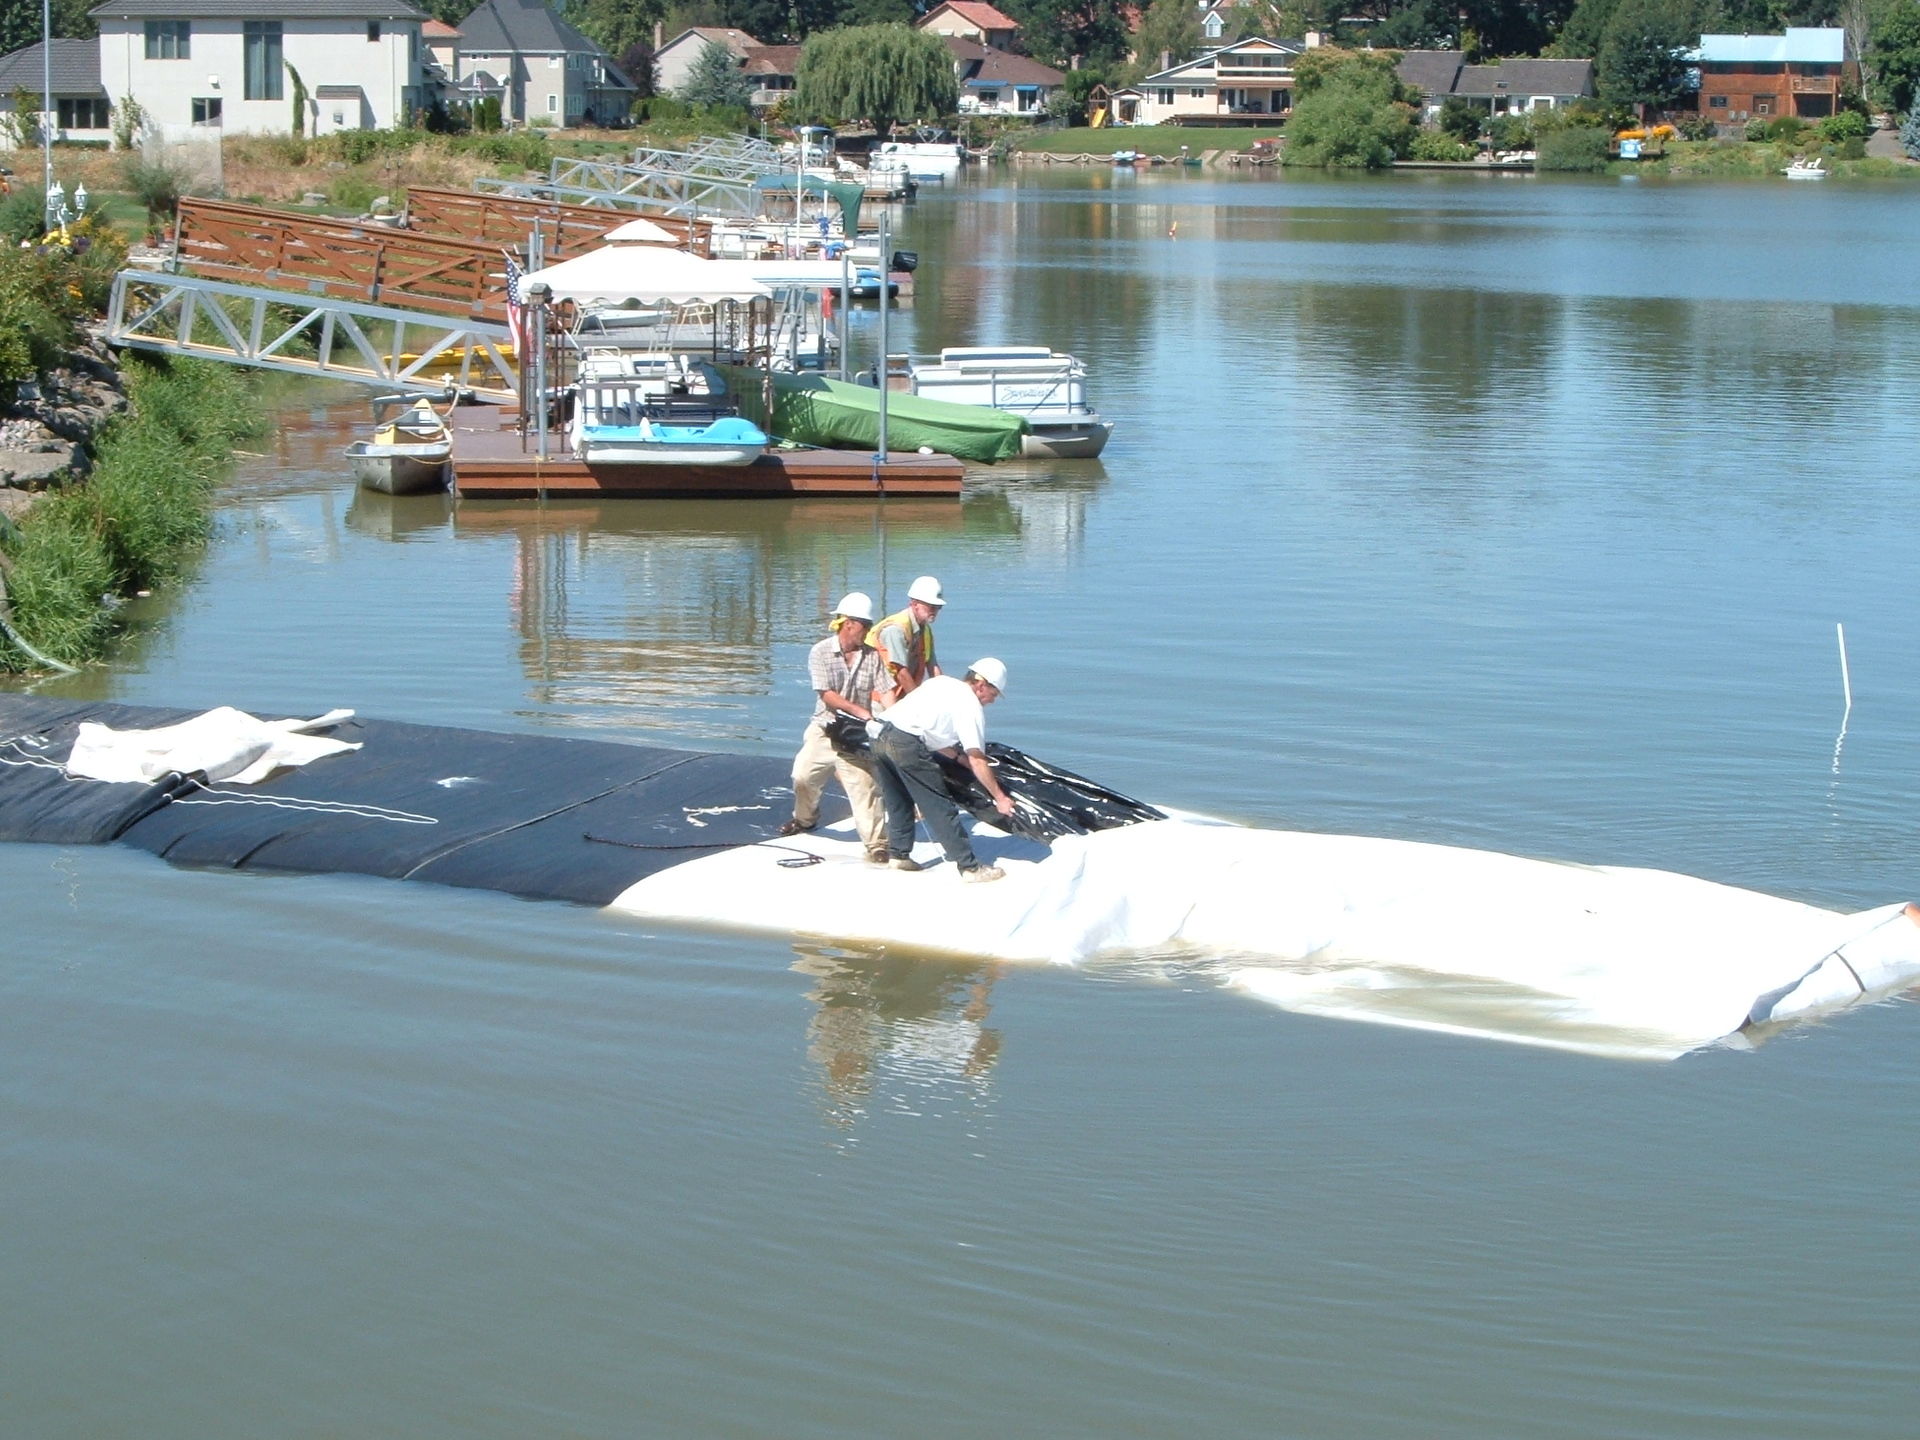
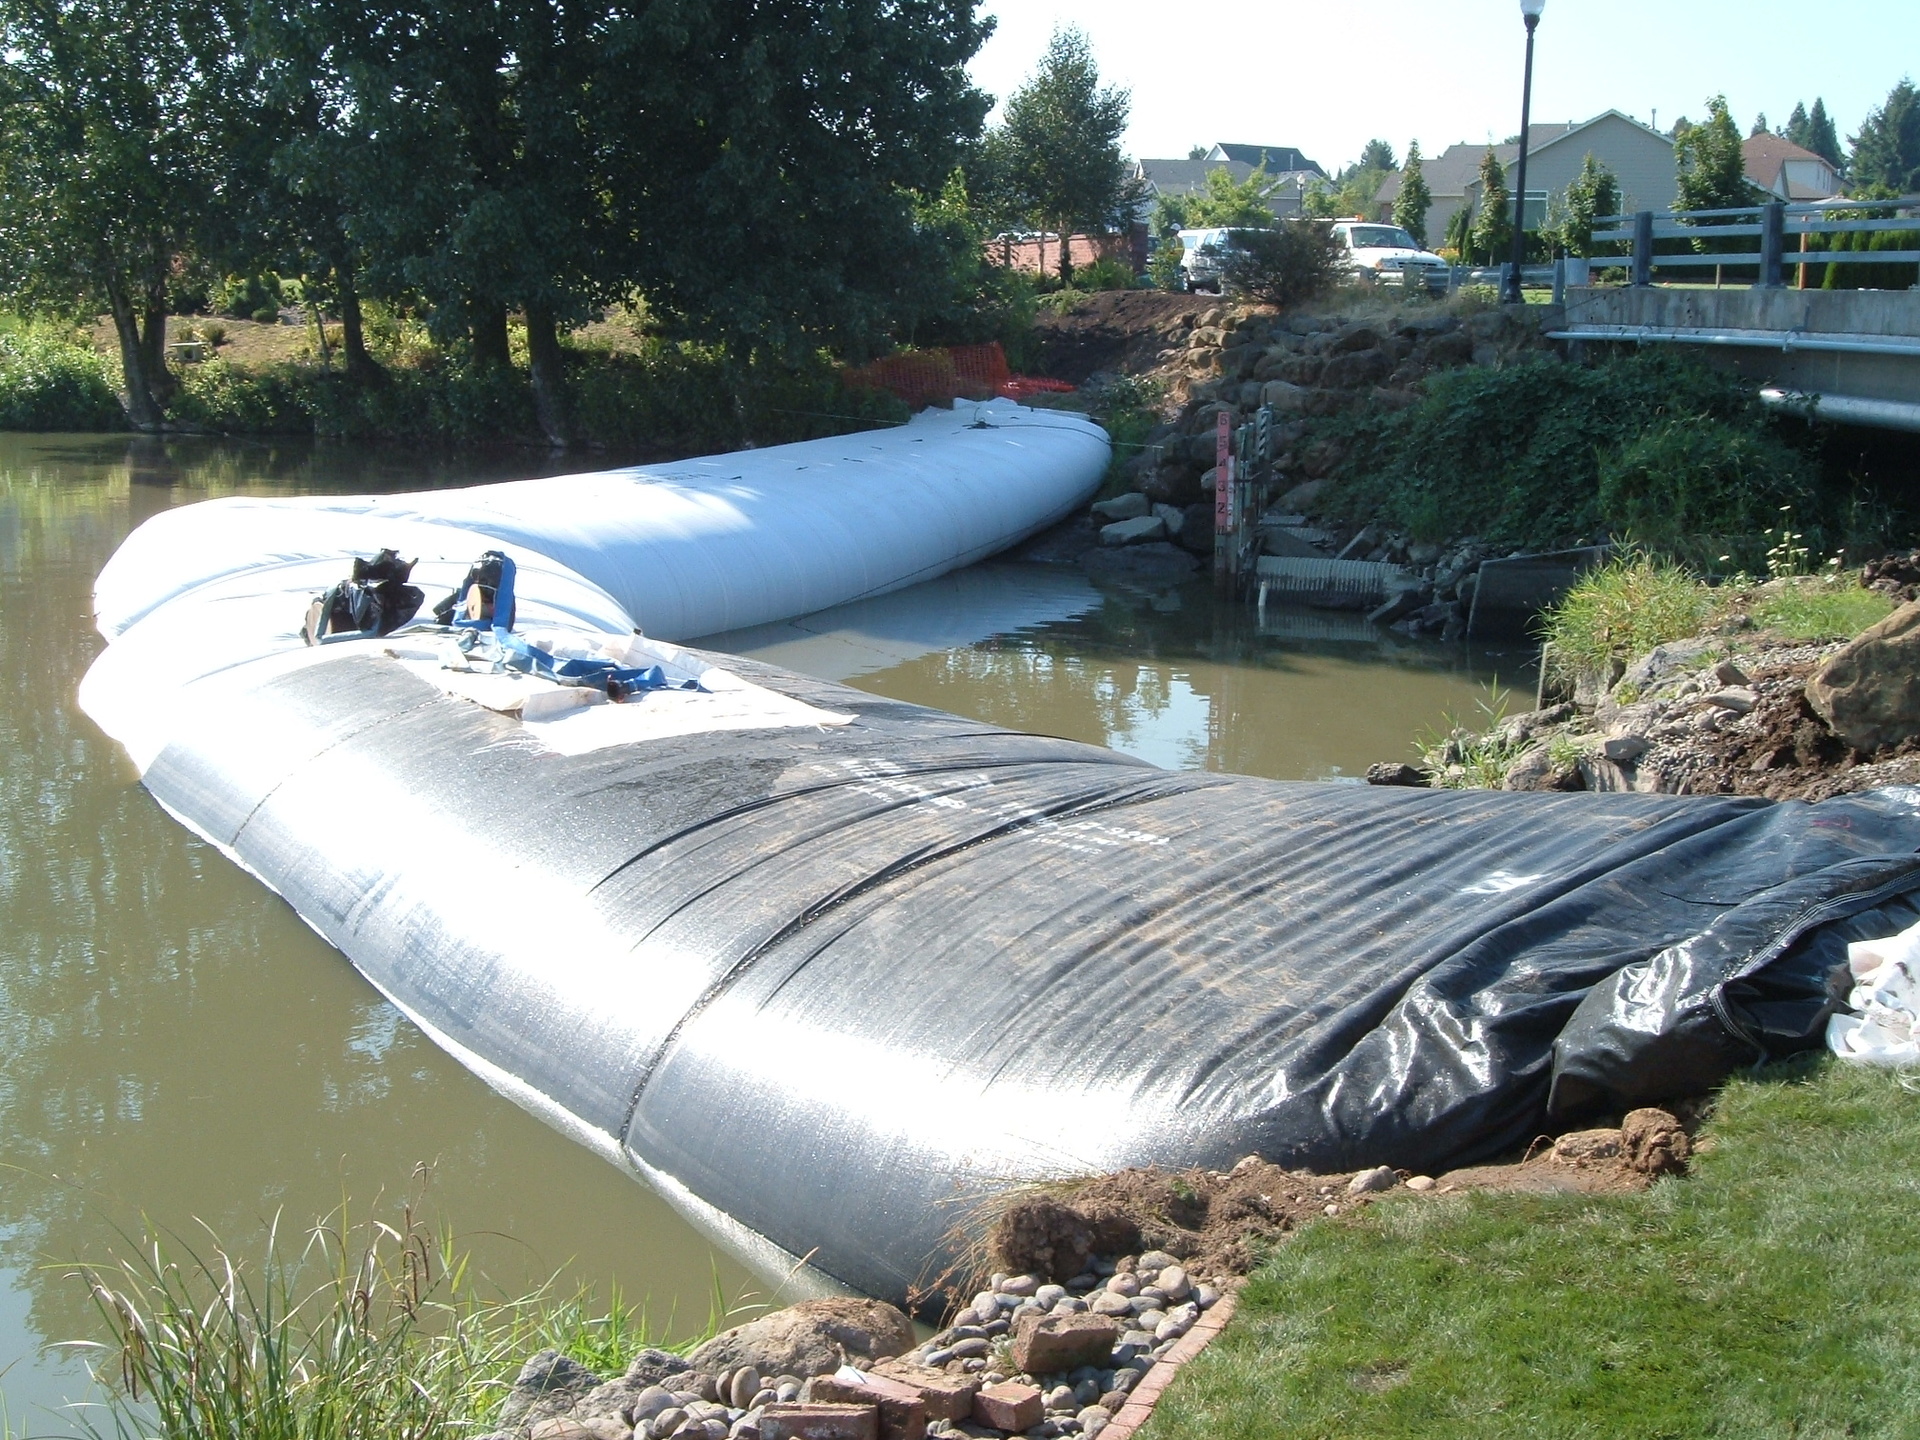
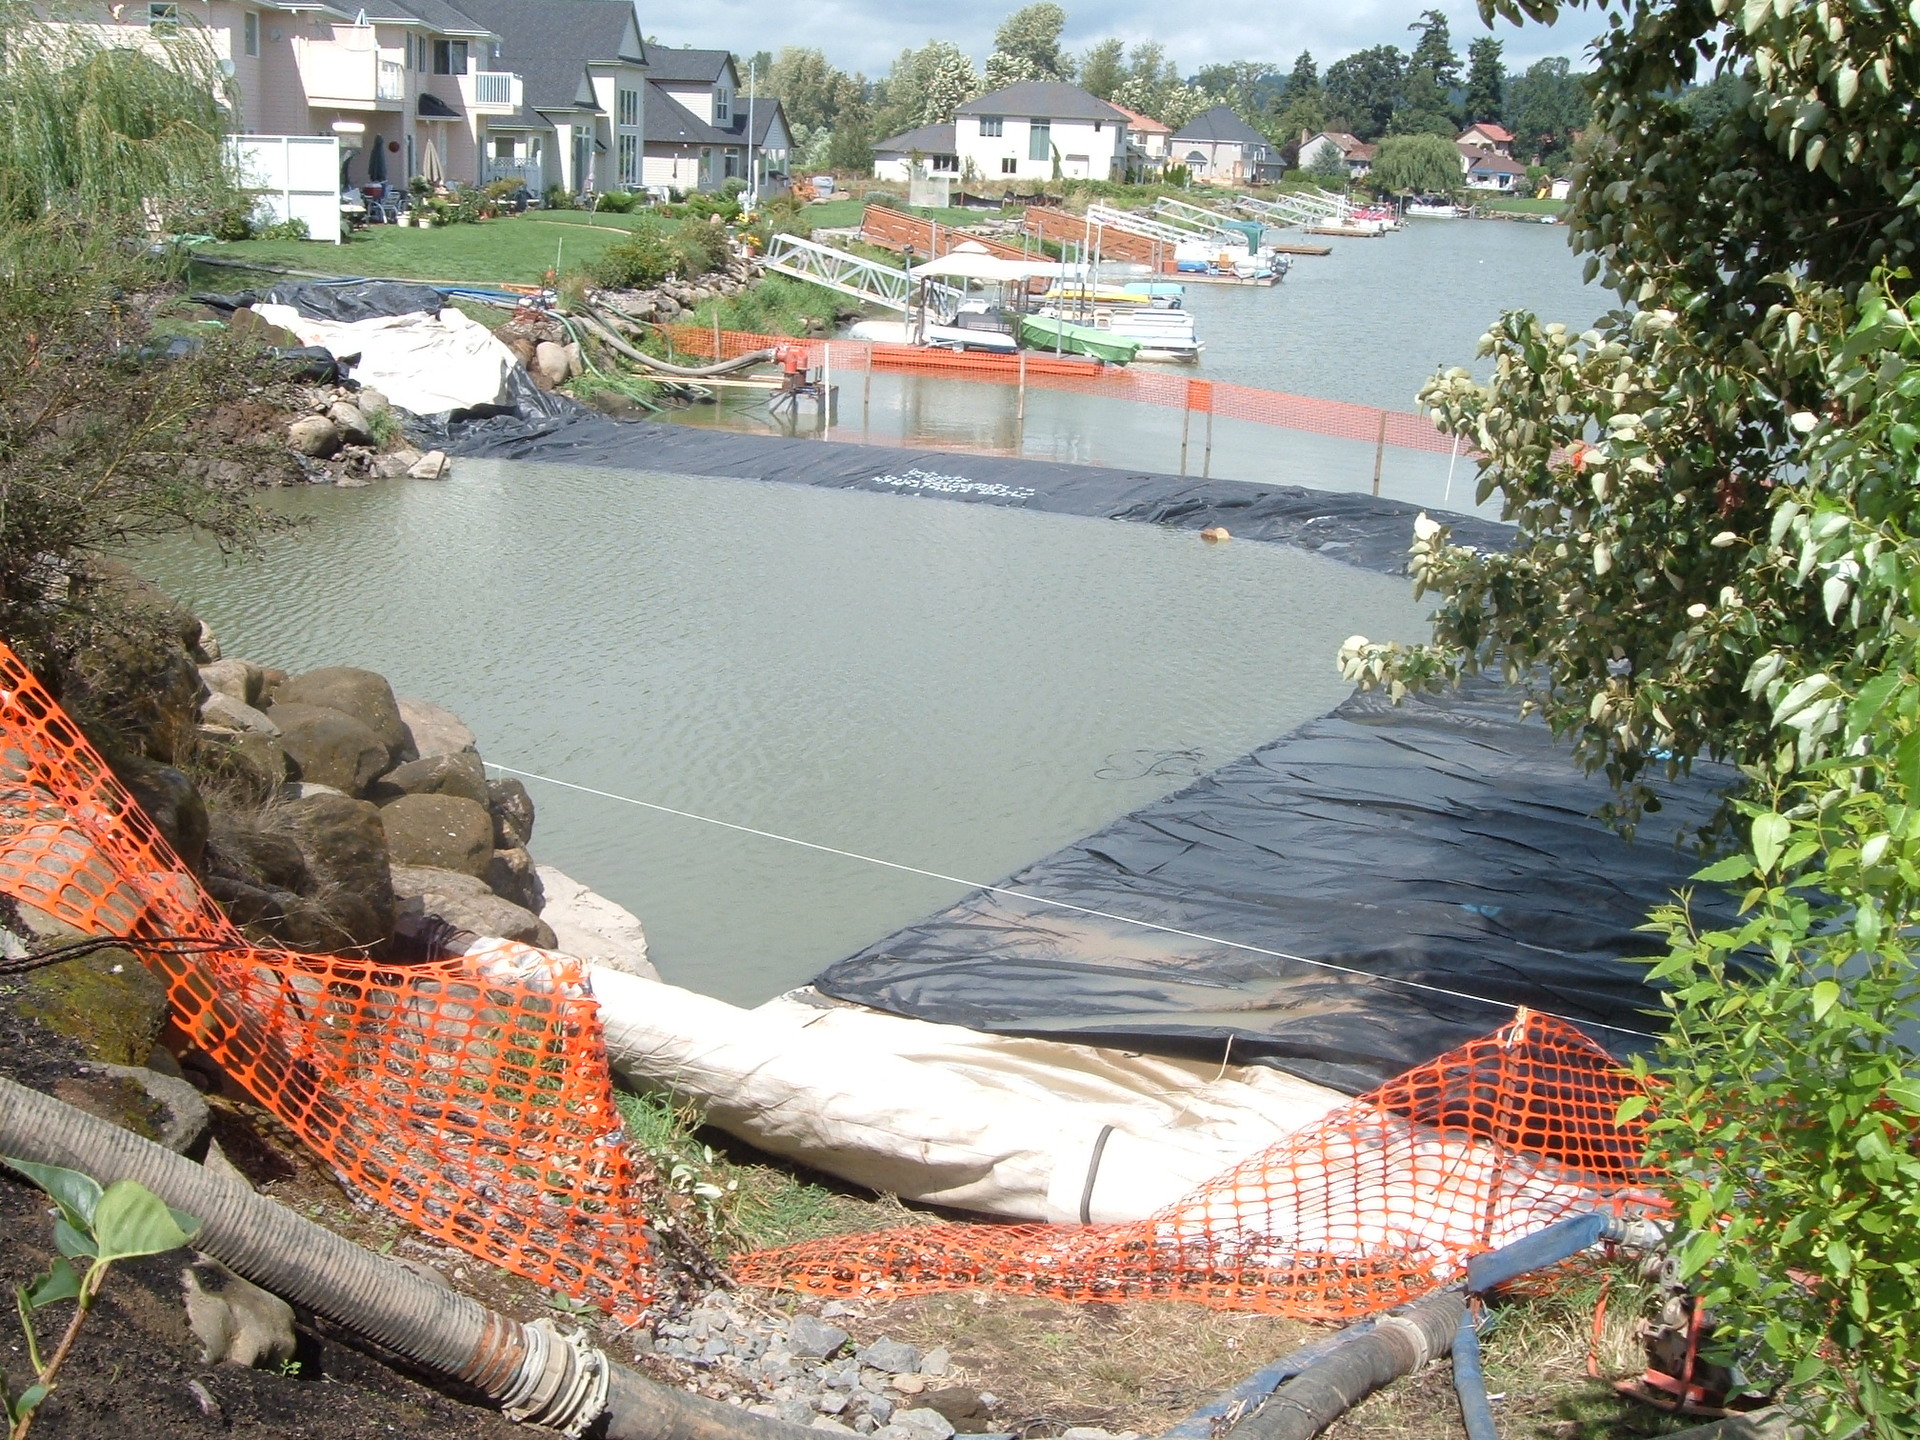
15.) The connection was made and now the second AquaDam is filling. Notice that the first AquaDam now provides a starting bank for the second AquaDam and a work platform.
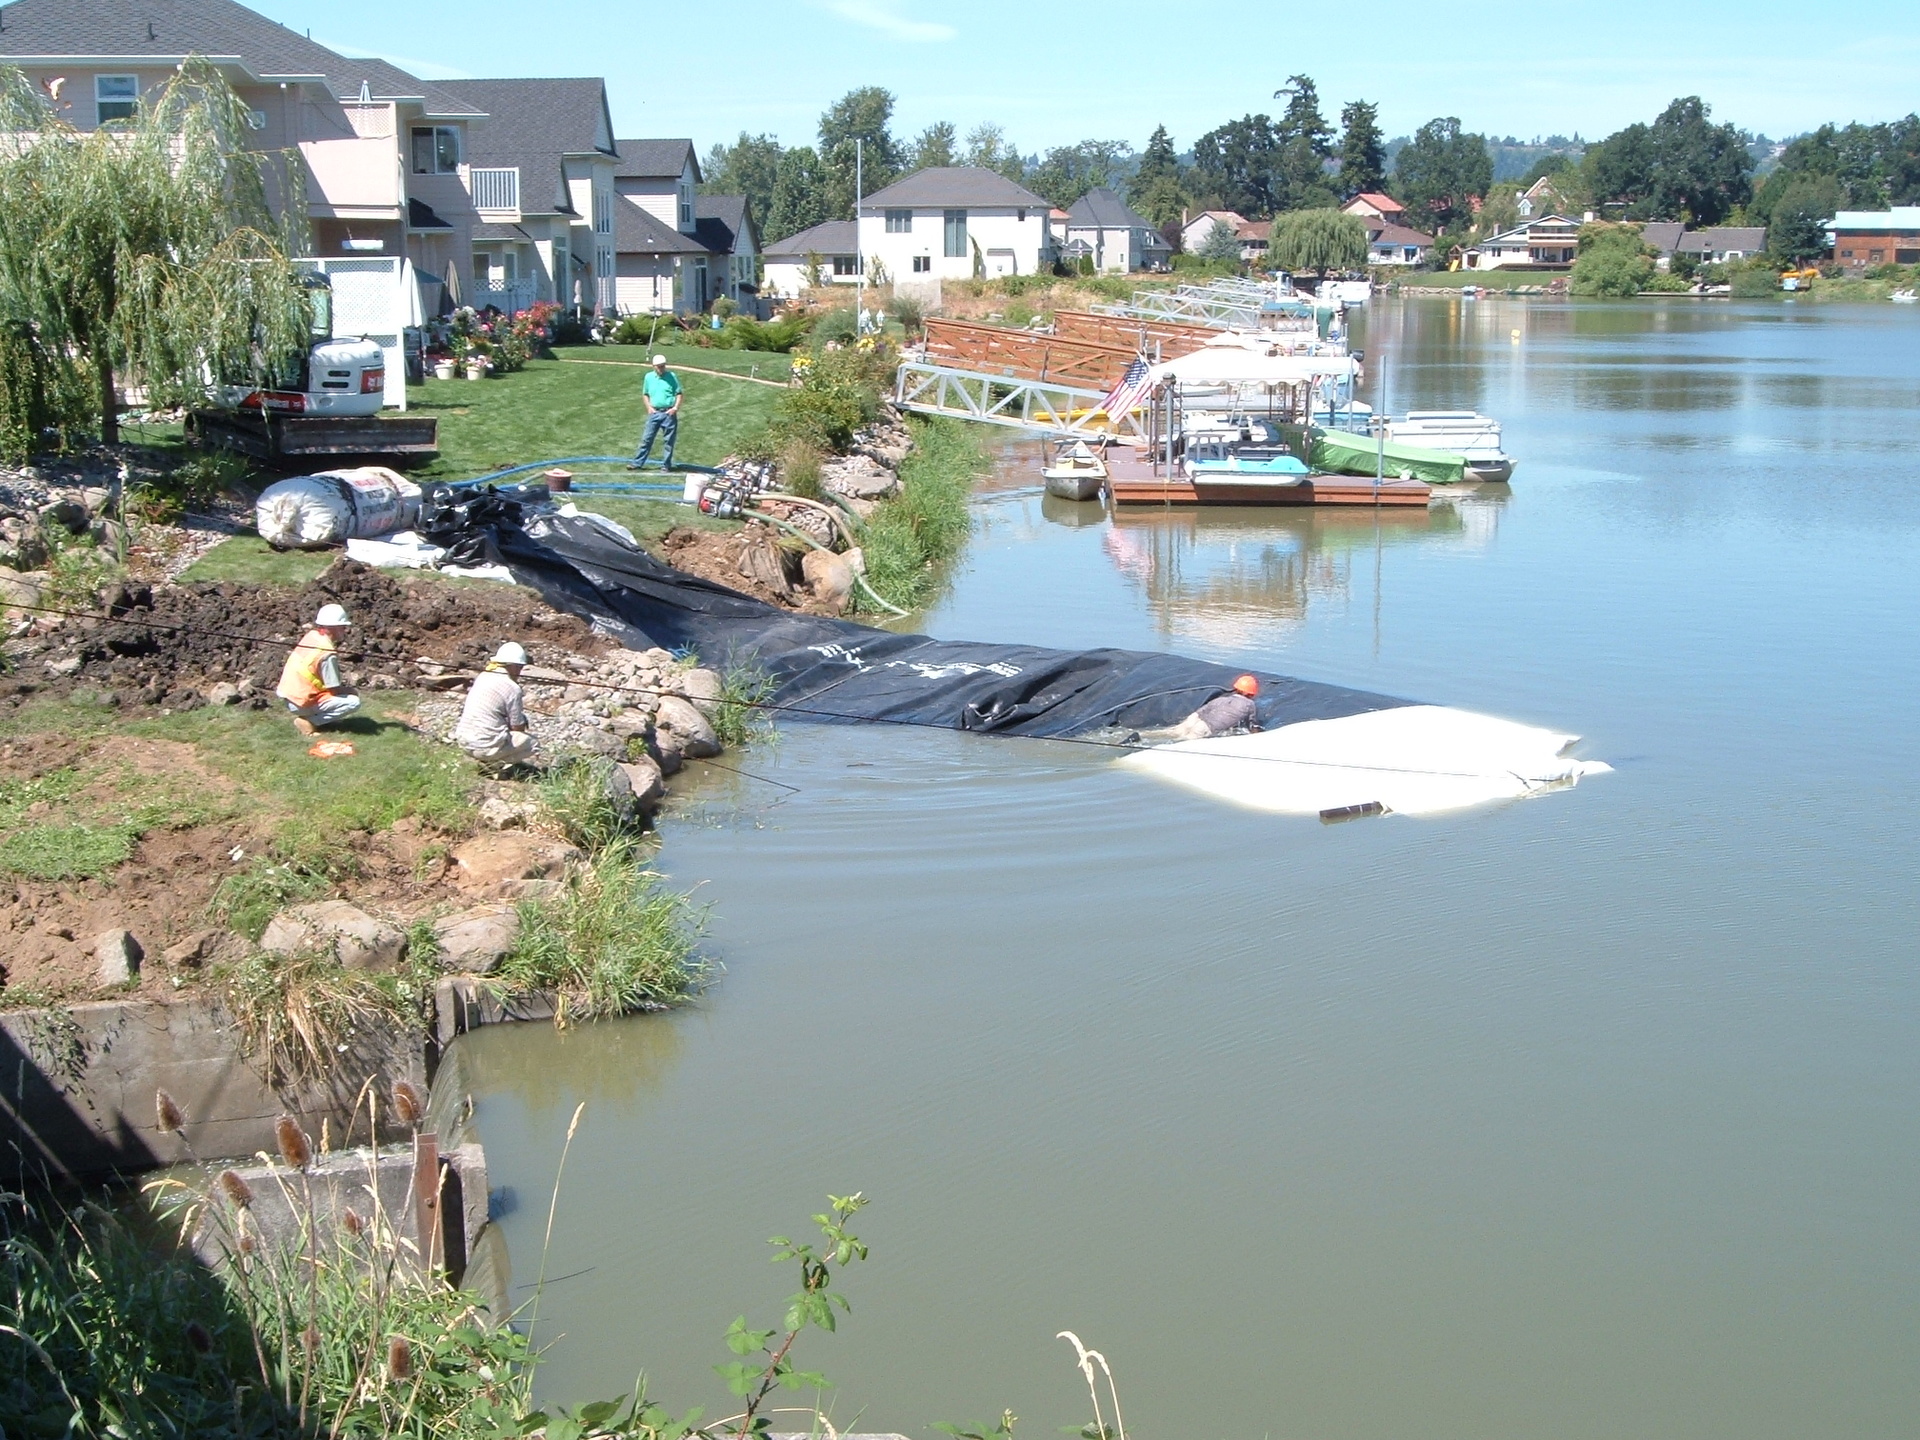
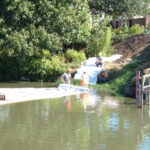
16.) The second AquaDam has almost reached the ending bank.
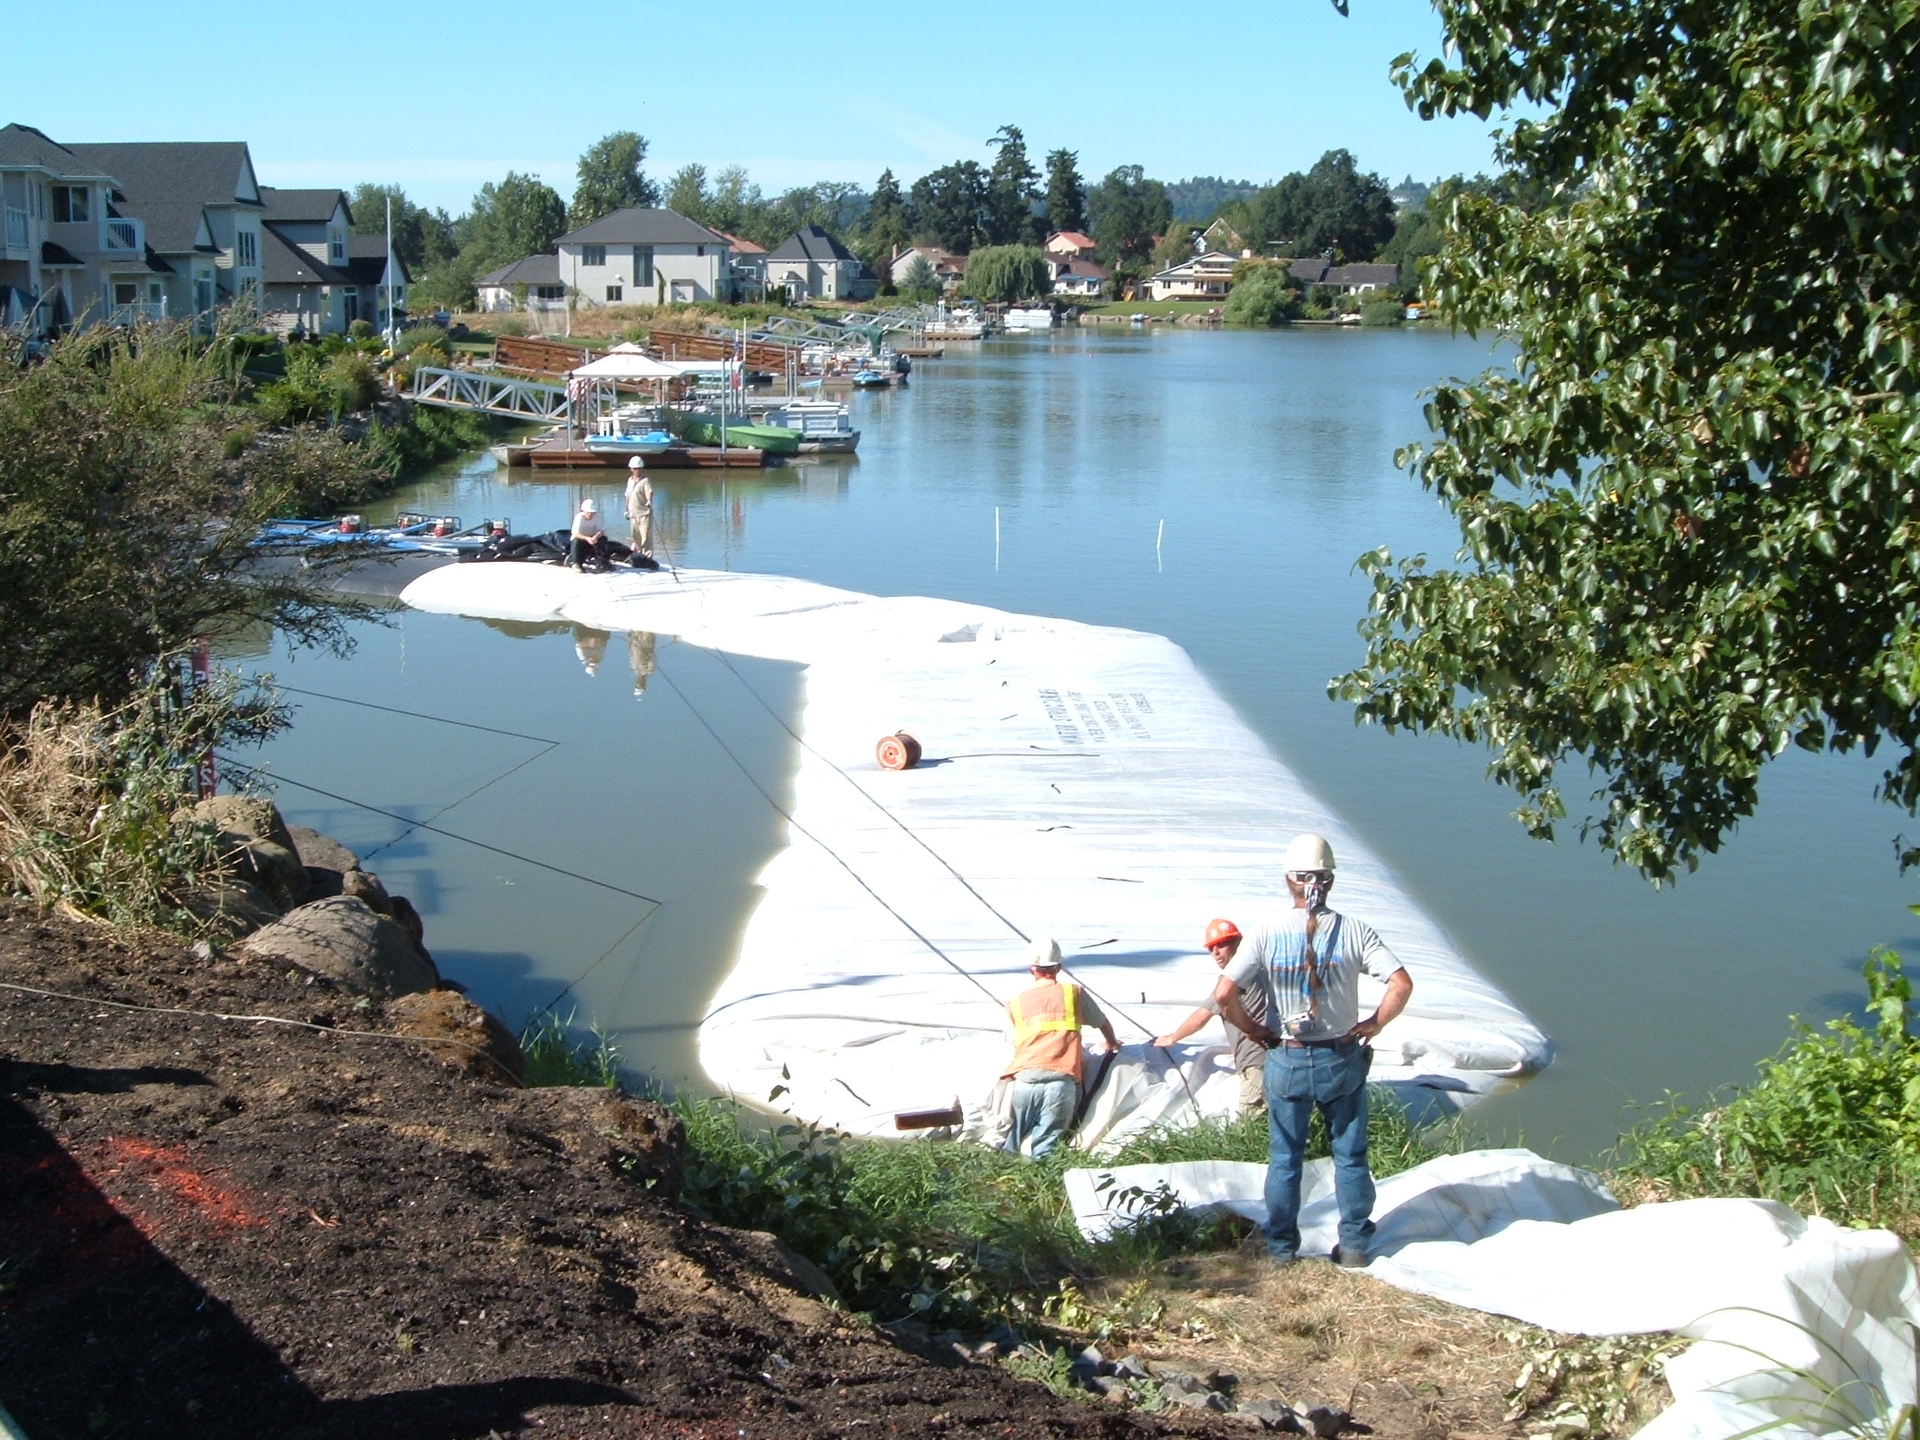
17.) Workers use ropes to at various angles to position the AquaDam it the desired location.
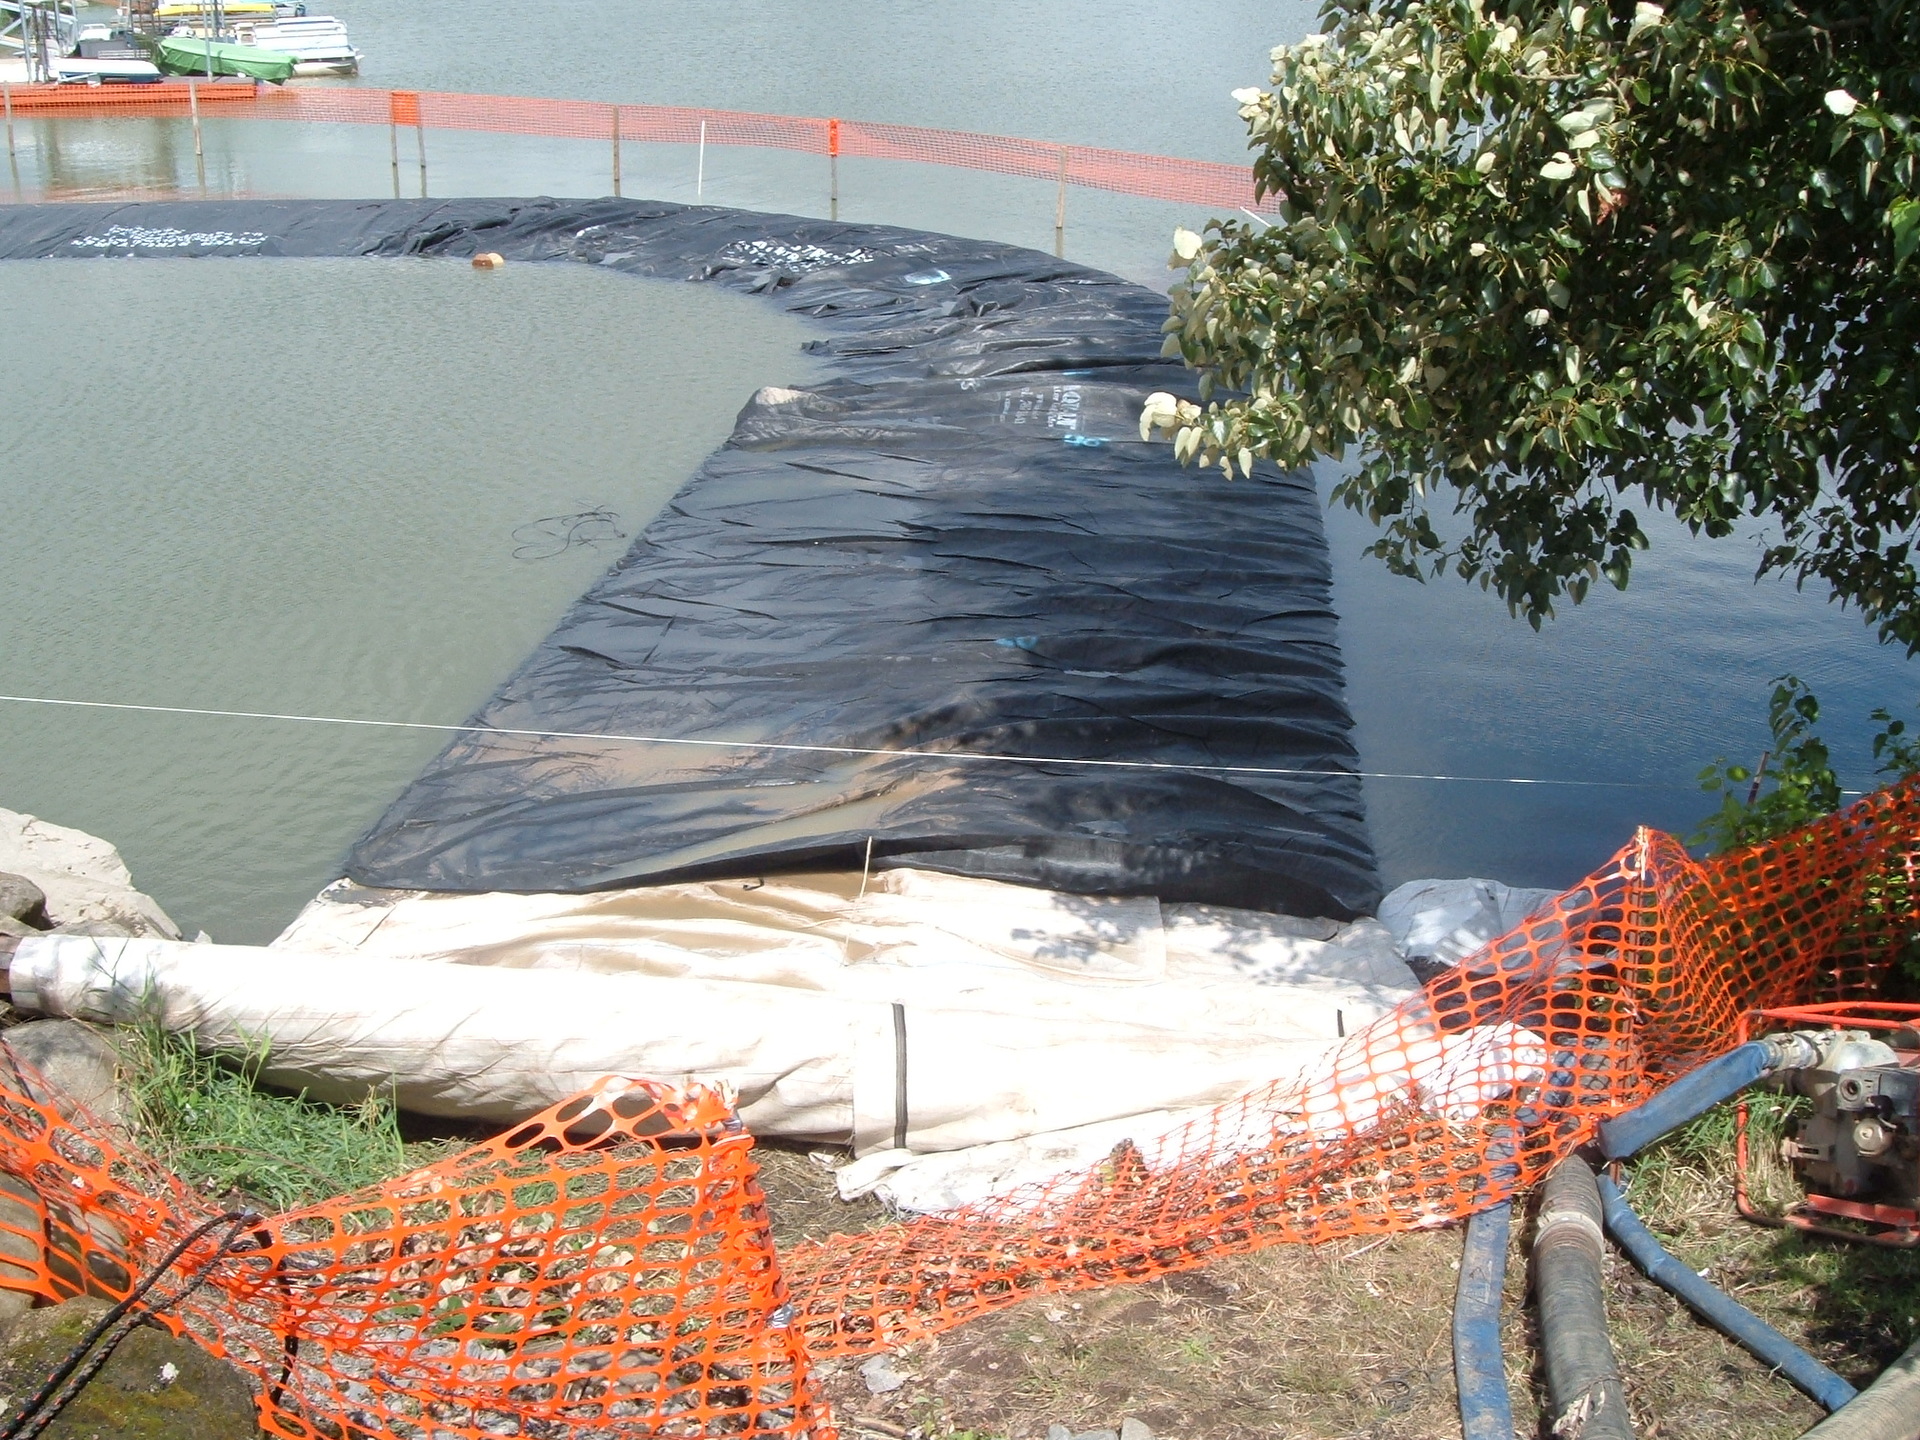
18.) The closed end of the AquaDam has reached the ending bank and now the unit needs to be filled to its maximum height.
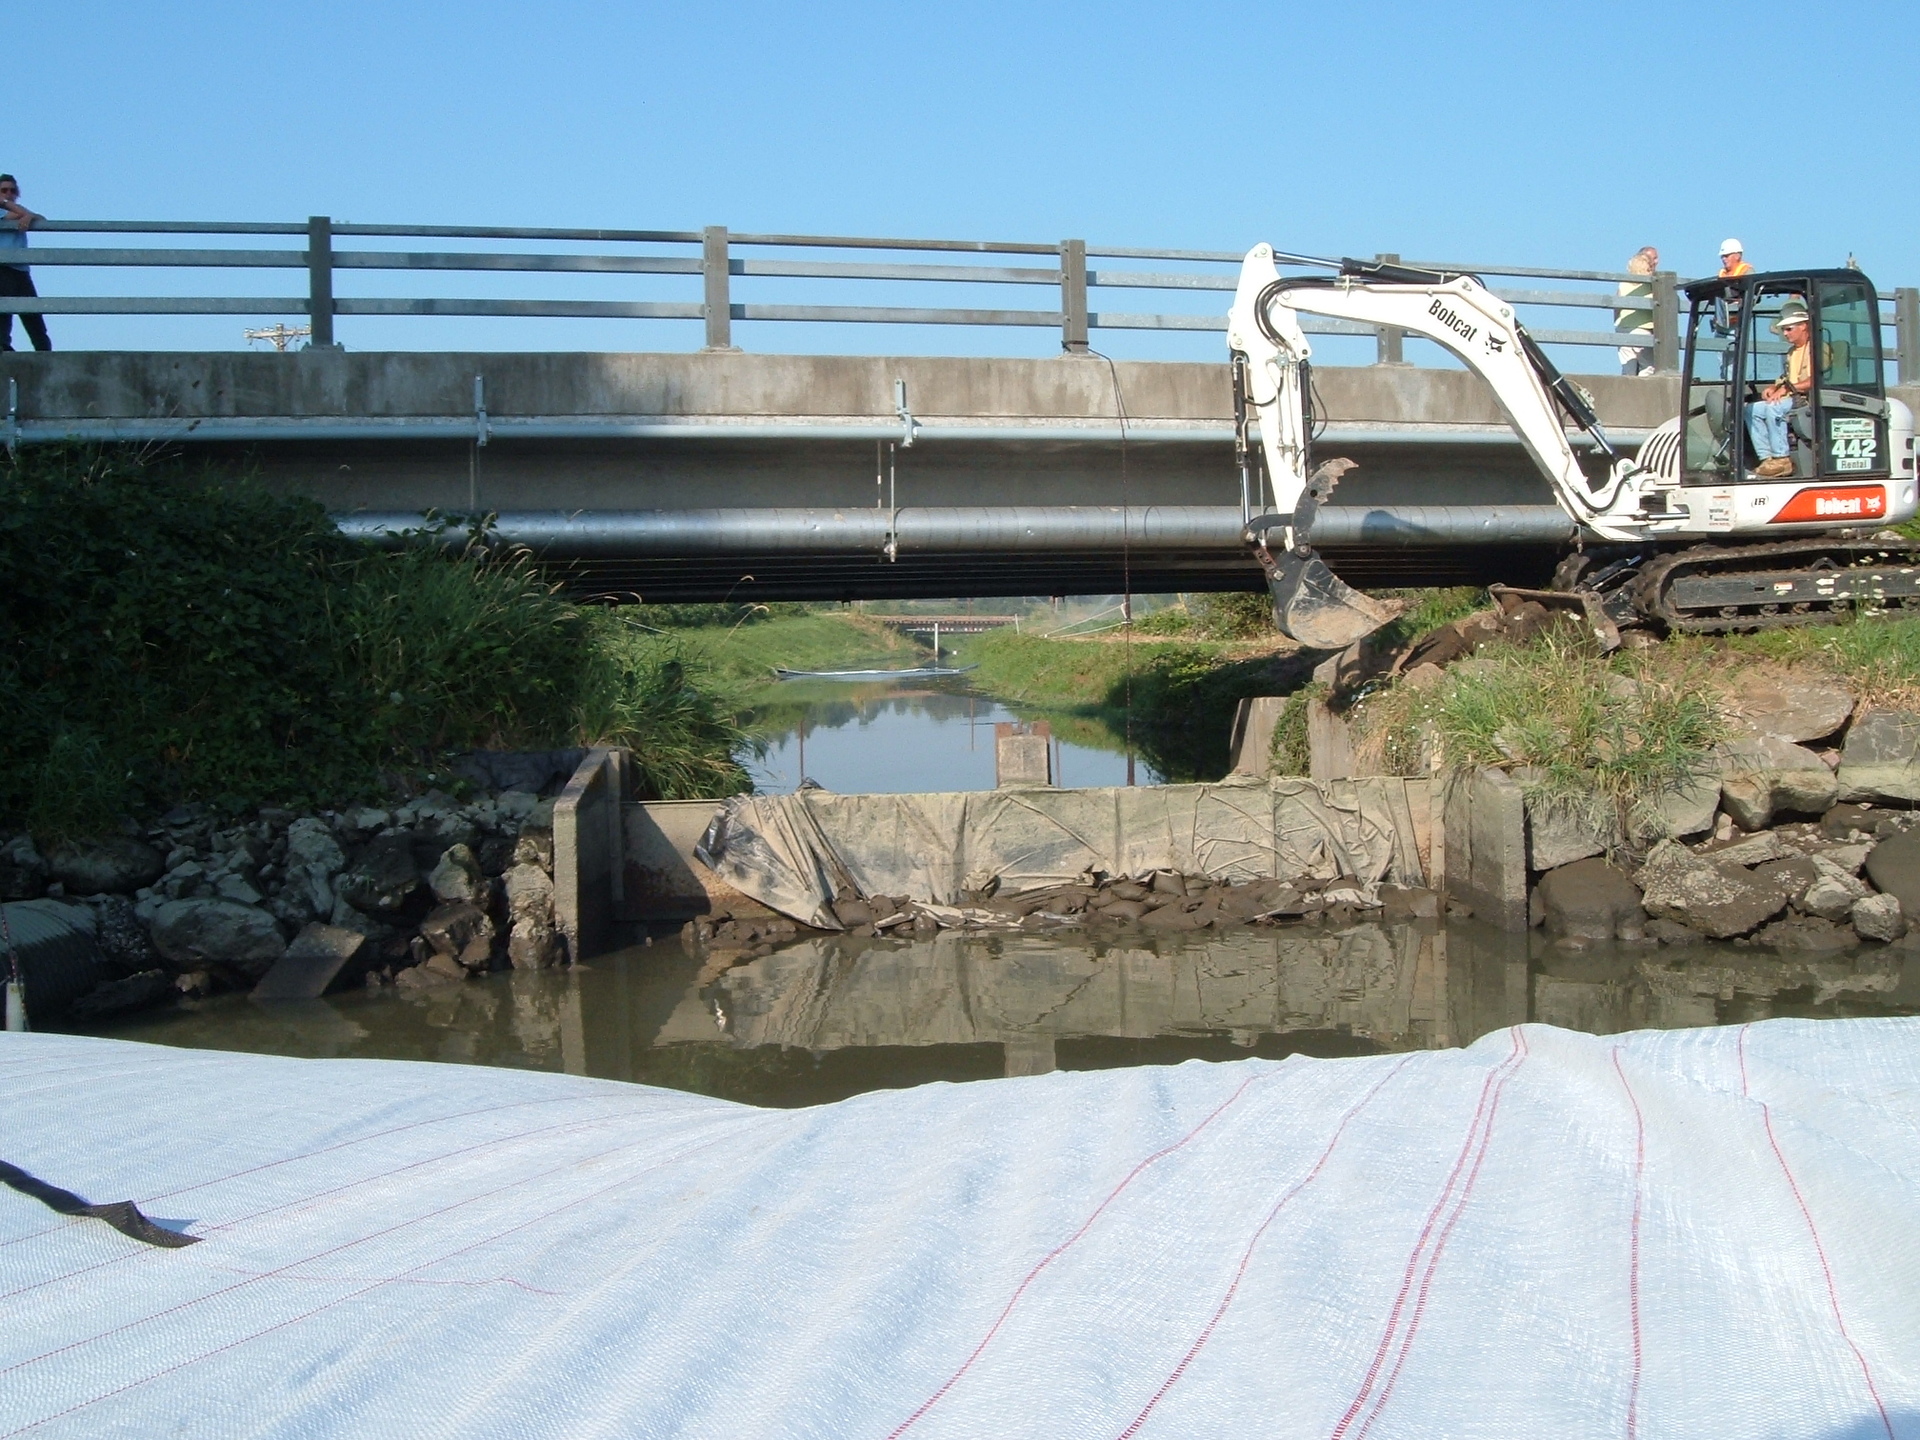
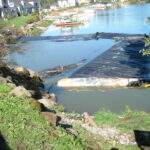
19.) Looking downstream at the weir that will be removed.
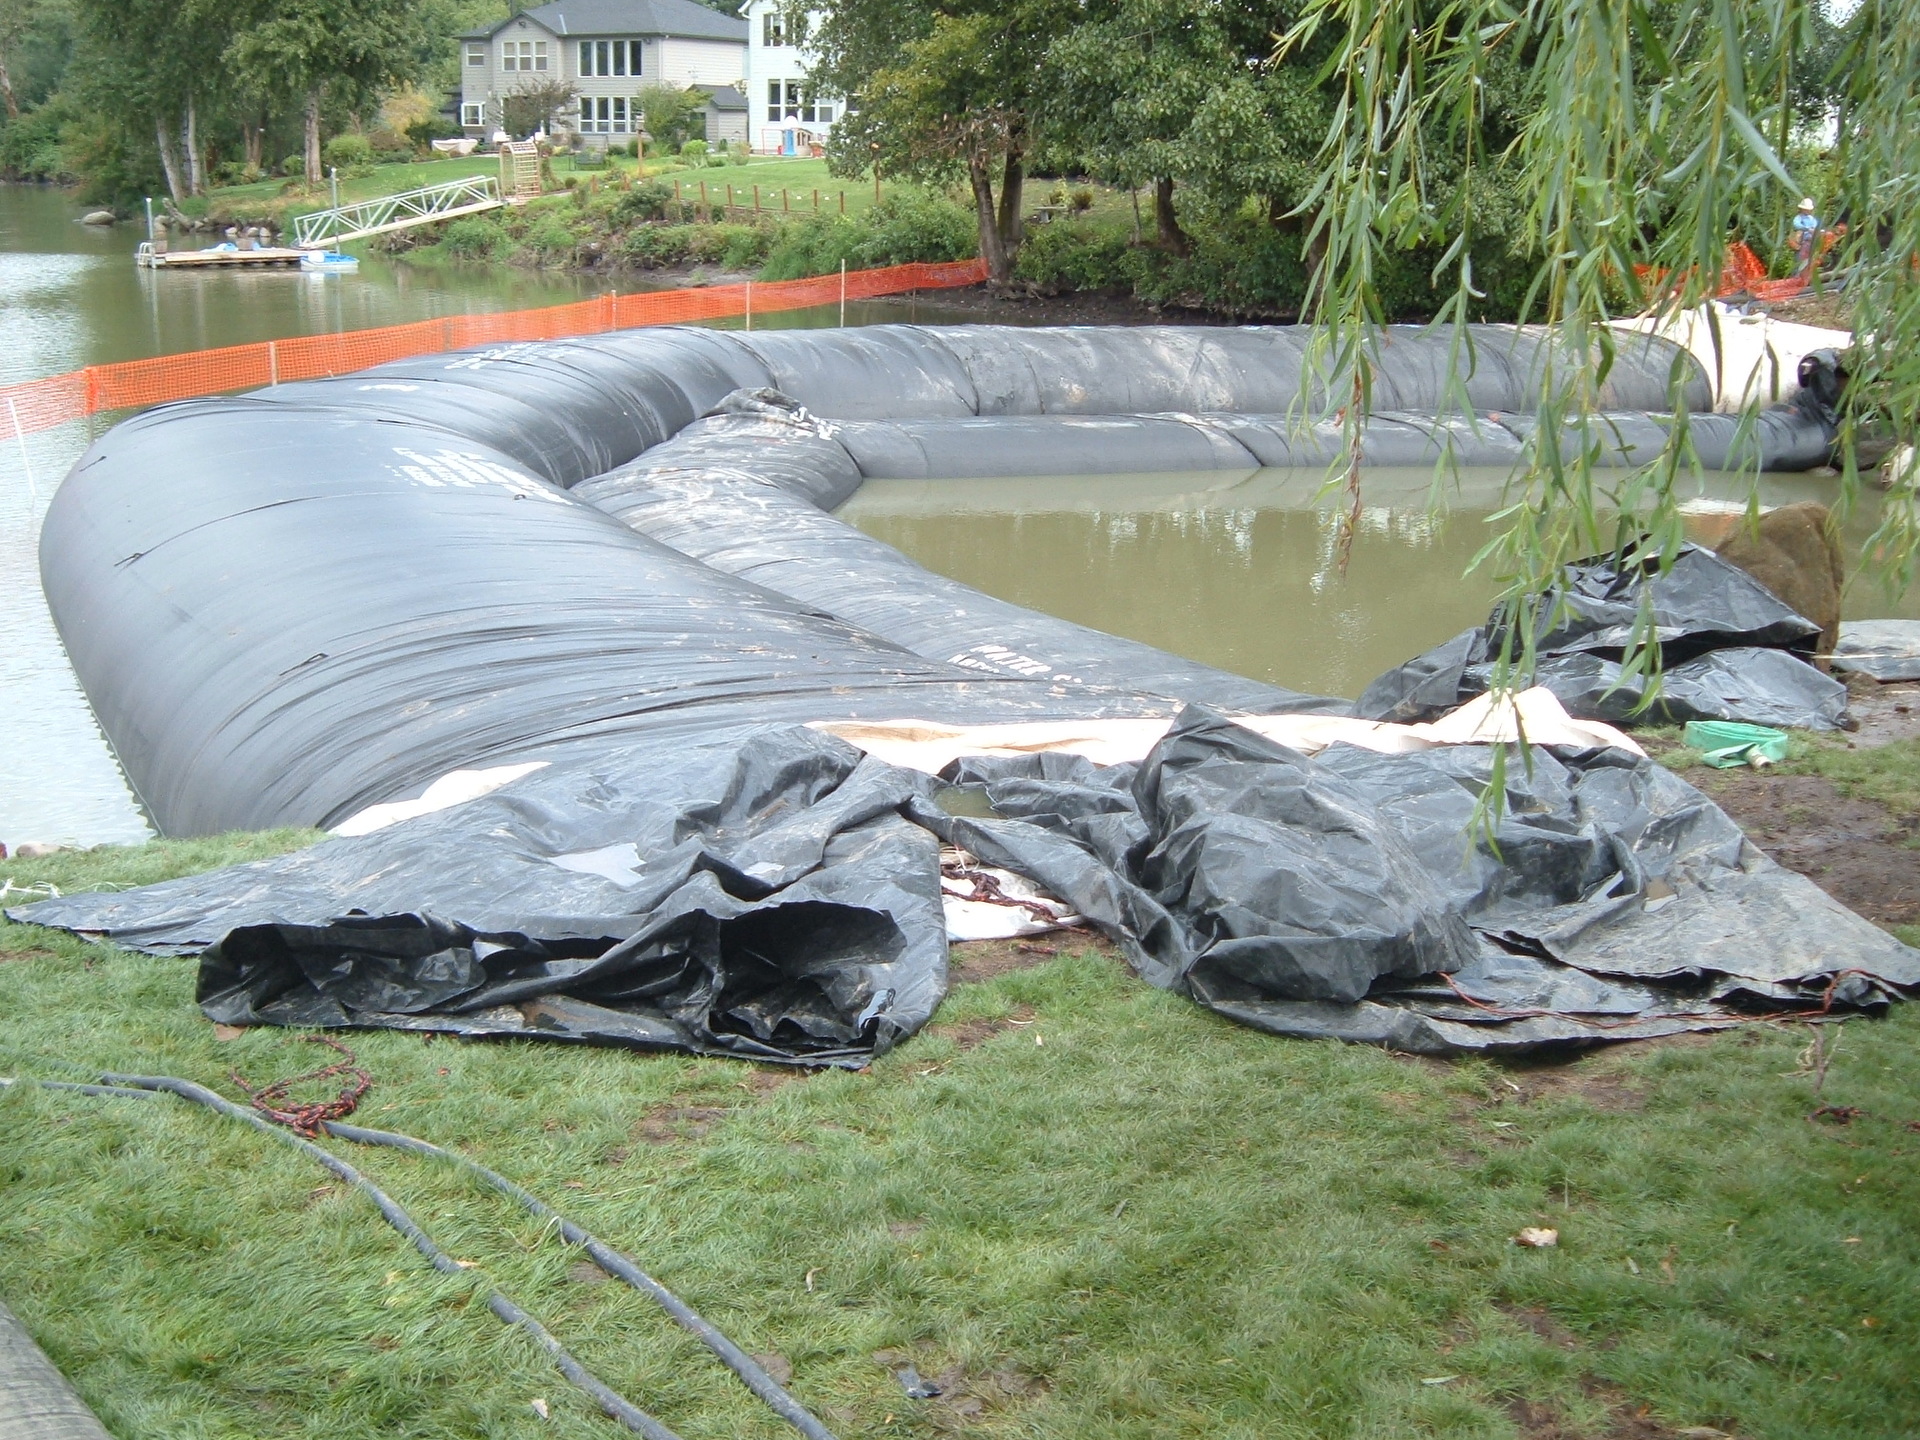
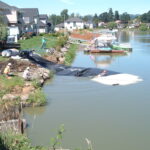
20.) The two AquaDam are nearly full, and the work area has already been partially dewatered.

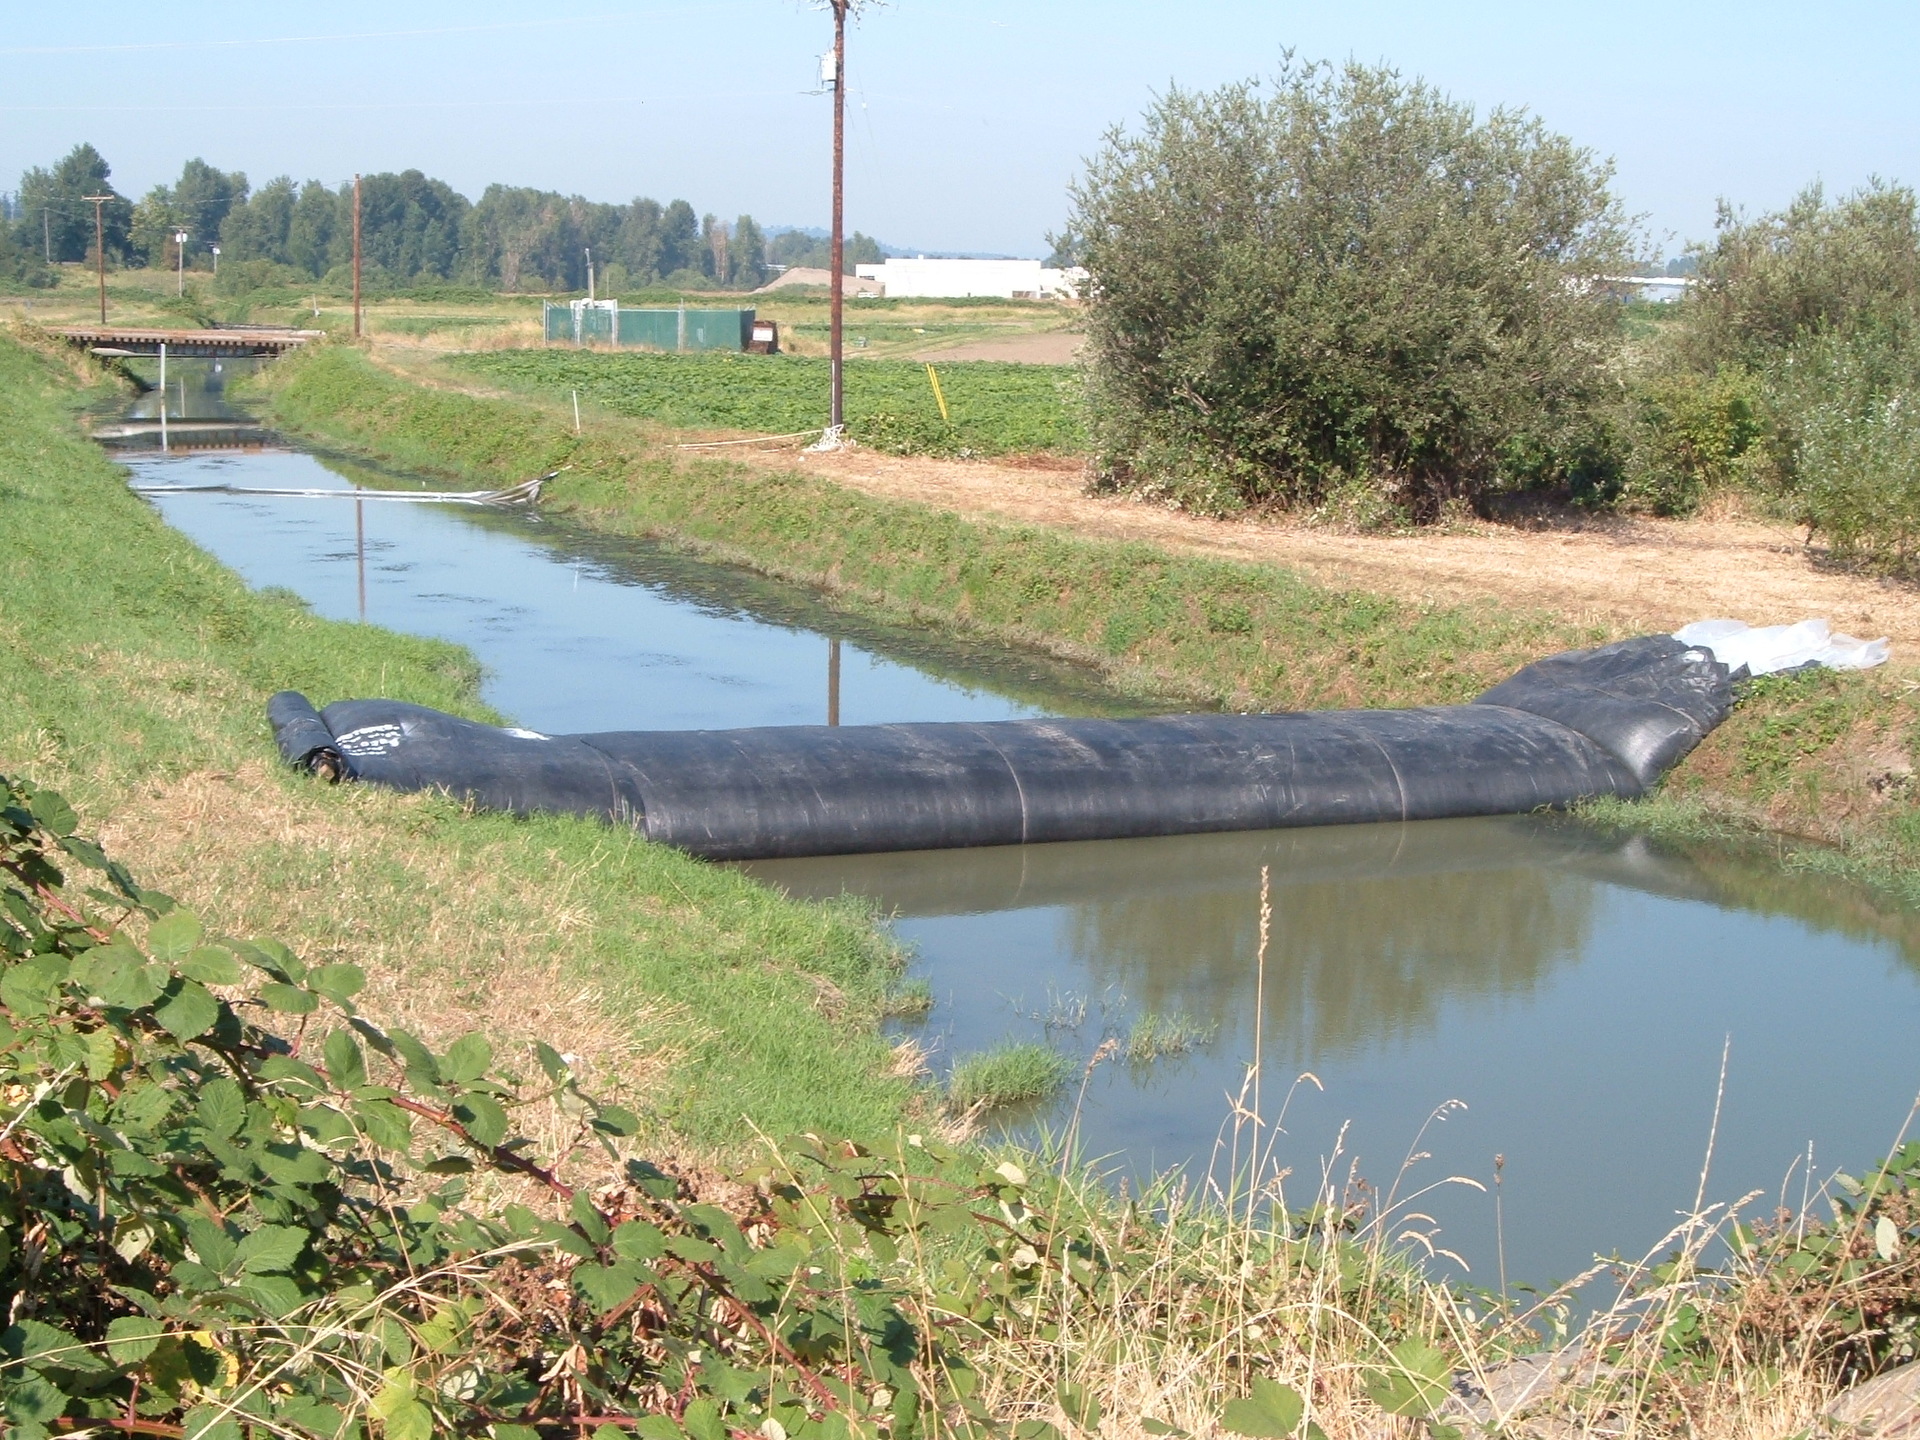
21.) A third AquaDam has been launched downstream of the weir being remove.
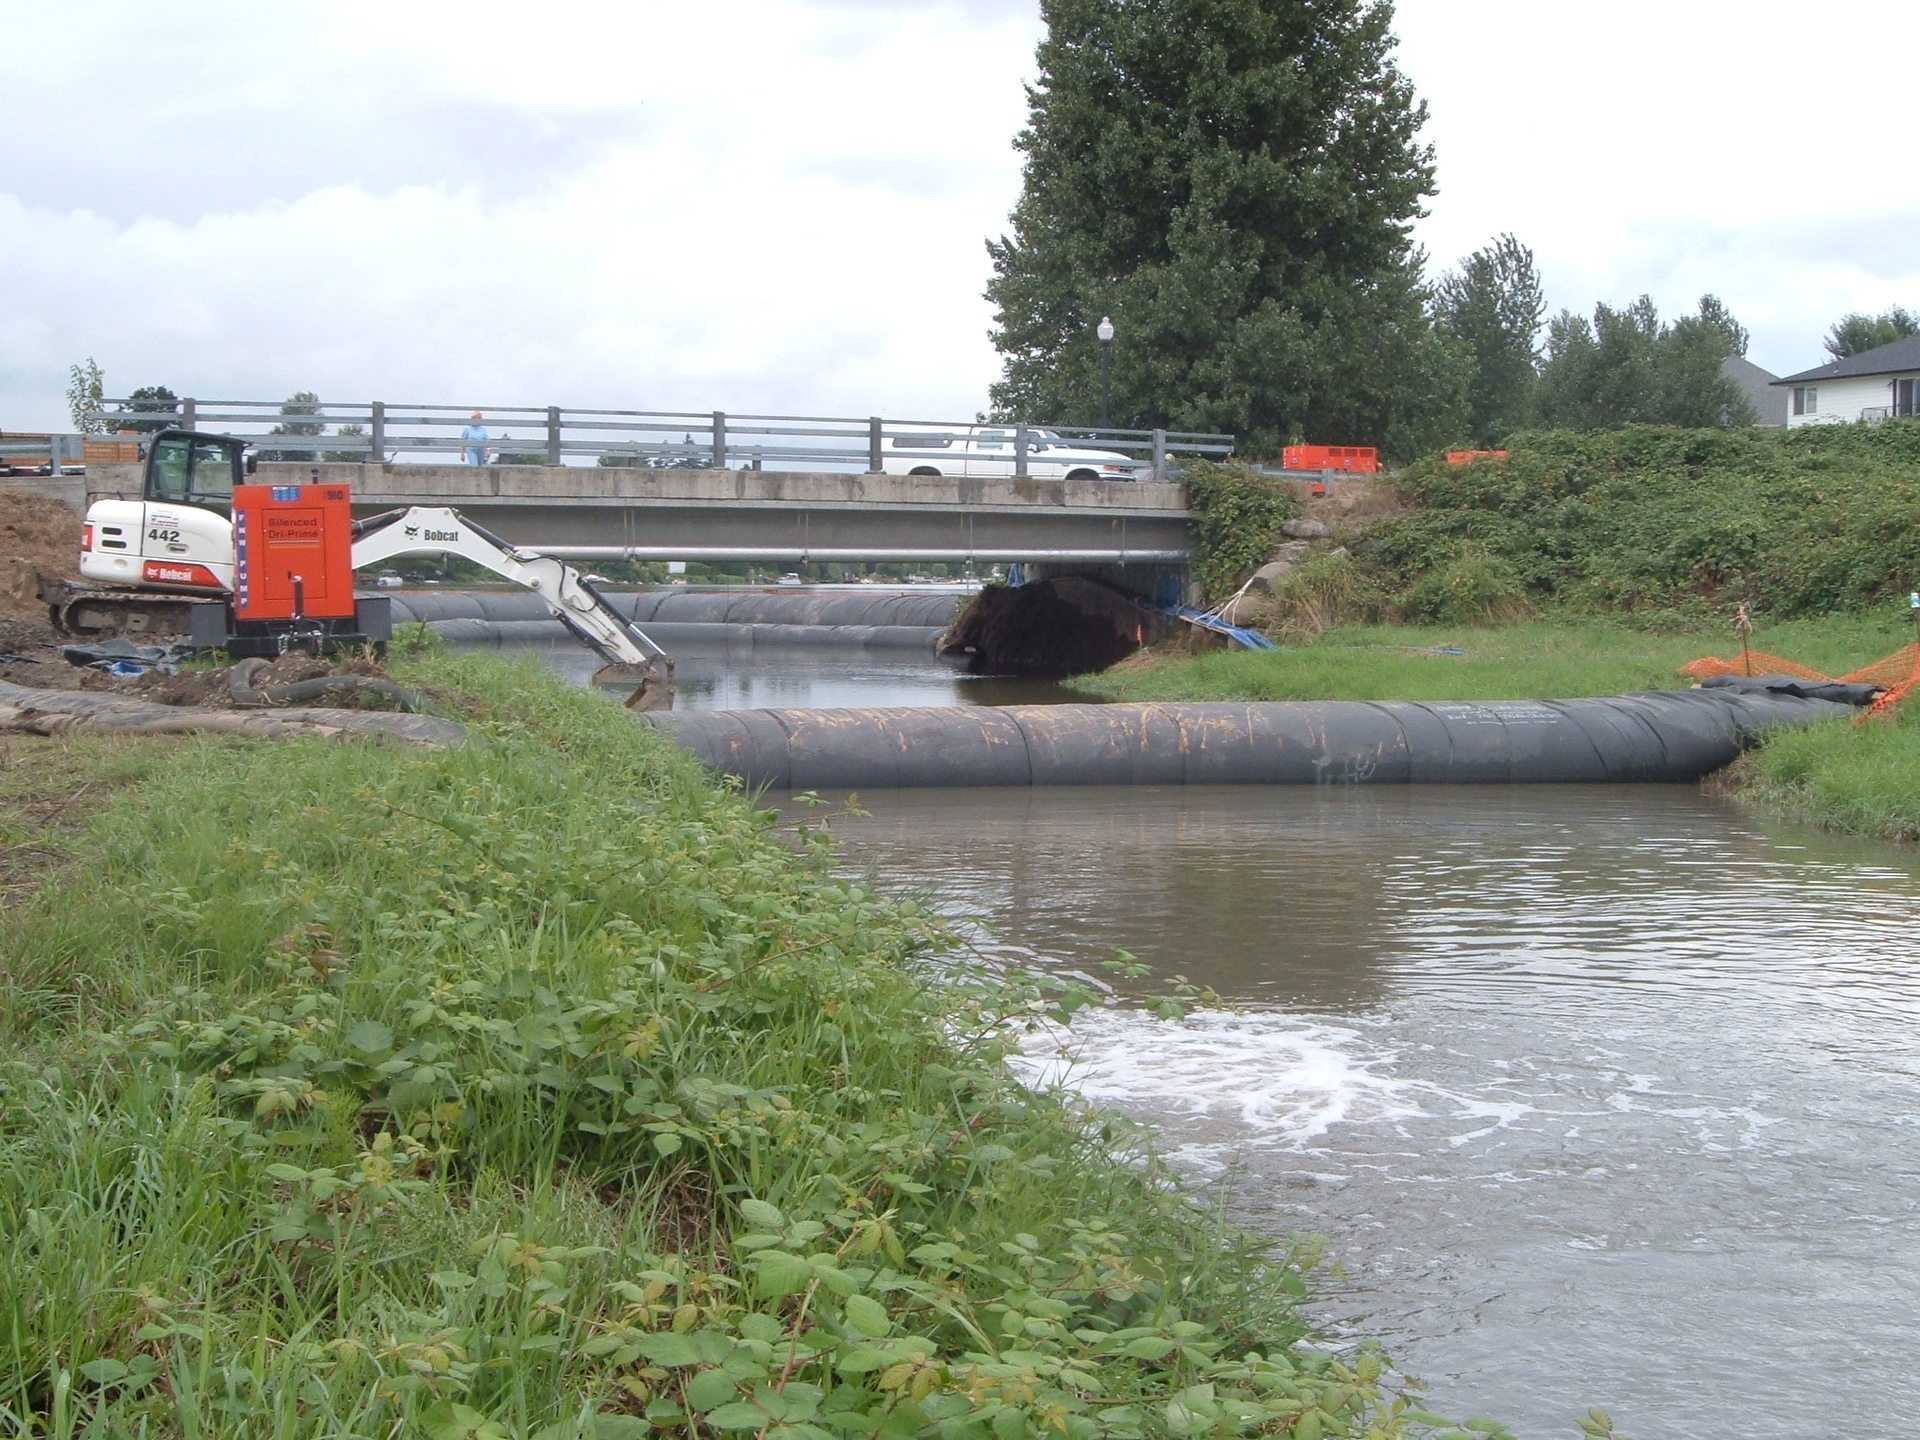
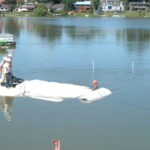
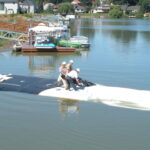
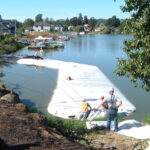
22.) The third AquaDam is filling. An empty AquaDam will float. A worker stands on the rolled-up length of the AquaDam, while the unit fills with water and crosses the creek.
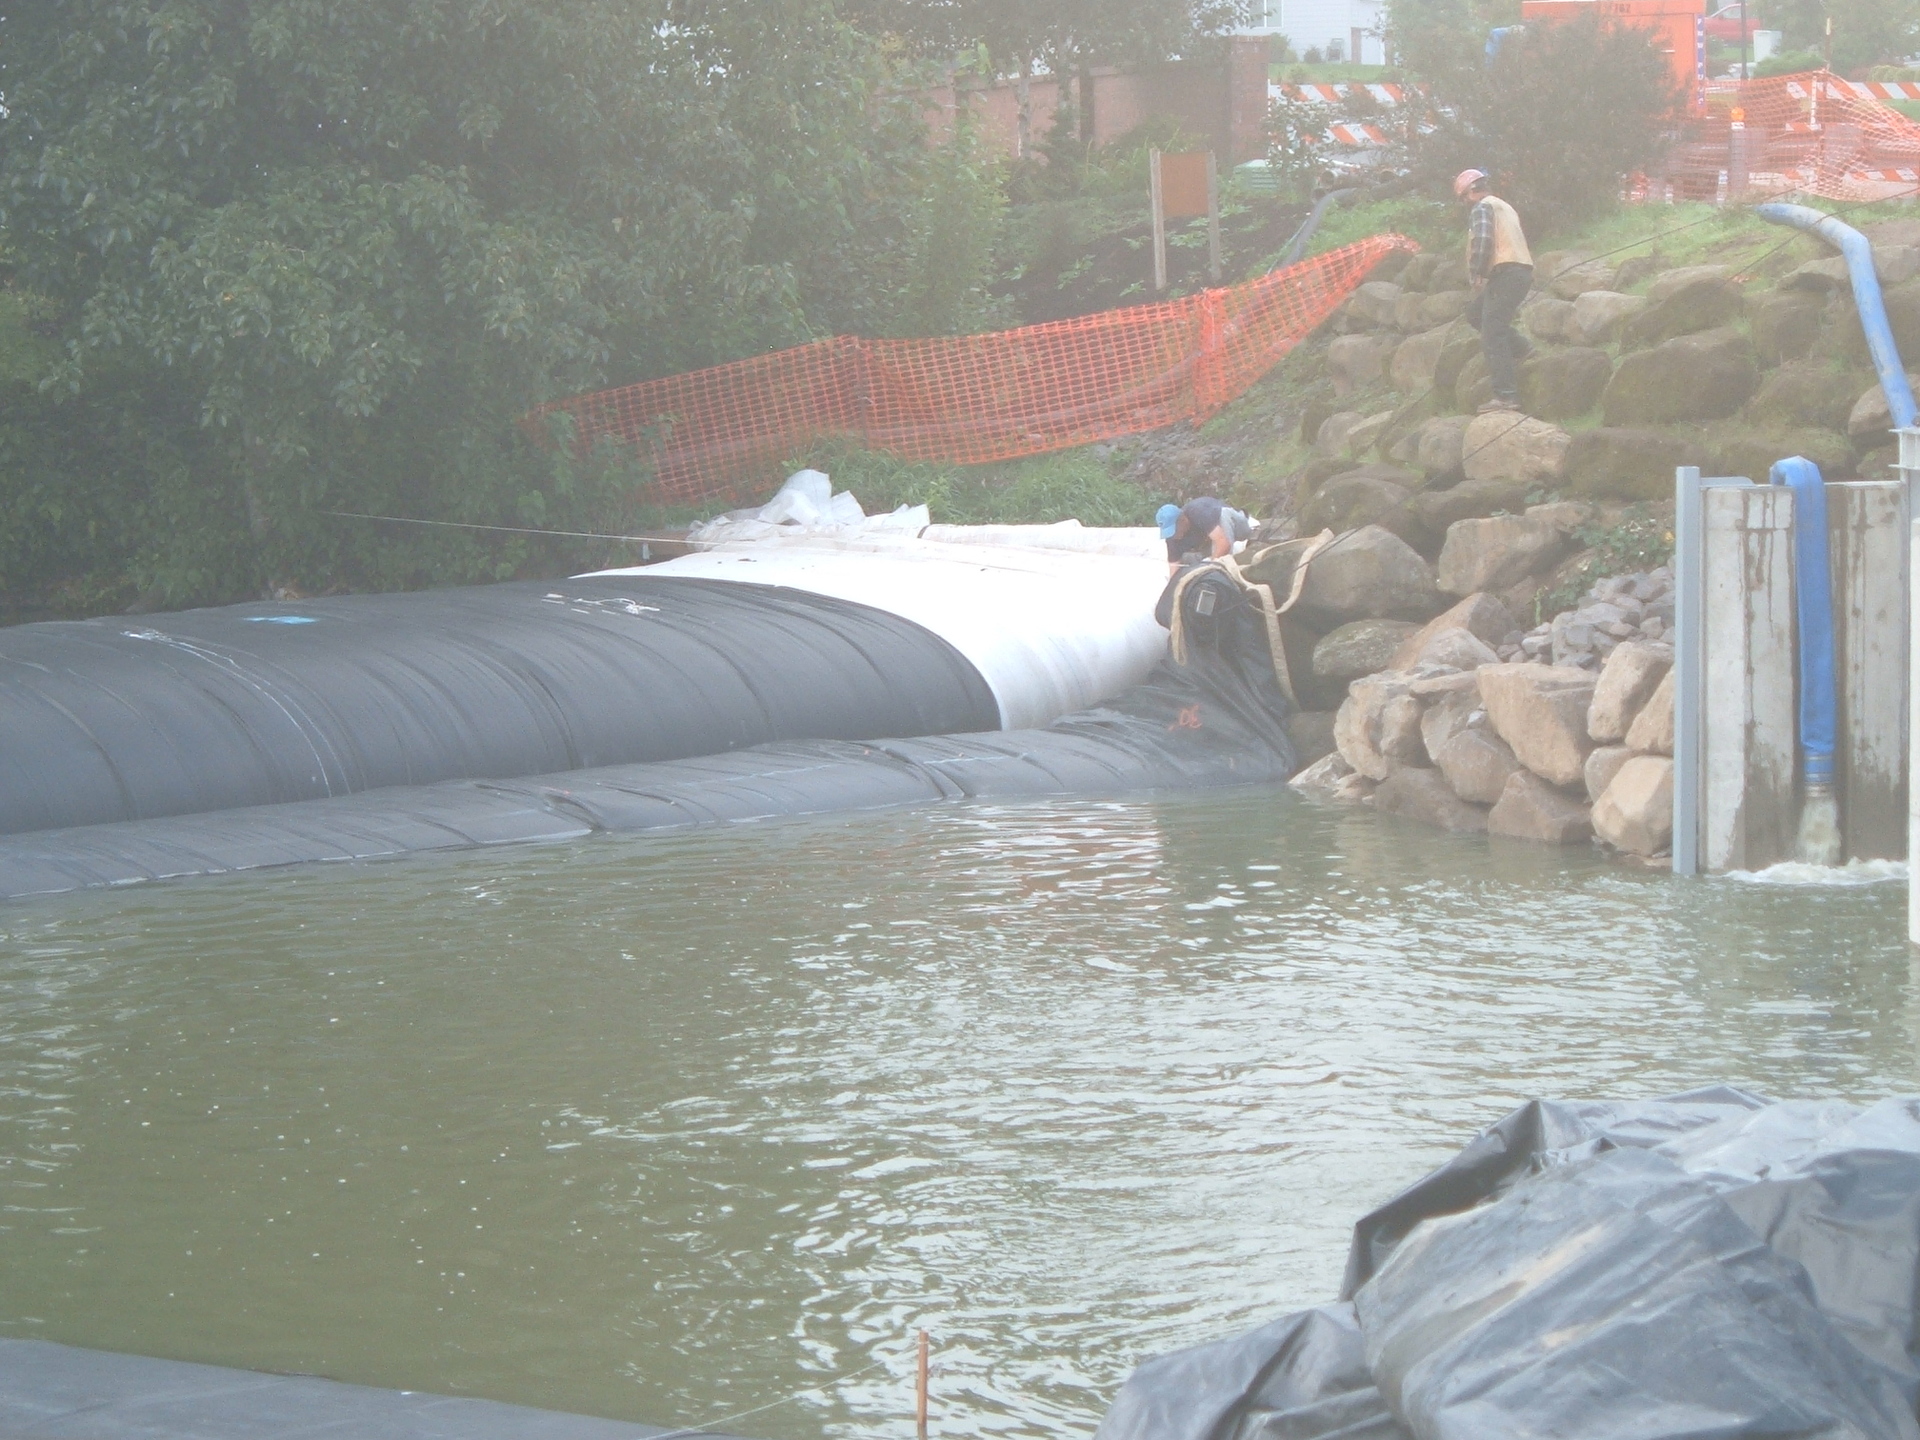
23.) The AquaDam has landed at the ending bank and is now filling.
24.) The first two AquaDams are installed and working.
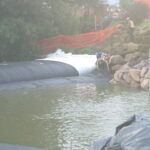
25.) The water from the lake is no longer running over this weir.
26.) The third AquaDam is now fully installed.
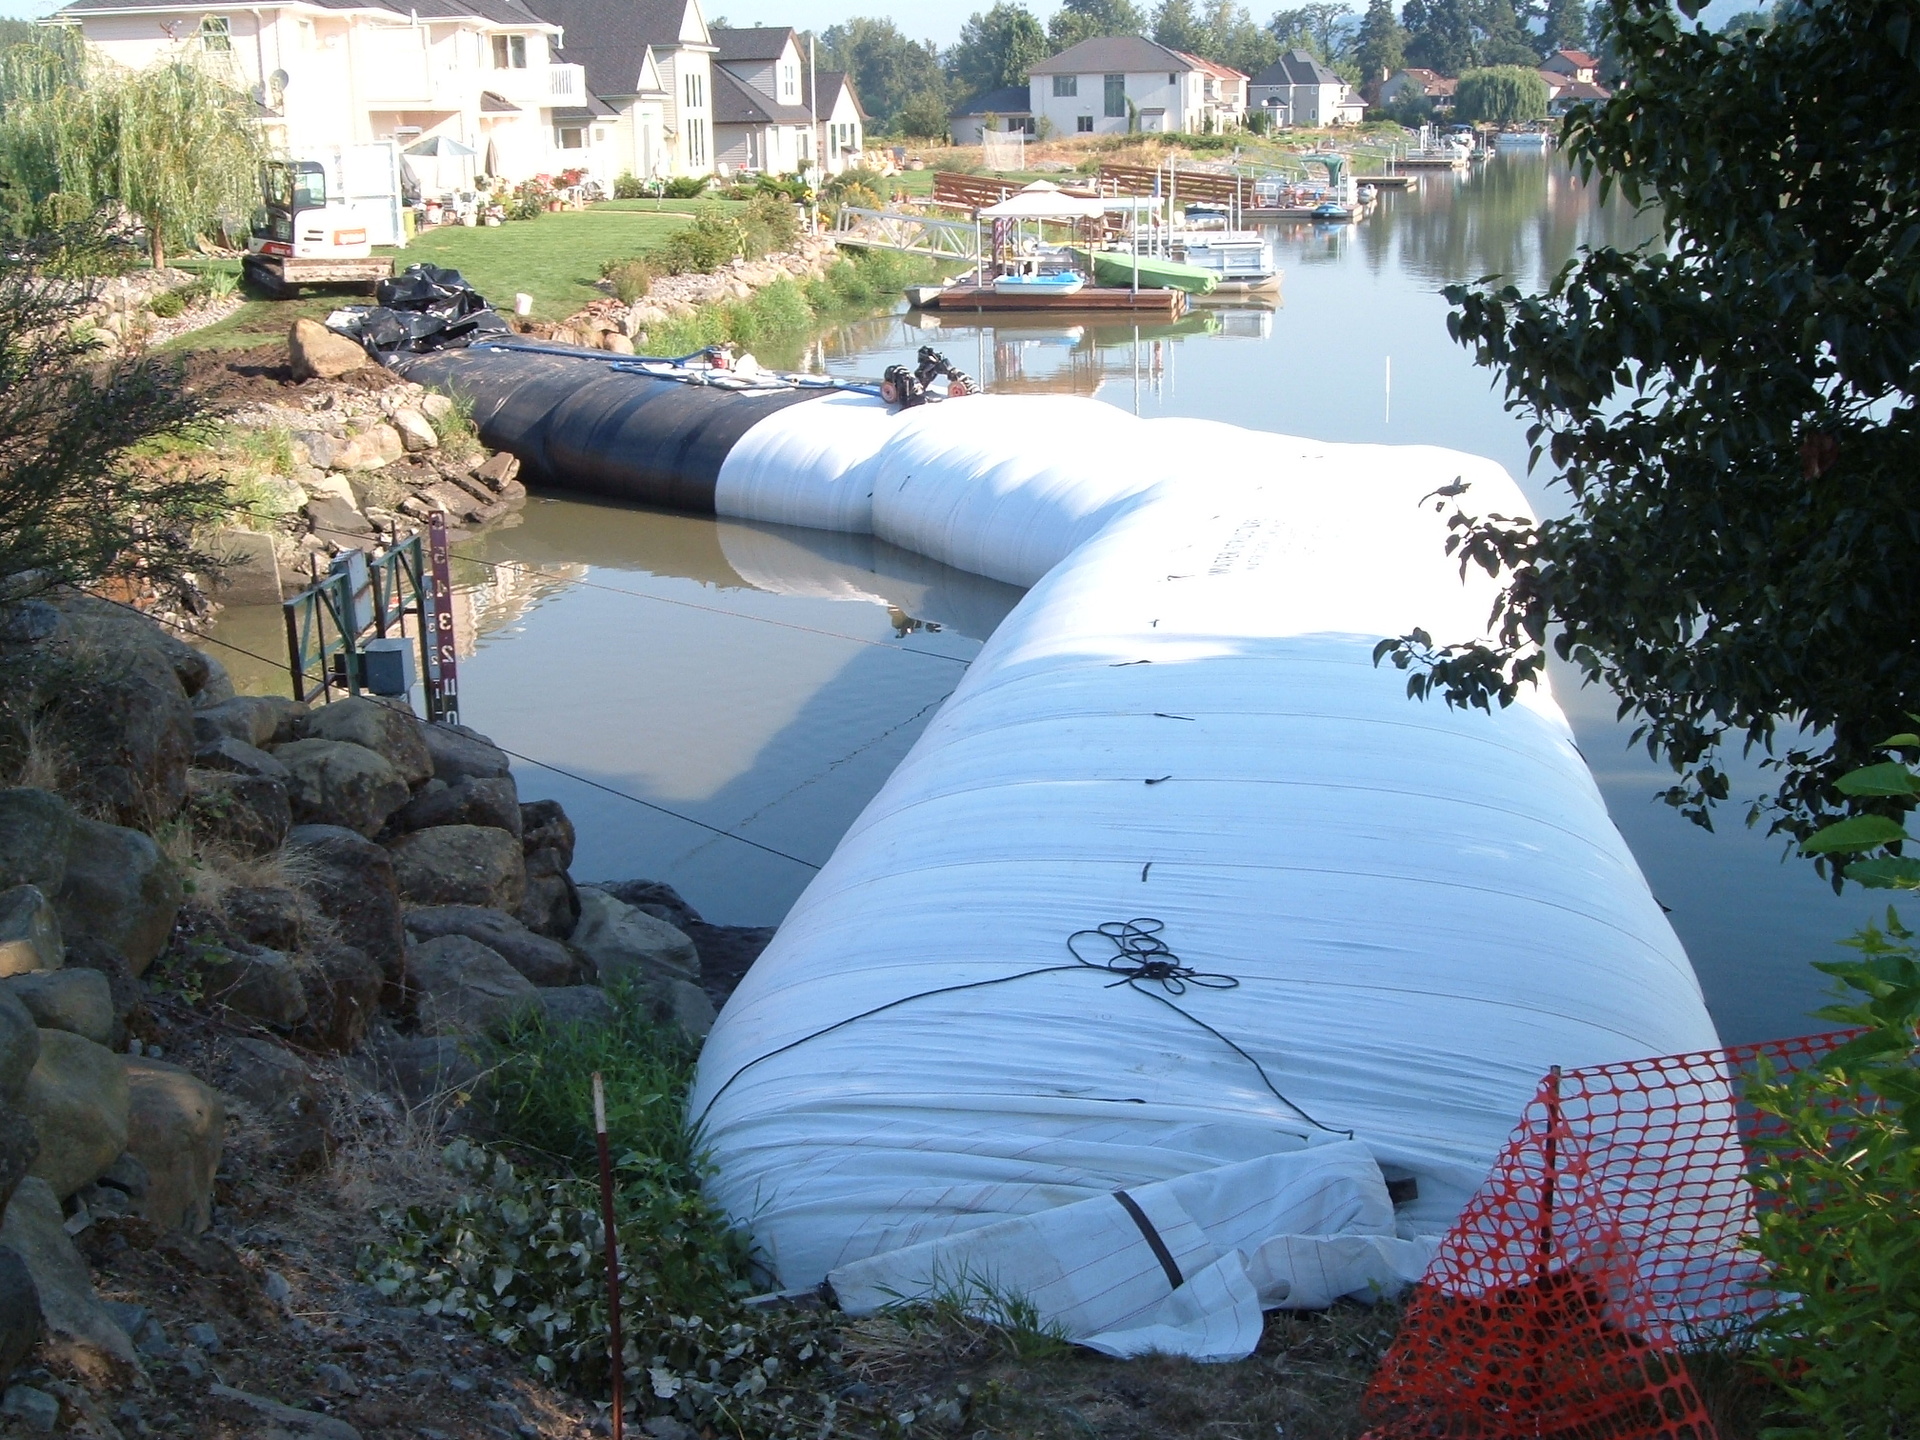
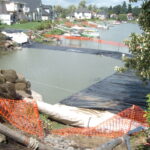
27.) The first two AquaDams have been replaced with a single larger unit.
28.) The AquaDam is in place and filling.
29.) This AquaDam still has extra length rolled-up the ending bank.
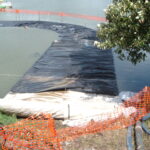
30.) A smaller support AquaDam has been installed on the downstream (work area) side of the larger AquaDam. The support AquaDam can act as add mass to the inner perimeter of the main dam.
31.) The starting bank for both the support and main AquaDams.
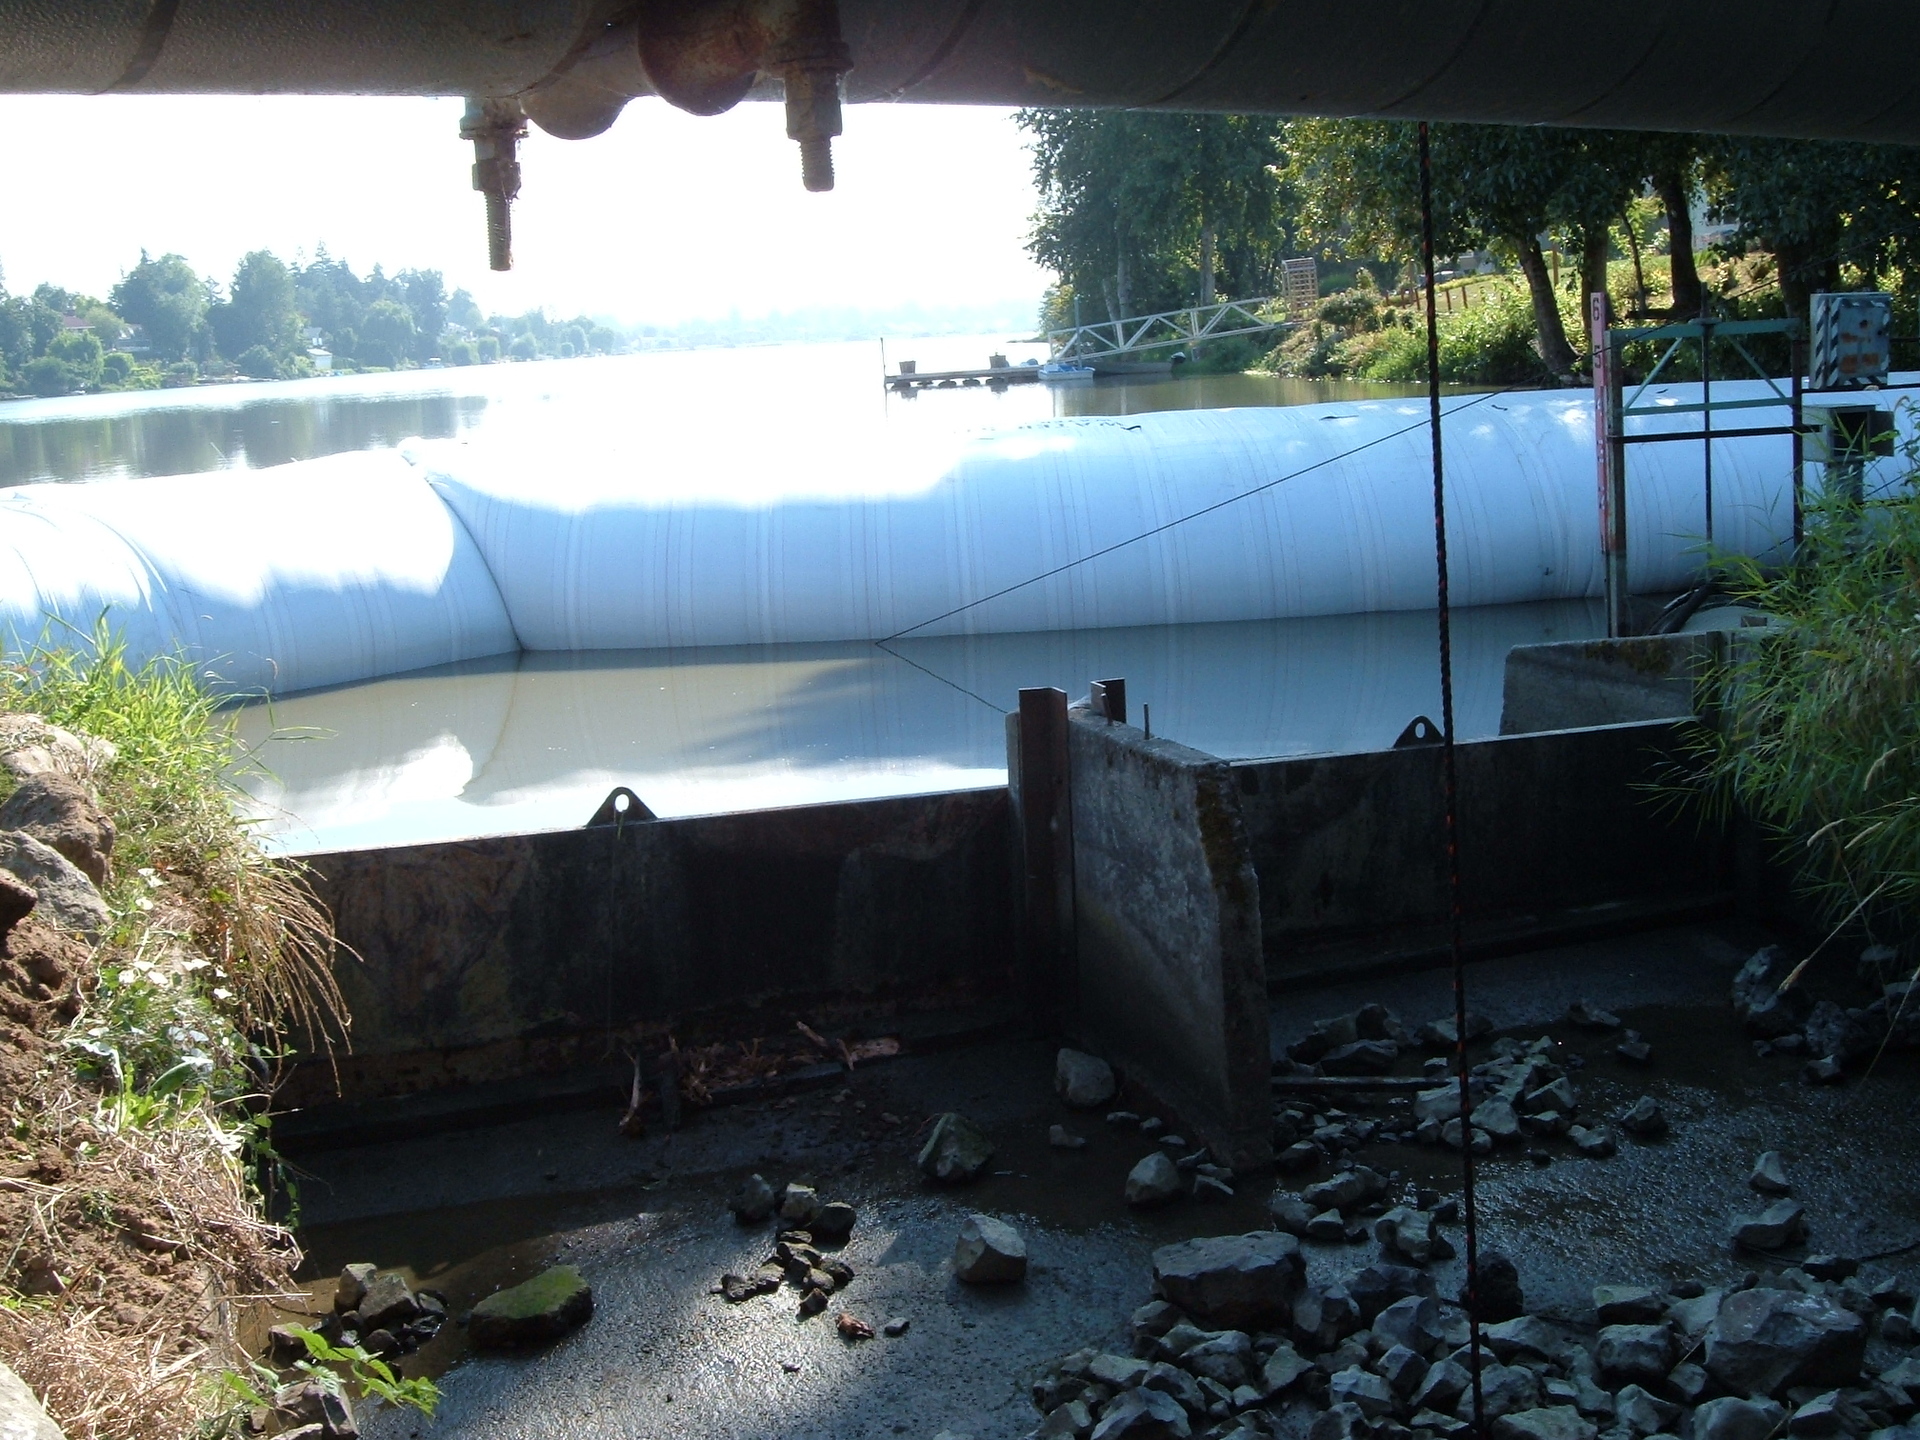
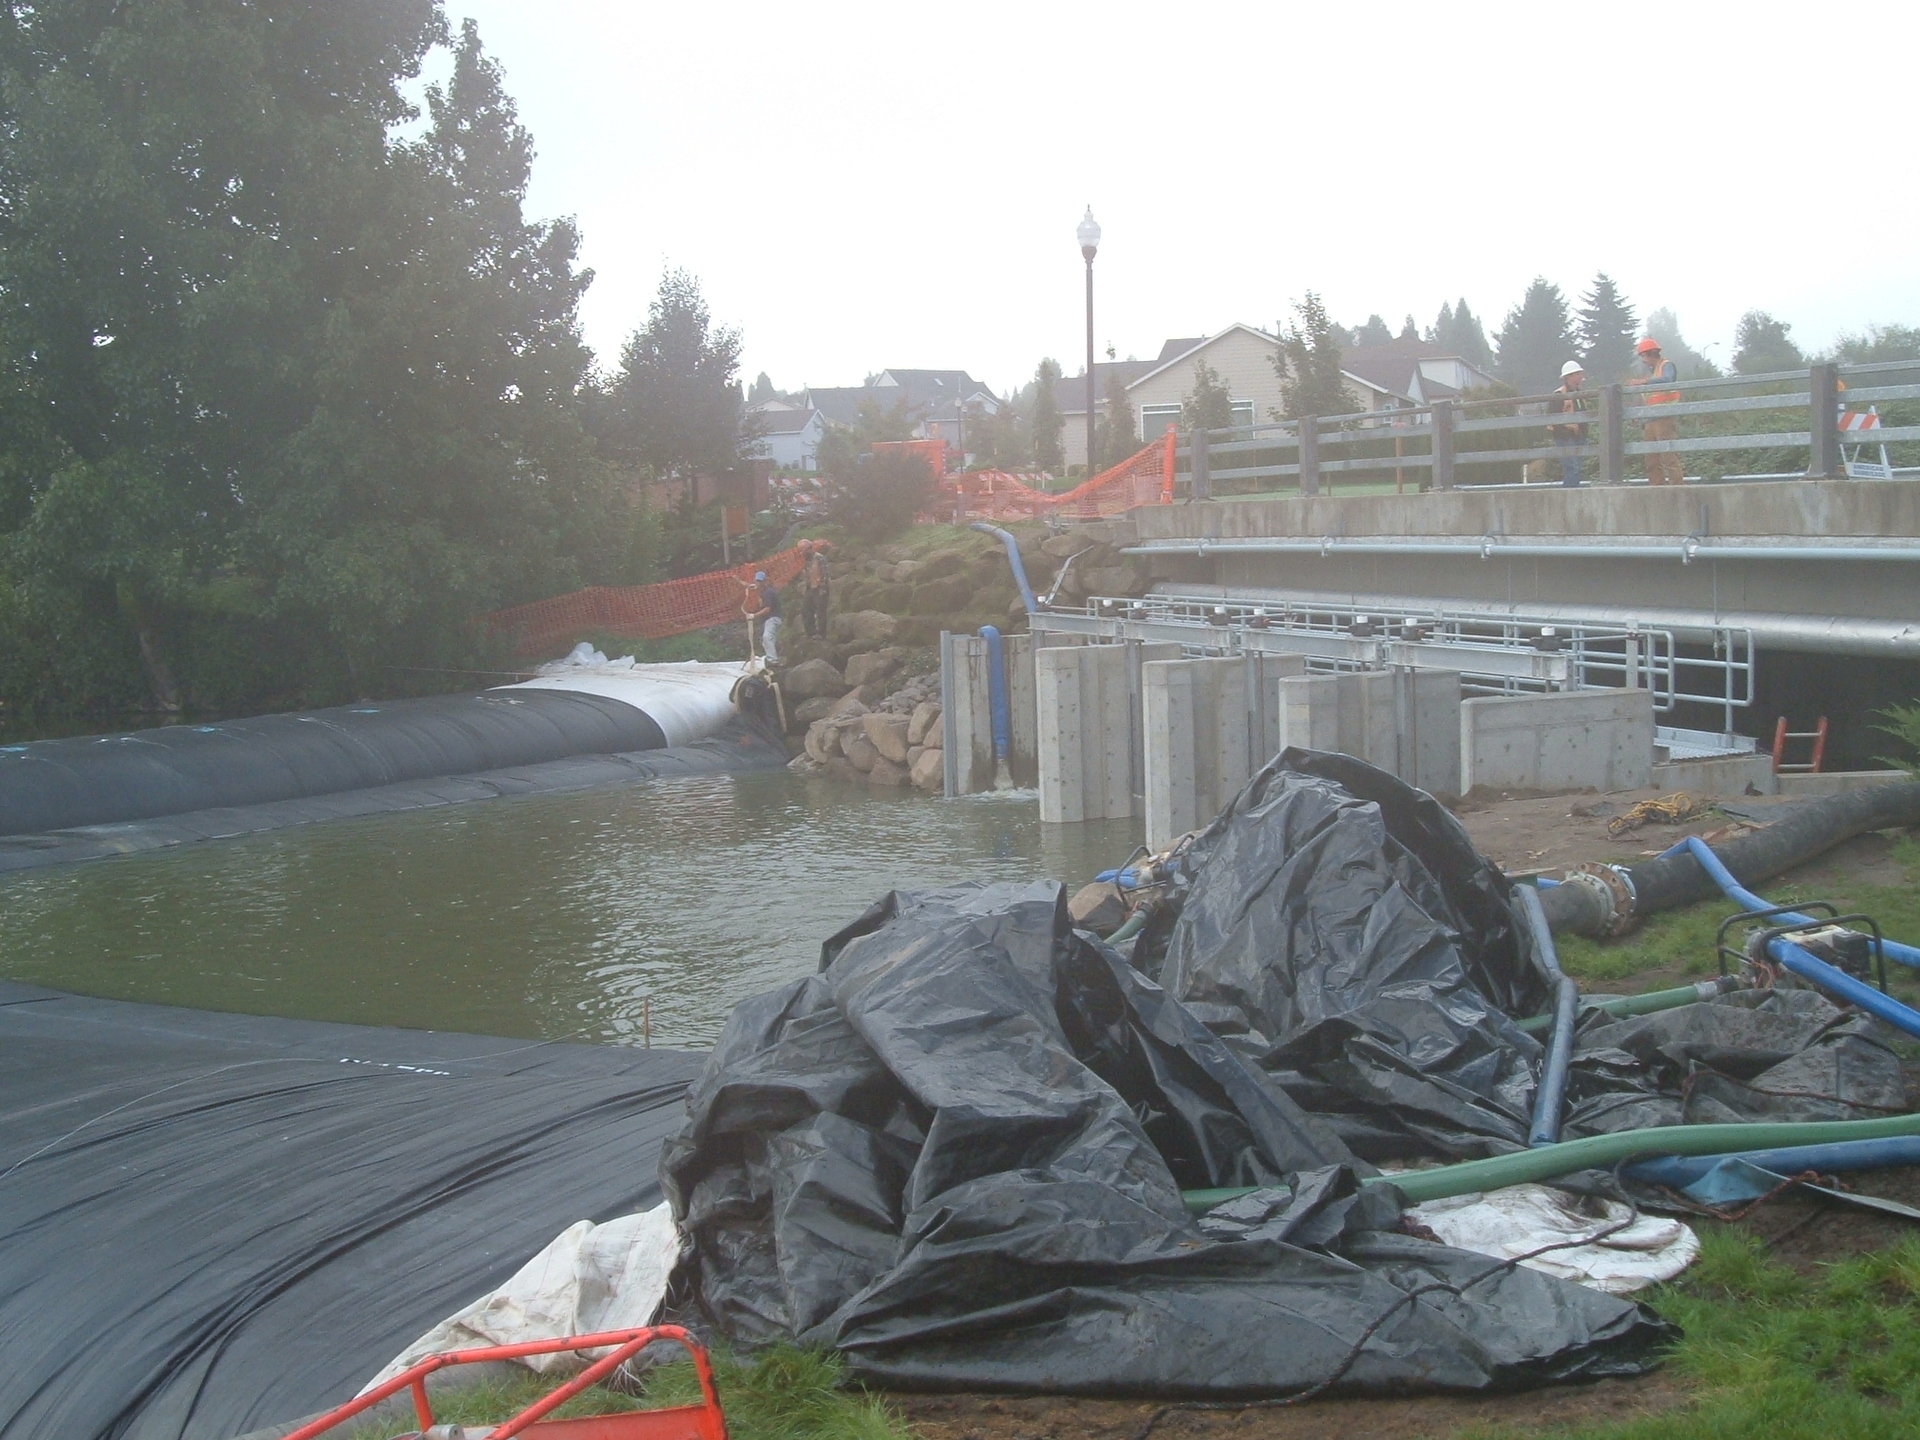
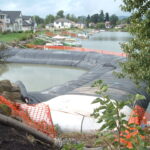
32.) Here we can see the fill-tubes for the main AquaDam.
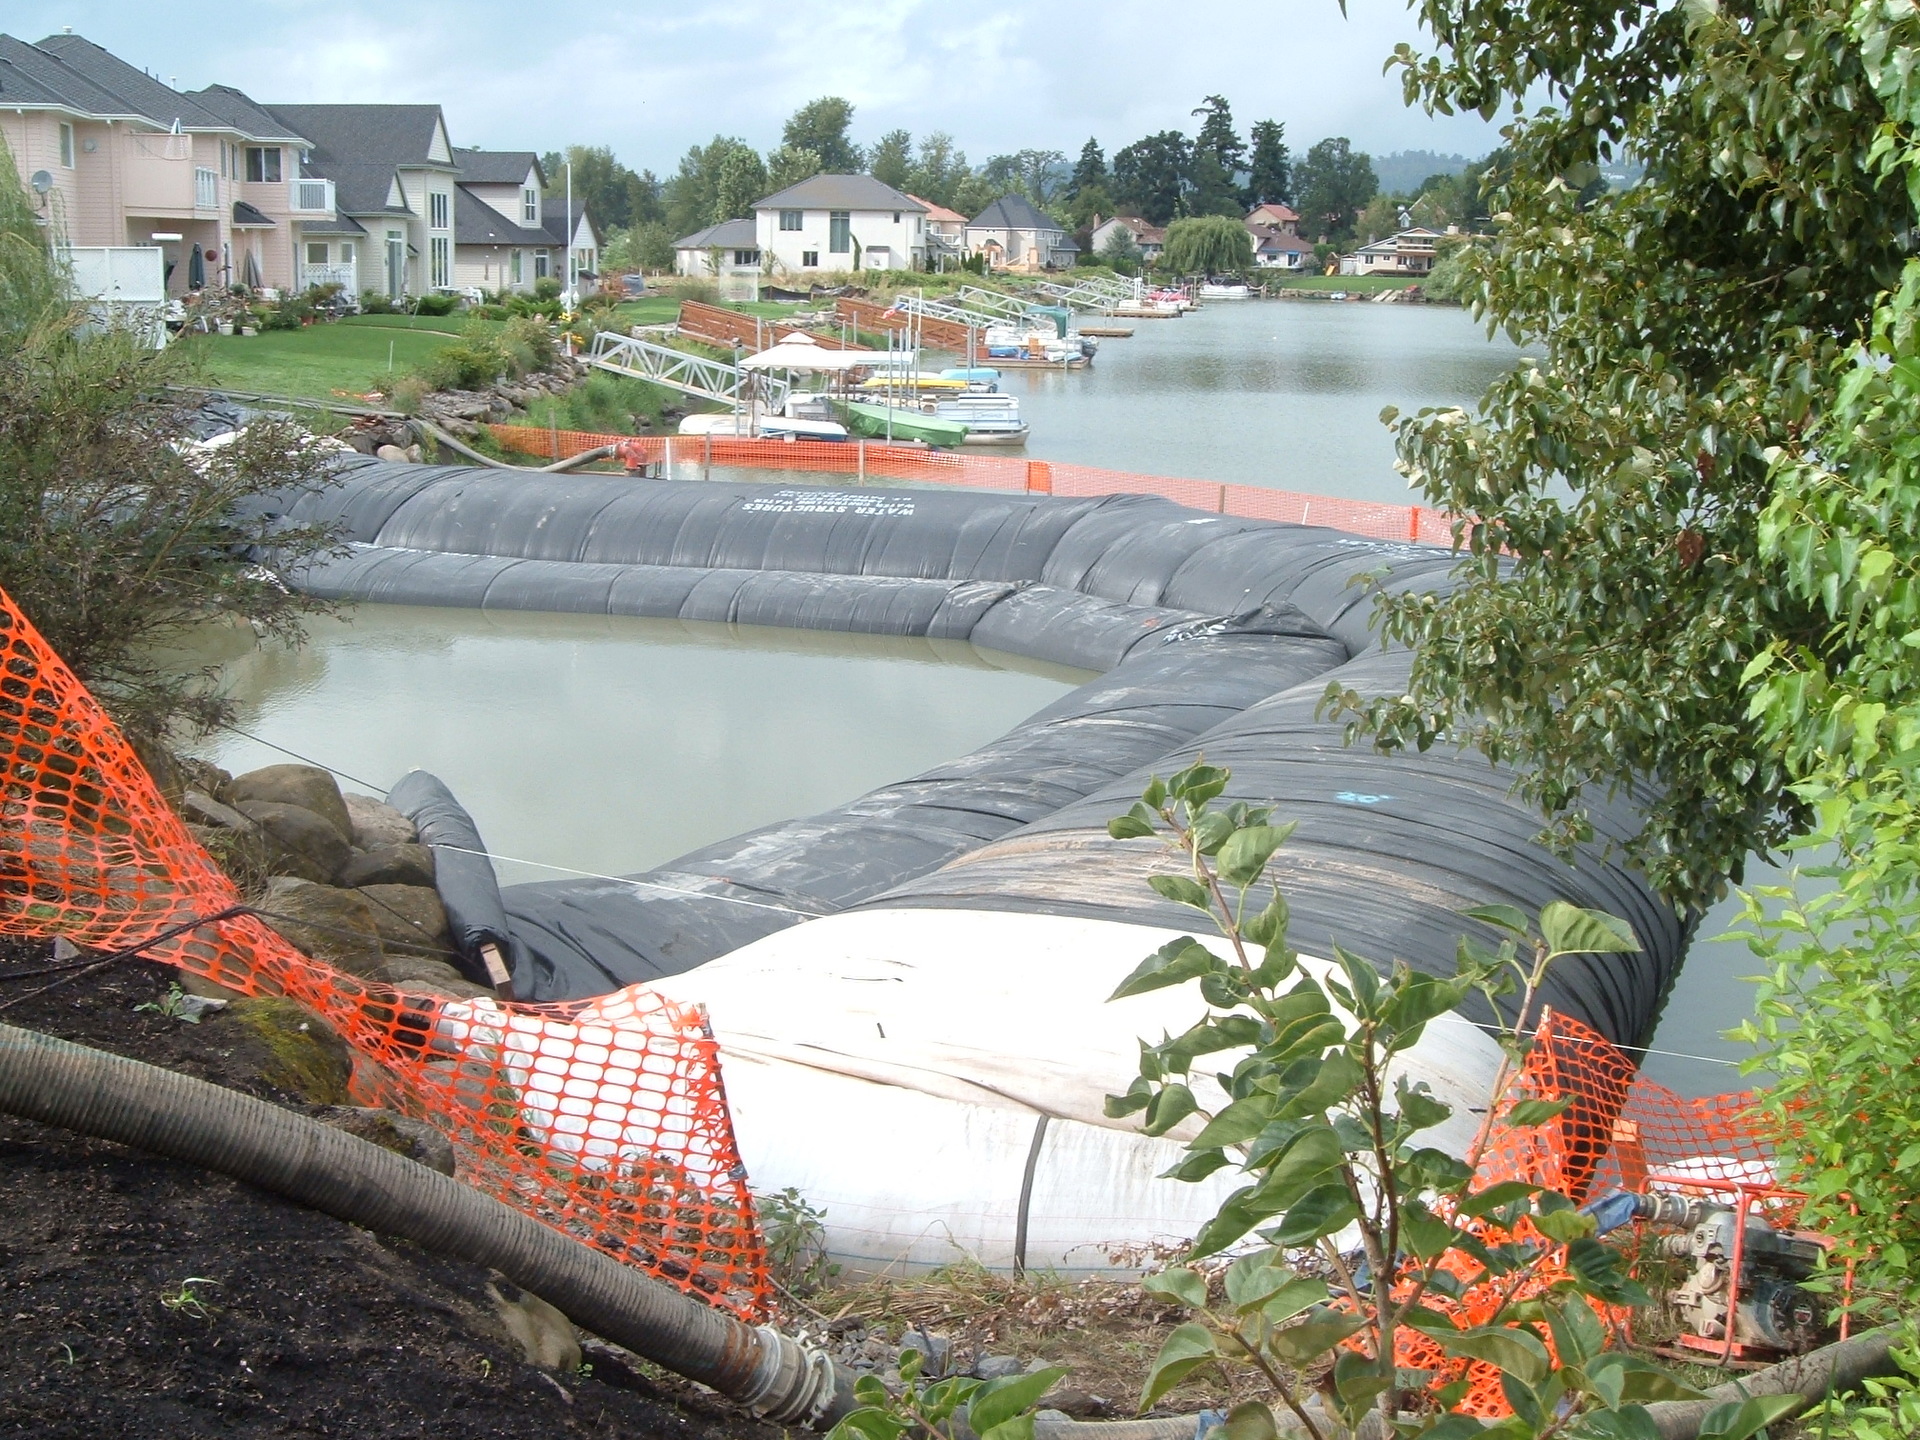
33.) Looking upstream we can see that, with all the AquaDams installed, the overall cofferdam system has a staggered configuration. The AquaDam closest to the viewer was used to keep tailwater out of the work area.
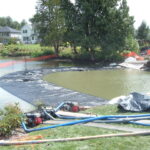
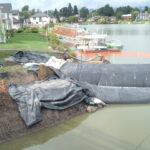
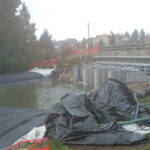
34.) The weir has been replaced and now it is time to remove the AquaDams. It is critical to rewater the work area to equalize the pressures on both sides of an AquaDam prior to removal.
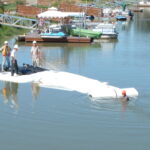
35.) Suction hoses have been carefully placed into the fill-tubes of the AquaDams to help remove the water from inside of them..
36.) The third AquaDam is being dewatered too.
37.) A worker prepares the ending bank for the removal of these two AquaDams.
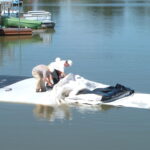
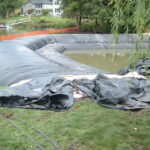
38.) The main AquaDam has enough water removed from inside that the unit is flush with the top of the water.
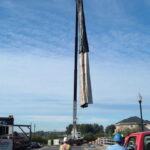
39.) After enough water has been remove and the unit floats, the closed end is where the AquaDam should be pulled and lifted from. Using a log (or similar) will help with rerolling an AquaDam.
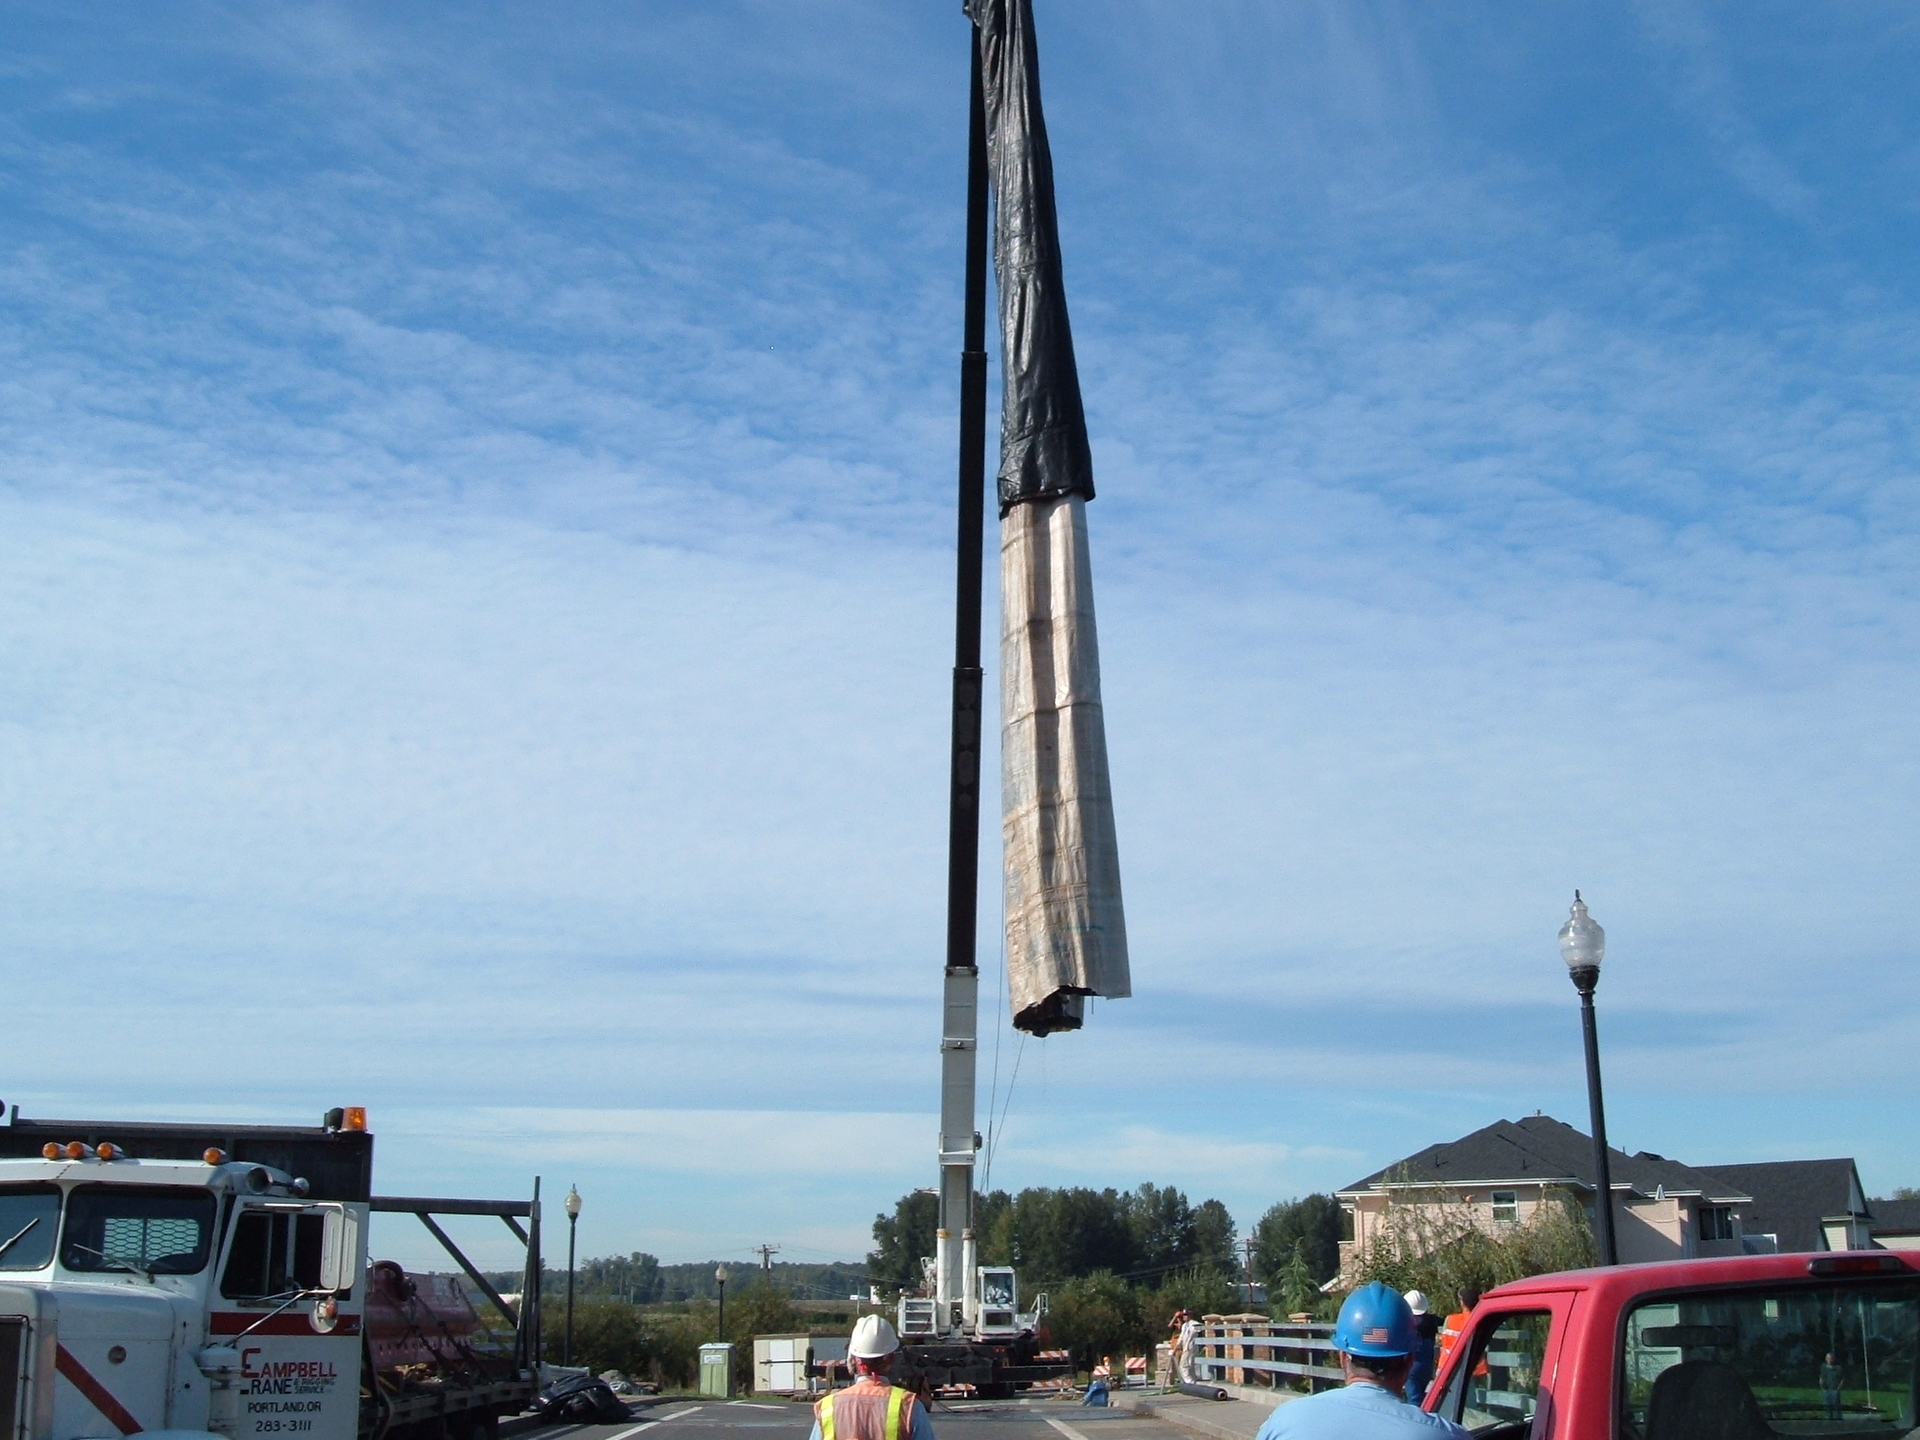
40.) Cranes are great at lifting, but not very good at pulling.
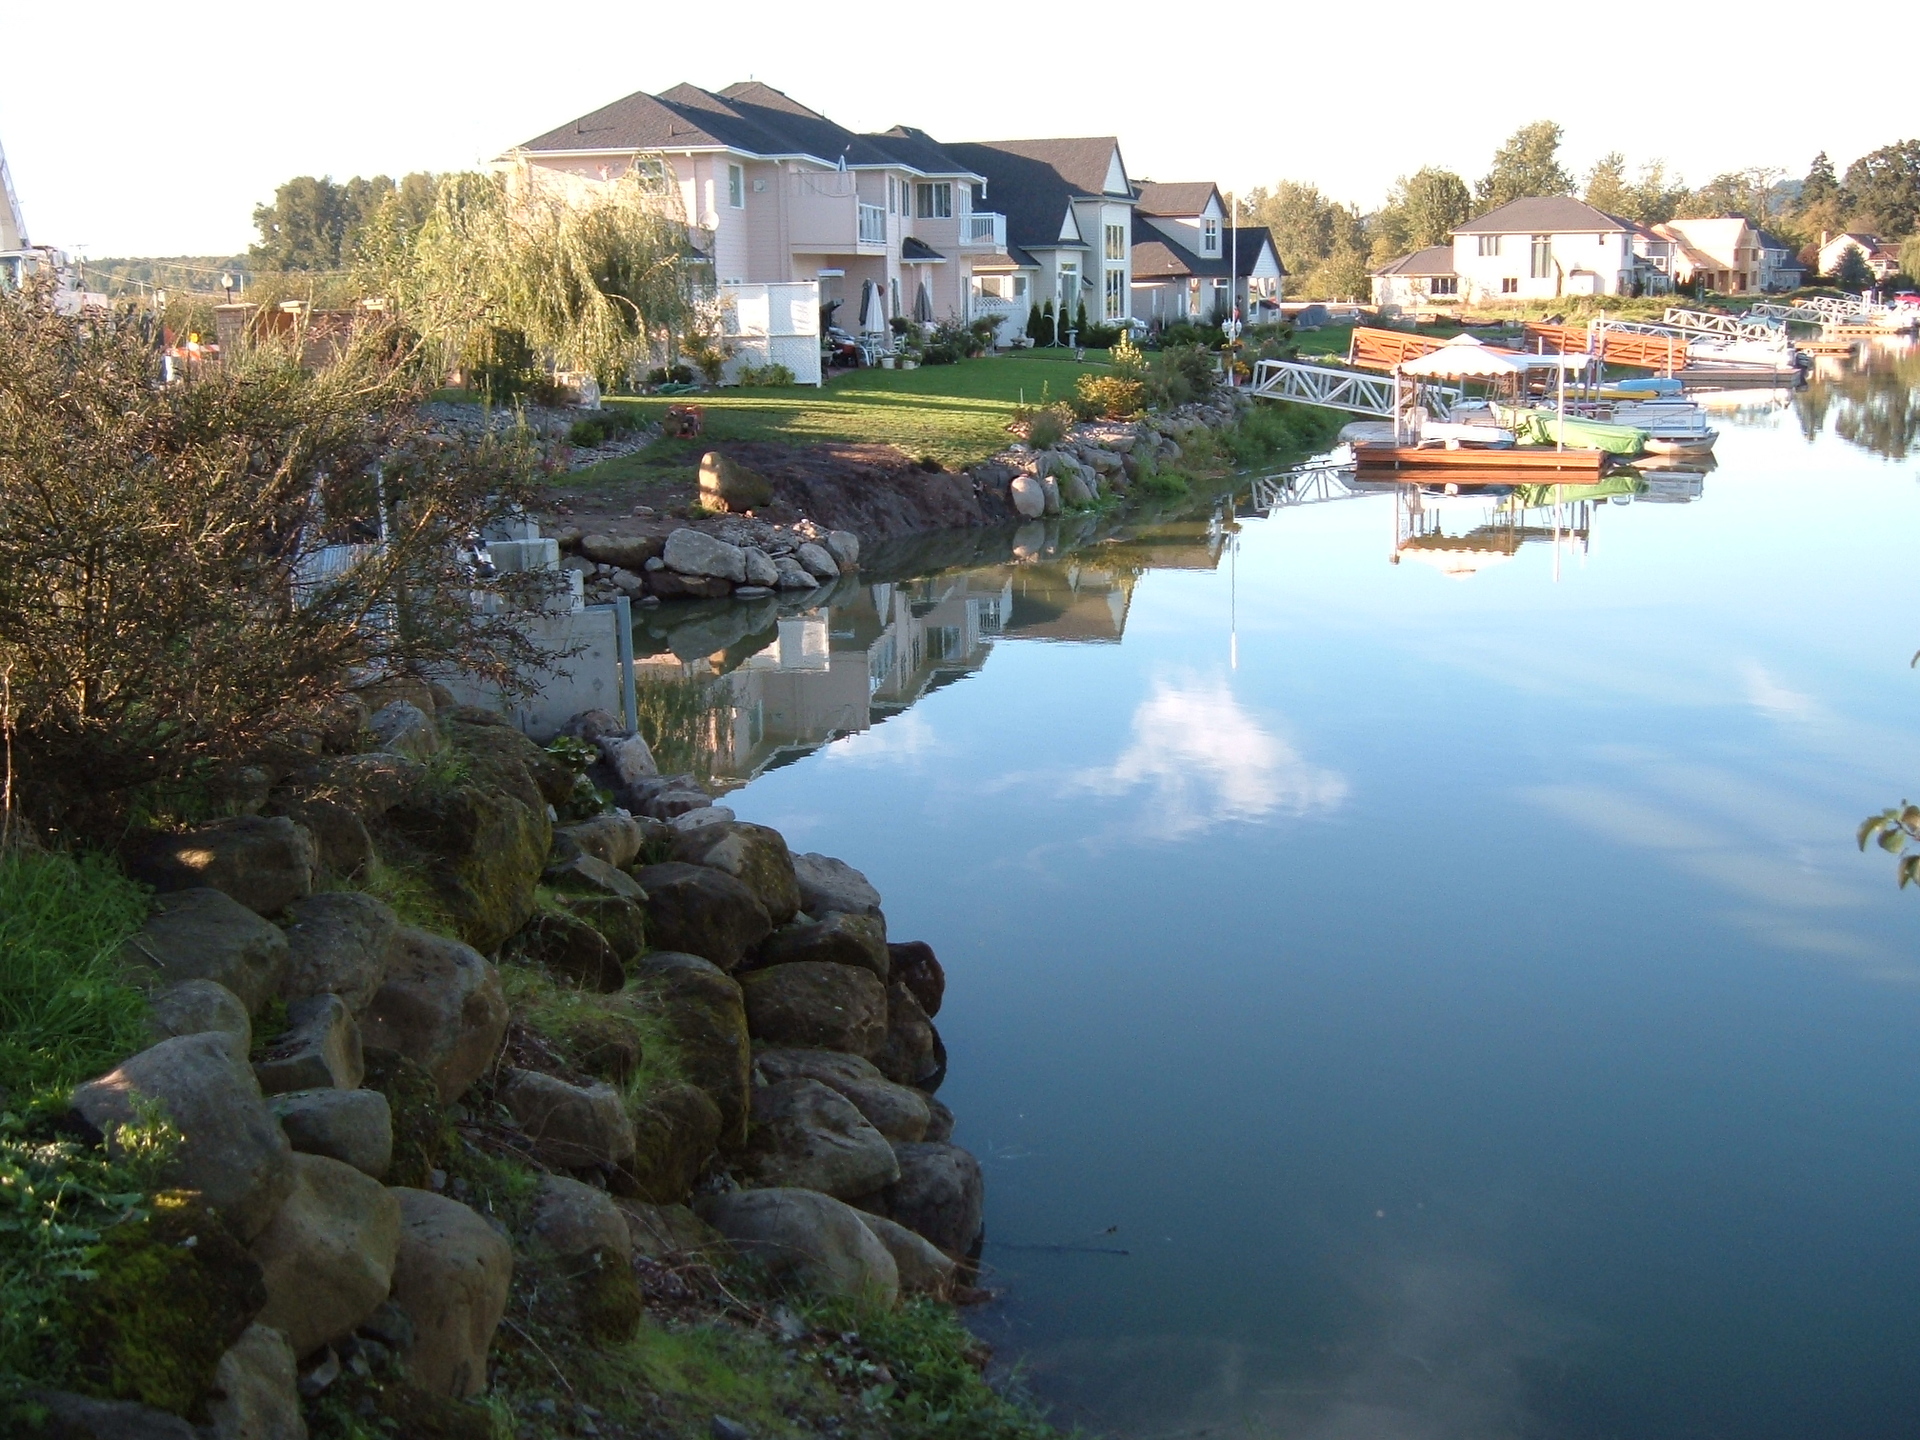
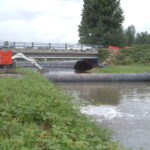
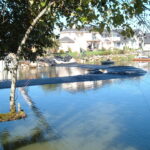
41.) The AquaDams have been removed and a new weir was installed and working.

42.) The new weir, in use. Great job workers and AquaDam!


Single closed end (SCE) AquaDams, Installation, Removal, Weir Isolation