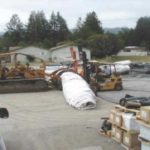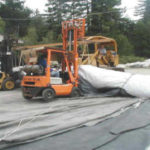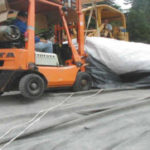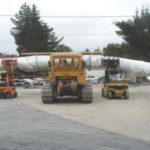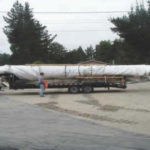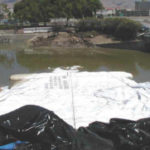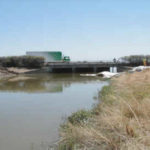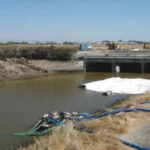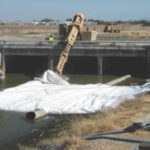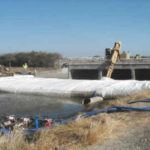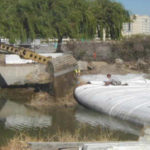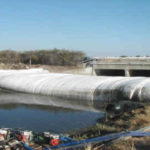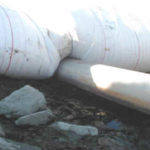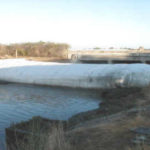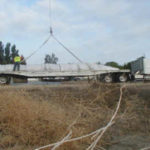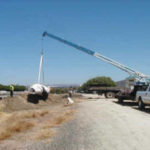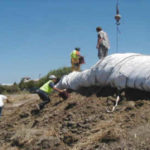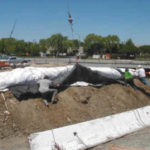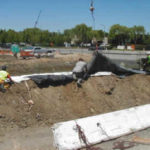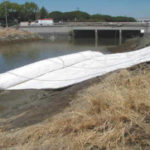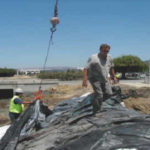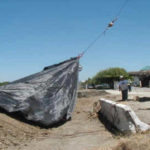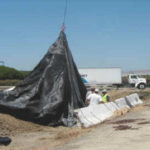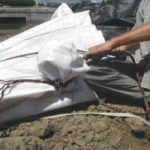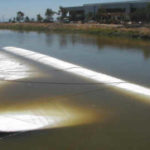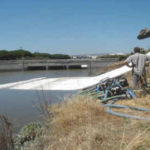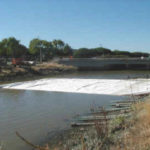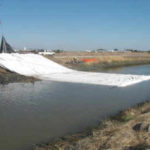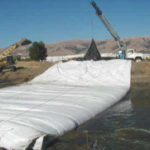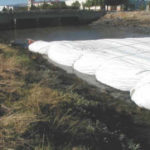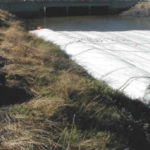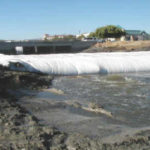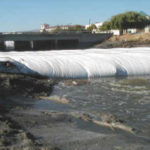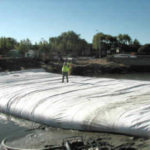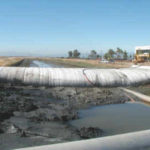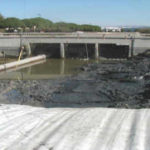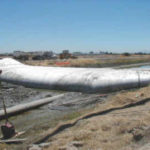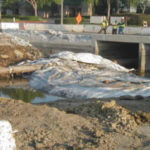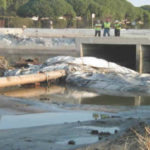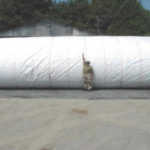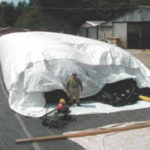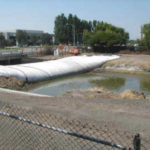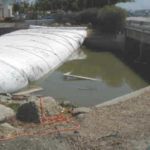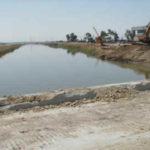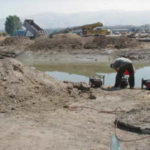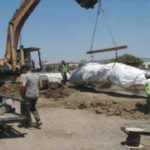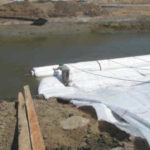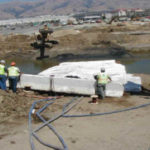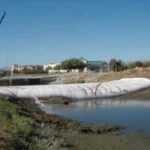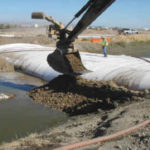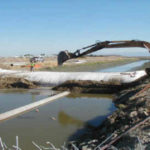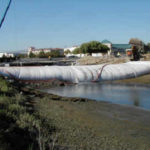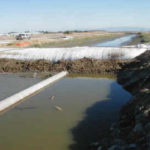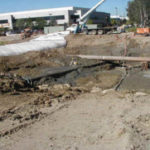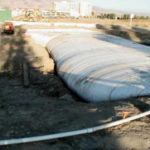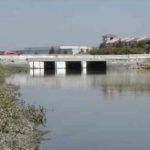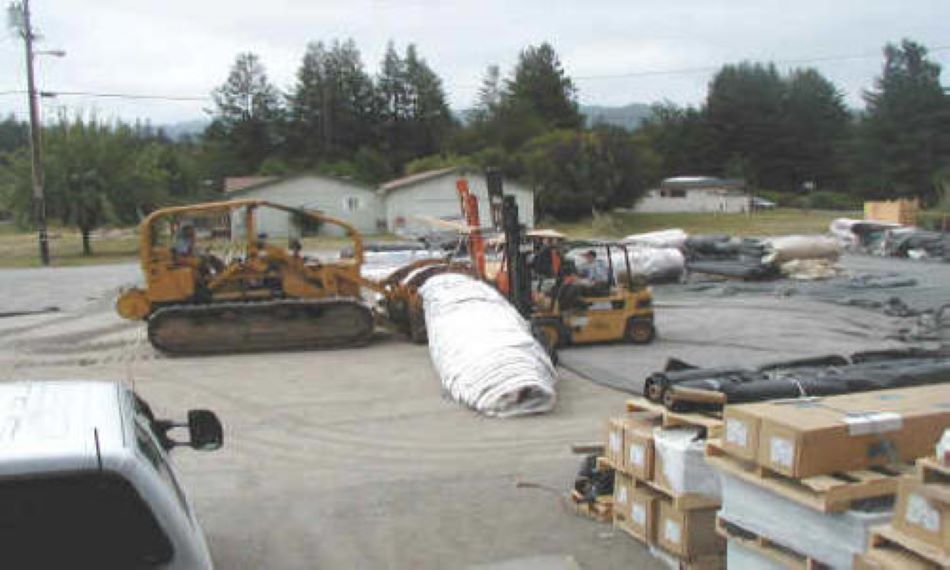
This is a 16' high AquaDam to be used in a tidal dewatering project in Fremont, CA. At 36' wide and 8,000 lbs., how do you load it on a trailer? Fortunately, we were able to rent another forklift (the yellow one) and "borrow" the services of a 977 Caterpillar bulldozer/loader.
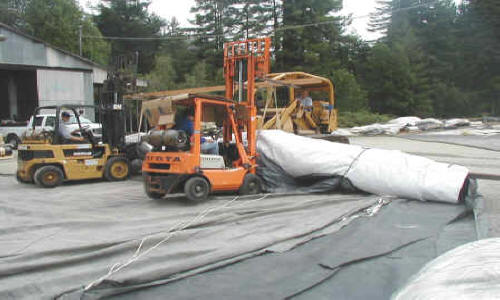
The orange forklift is ours. Unfortunately, it is only rated to lift 3,000 lbs. However, this did not stop us from trying.
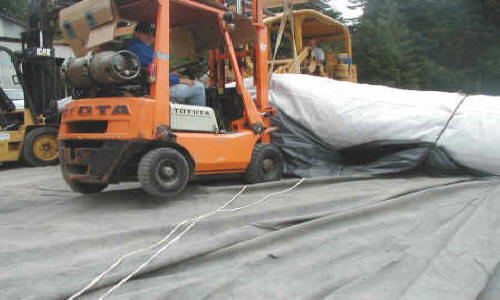
The harder we try, the higher the rear end lifts up!
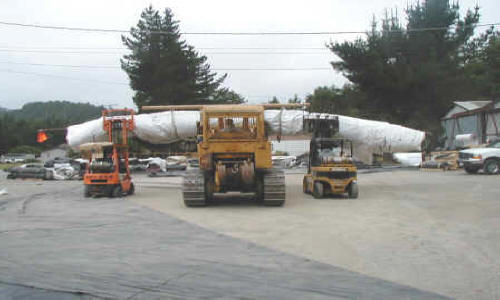
The loader had to lift the weight while the forklifts supported each end.
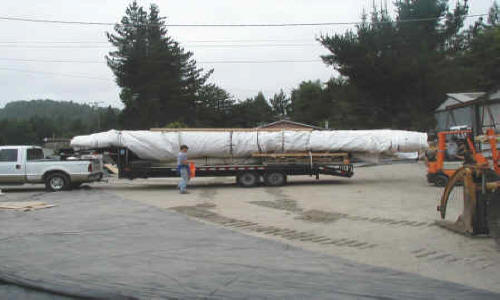
Once the AquaDam was in the air, the trailer was driven under, and it was set down. However, it was ultimately decided that this was an unsafe (and probably quite illegal) load, and a flatbed trailer and truck were contracted for the purpose.
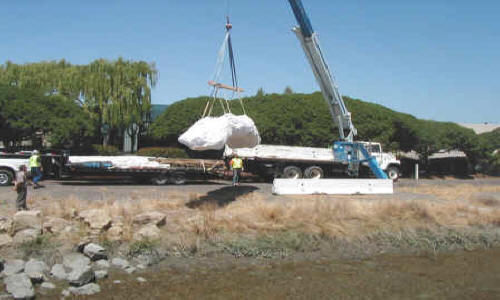
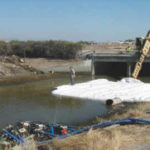
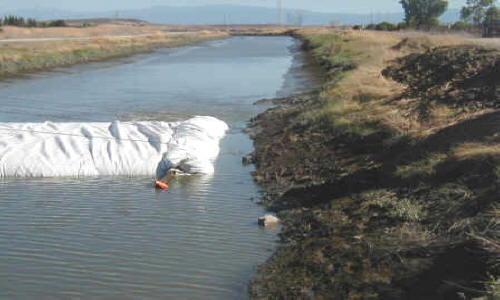
This project required the use of two AquaDams: the 16' dam placed "downstream" and this 12' high AquaDam placed "upstream". Since this was a tidal project, the "downstream" dam would actually have more pressure on it. In a normal flowing stream, this is exactly the opposite.
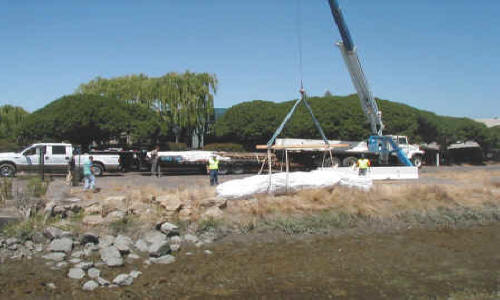
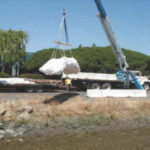
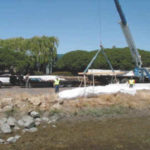
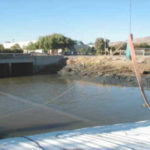
The AquaDam is lowered into position with a boom truck rented specifically for this project. The AquaDam actually ended up being placed several feet further to the left, but only after several of the rocks were removed. A rock-free bank is essential to create a tight seal.
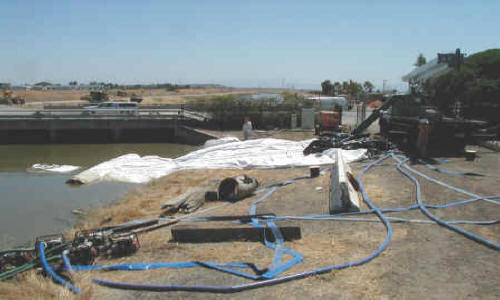
Pumping began just before high tide. The idea was to have the AquaDam fully inflated by the time the tide was low.
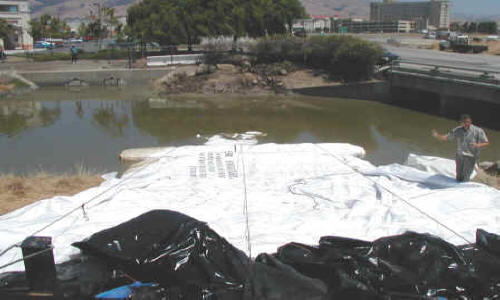
Three ropes were placed around the AquaDam to control its unrolling. They were tied off to the boom truck, run under the AquaDam, then back up to the boom truck. Each rope was then held securely by one laborer.
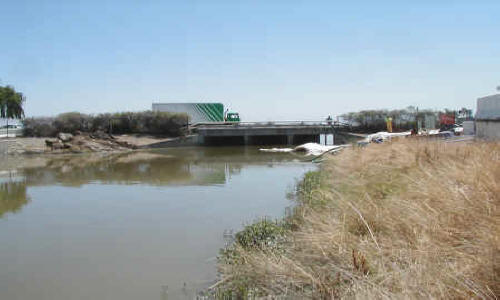
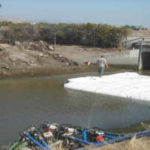
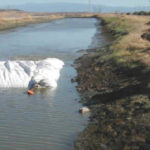
A view from "upstream".
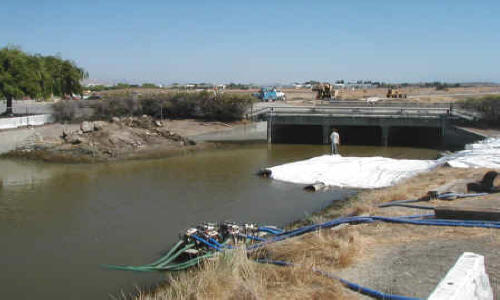
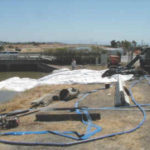
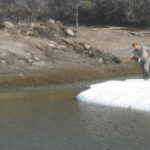
The laborer standing on the AquaDam must gauge when it is full enough to unroll further. The pumps were situated on a convenient concrete slab meant to prevent erosion from an outfall pipe.
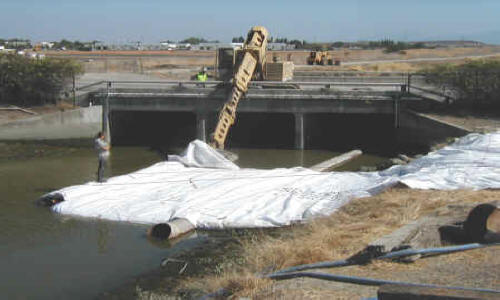
When the AquaDam was approximately halfway across the slough, a Gradall was positioned in such a way that it could support the AquaDam as it unrolled. We used a piece of the wrap that the AquaDam came rolled in is to cover the Gradall's bucket to prevent damage.
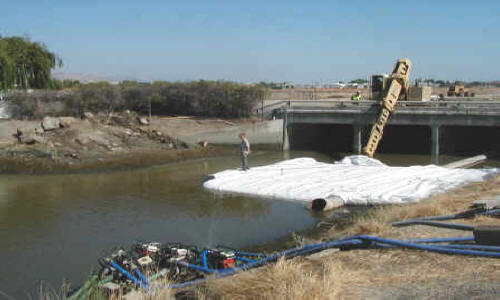
Fill and unroll, fill and unroll, fill and unroll...
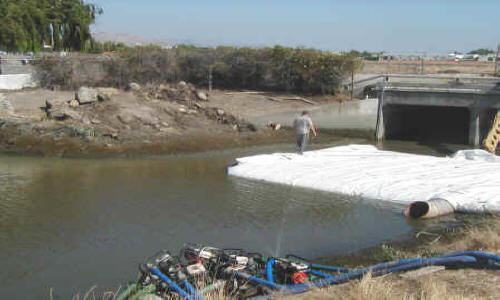
Just a foot or two at a time. You must remain patient. If the AquaDam is unrolled without sufficient head pressure inside, it is possible that lateral movement could occur. AquaDams are much more likely to move laterally in moving water applications.
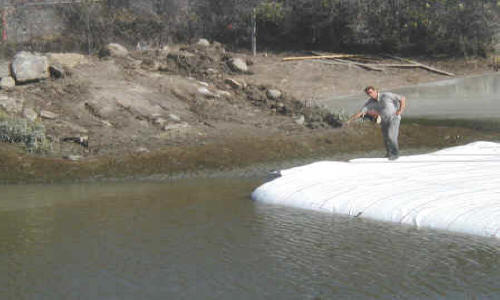
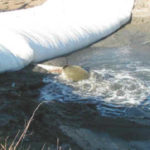
Notice how the water flow increased as the channel was closed off. If this AquaDam were being installed in moving water, more head pressure would be necessary.
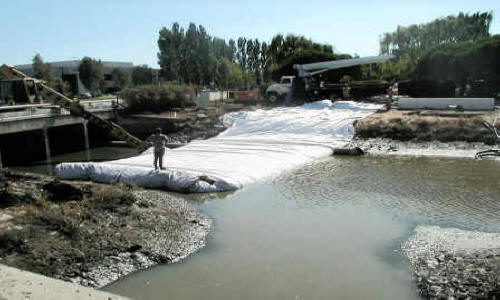
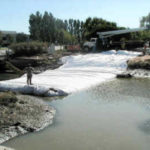
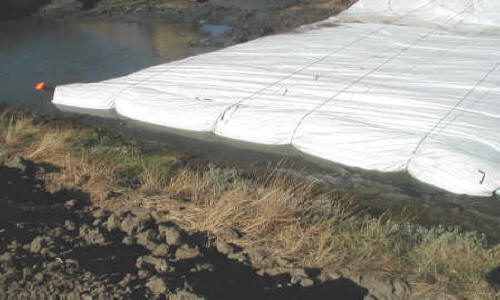
A view from the opposite bank. The AquaDam is almost completely across.
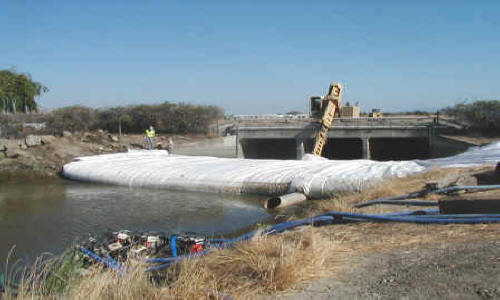
The AquaDam continues to fill.
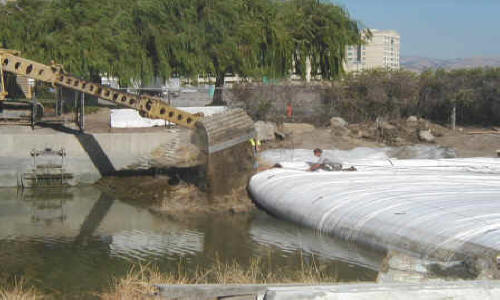
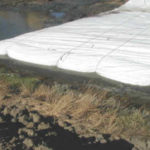
Fill material is placed behind the AquaDam to help reinforce it. Most of it was soft, squishy, gray mud, perhaps the least stable fill material possible. While this dam had very little pressure on it, the choice of fill material would later become critical.
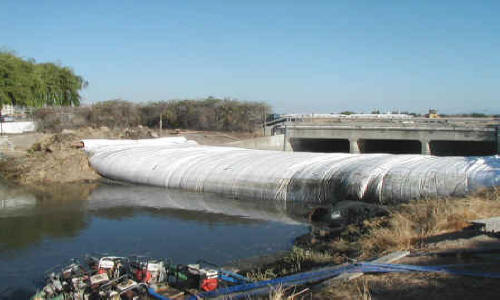
Notice the dark, black, bay mud placed on the right side of the AquaDam.
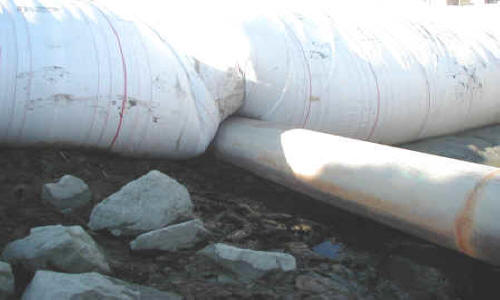
This AquaDam had almost no leakage, even around the pipe. This was because a small 30" high AquaDam was placed under it (but over the pipe) before it unrolled. When the large AquaDam was full, water was pumped into the small dam to create a more secure seal around the pipe.
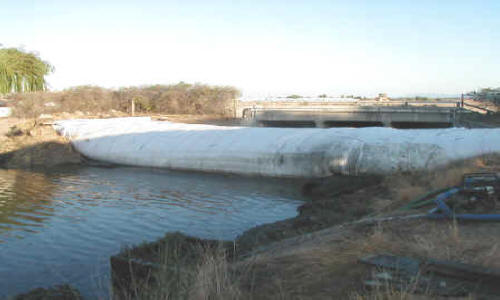
This AquaDam was continually filled on and off throughout the night.
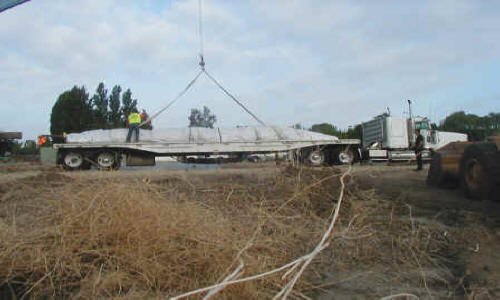
At about 5:30 am the next morning, the 16' AquaDam rolled in on its trailer.
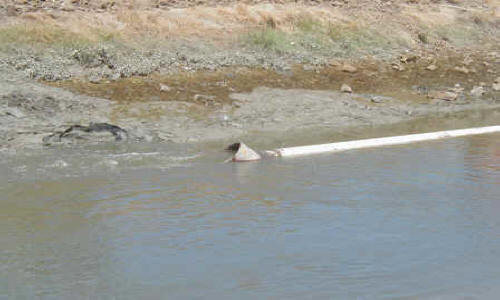
This picture shows the "downstream" end of the pipe. Since the 12' high AquaDam was installed last night, this has been the only way for the tide to go in and out.
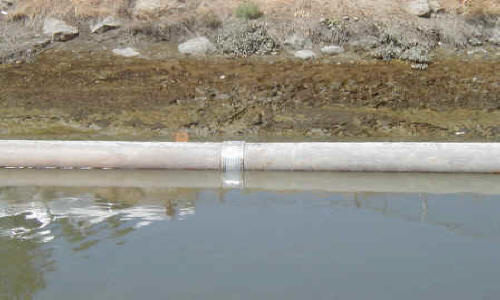
Instead of being welded, the pipe was fitted with rubber "sleeves" and bank clamps. We asked that they remove the small metal red fins to the left of the sleeve. Only the fin closest to the AquaDam was removed, and this later proved to be catastrophic.
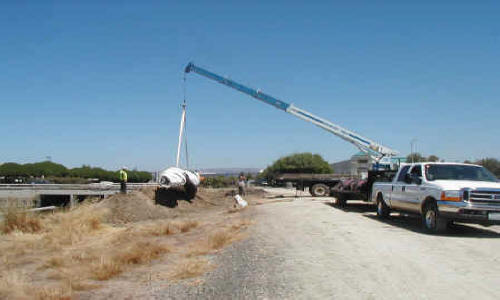
The AquaDam is moved into position. This berm was specially built using onsite fill material to facilitate its placement.
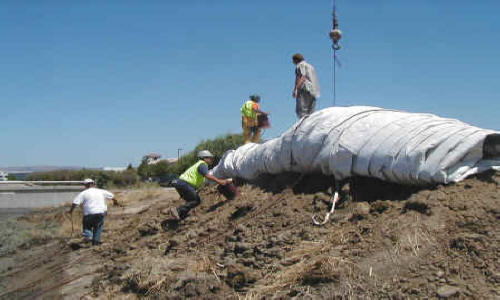
The ropes are partially unrolled, and then tossed back over the top of the AquaDam. One end of each rope will be tied to the concrete traffic dividers, and the loose ends will be tied around the boom truck. Plenty of slack must be left, or when the AquaDam rolls down the bank, the ropes will go with it!
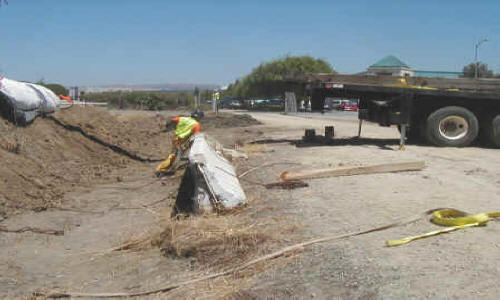
A shot of the concrete traffic dividers.
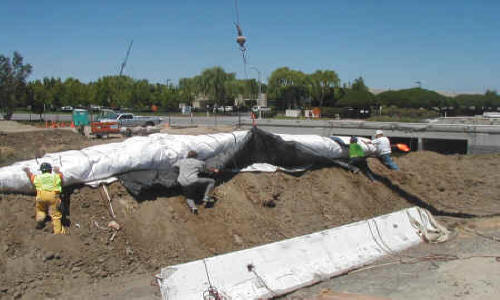
The pallet puller is attached to the fill tubes, and the boom truck begins to pull. Care must be taken not to injure the fill tubes.
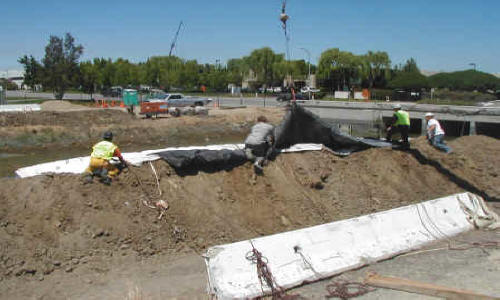
The AquaDam quickly unrolls down the bank as soon as the fill tubes are pulled out of the way.
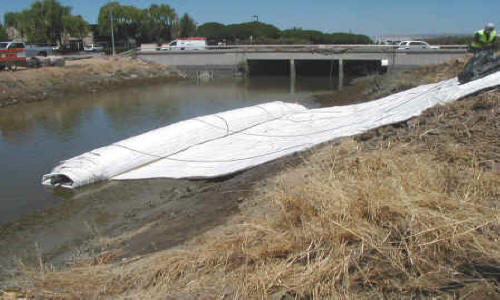
The AquaDam has now unrolled itself down the bank.
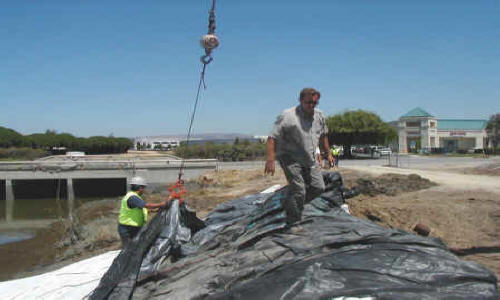
Once the AquaDam is partially unrolled, the ends of the fill tubes are attached to the pallet puller...
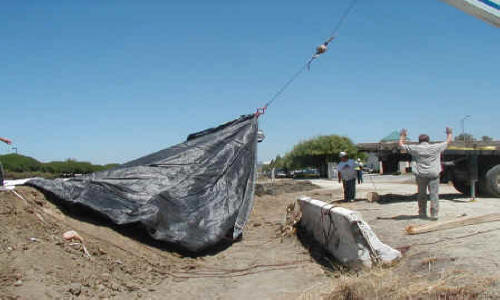
...and then pulled back over the berm.
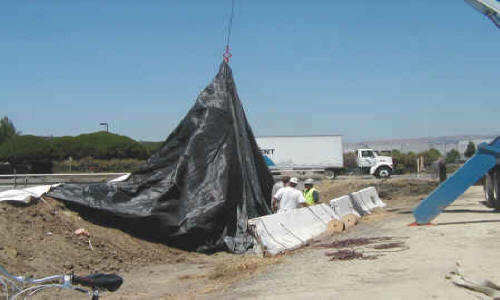
The pallet puller was also used to hold the fill tubes open to make it easier to insert the fill hoses.
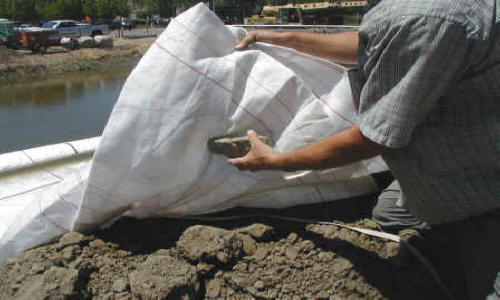
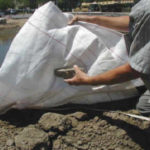
Besides the restraining ropes, it is essential to secure the body of the AquaDam to the dividers. The following pictures detail the best way to tie off an AquaDam with a rock. Step 1: Find a suitable rock.
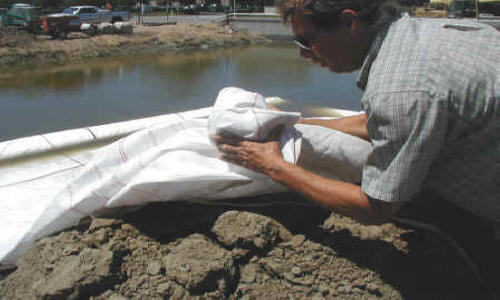
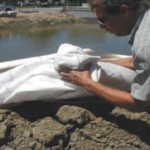
Step 2: Securely wrap the outer tube material around the rock.
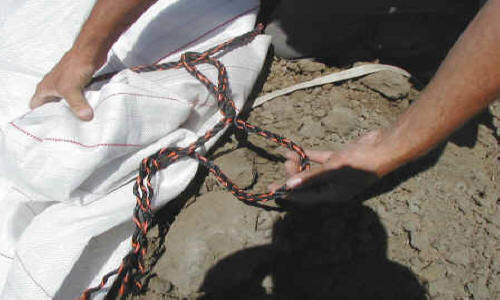
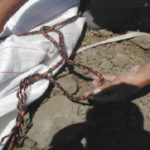
Step 3: Wrap the rope around the covered rock and twist it back around itself. Any slipknot will work, but we prefer this style because there is no knot and it is easily removed.
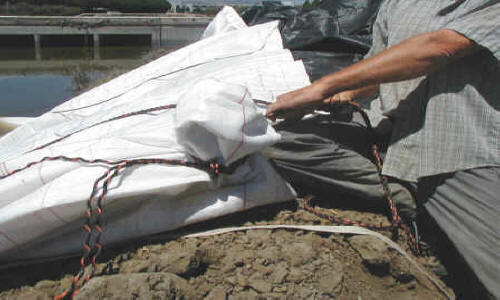
Step 4: Pull on the rope to tighten the loop and then tie the other end off to something secure.
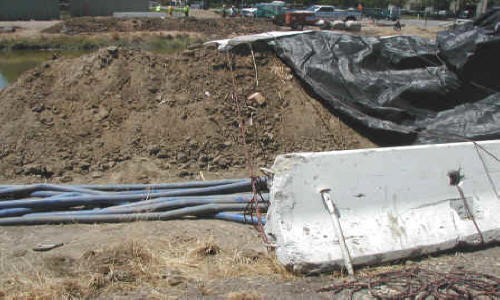
This picture gives a clear overview of a properly secured AquaDam.
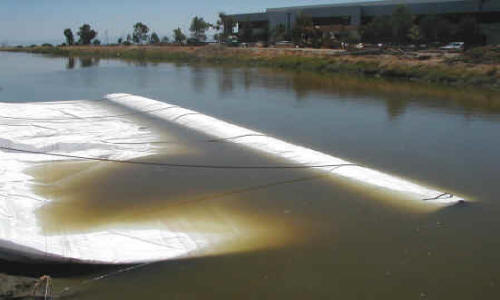
Most AquaDams are light enough that they float when placed in water. However, the heavy vinyl material used to make this AquaDam quickly sank.
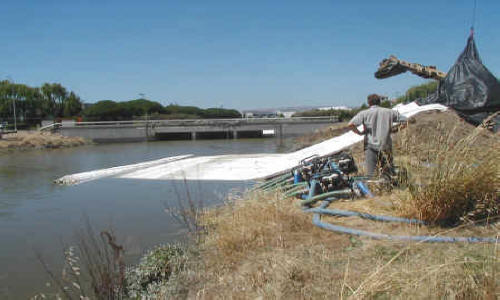
Filling begins. Notice the location of the pumps. They had to be moved when the tide went back down.
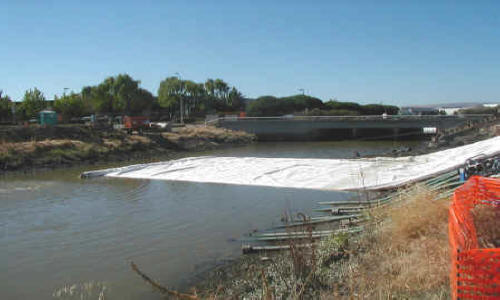
Notice that the pump hoses are now high and dry.
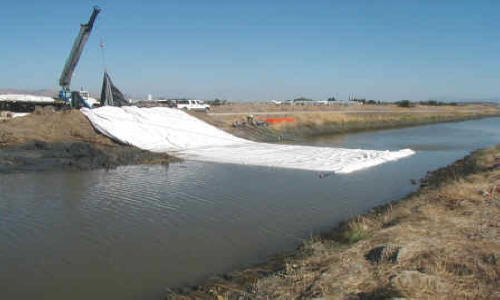
The AquaDam continues to unroll little by little as the tide goes out.
As much head pressure as possible should be built up before finally tying the AquaDam into the bank. This will ensure that lateral movement will not occur.
Head pressure continues to build.
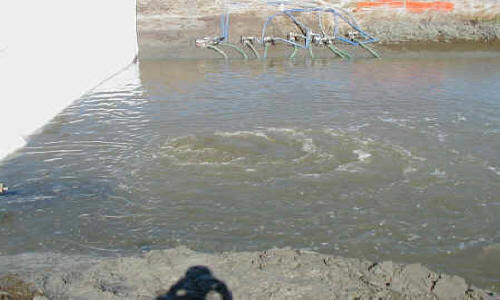
A view of the tidal water boiling out of the pipe.
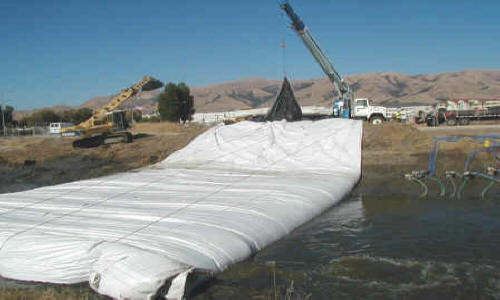
Head pressure continues to build...
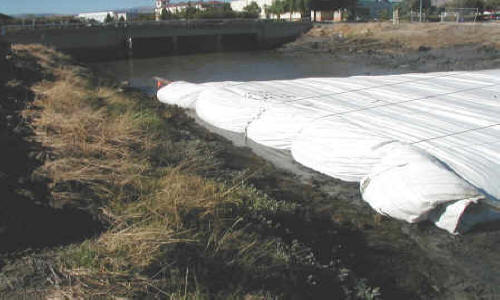
...and continues to build...
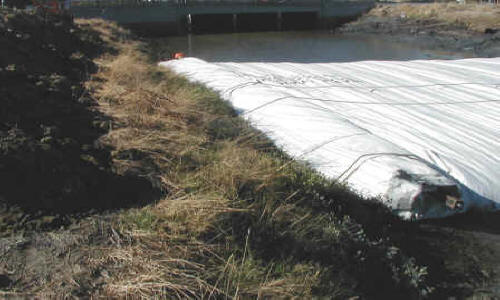
...until the AquaDam is released and allowed to completely unroll.
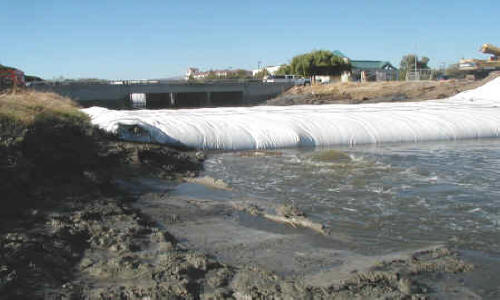
Now it is simply a matter of waiting for the AquaDam to fill up.
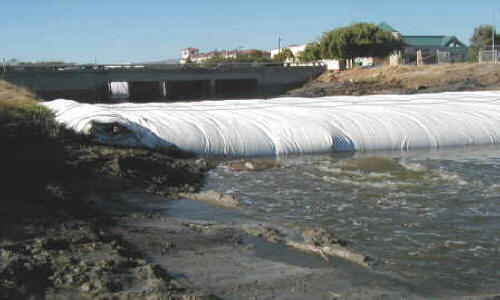
AquaDam
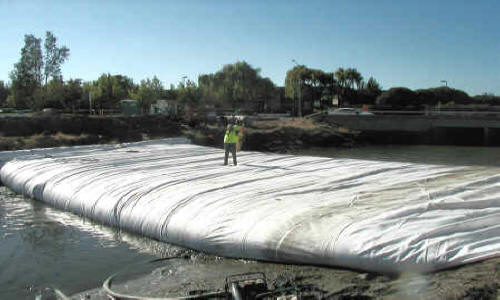
The AquaDam was not yet even half full.
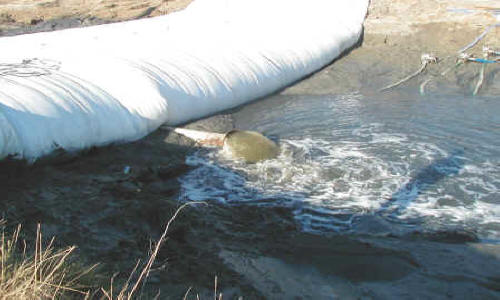
Even though the tip of the pipe is angled to prevent it, a scour hole still develops under each end.
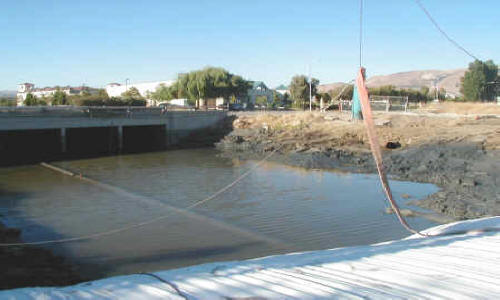
This submersible was the only dewatering pump that was on site.
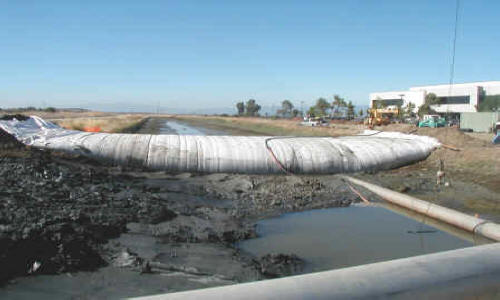
A few comments just before leaving. The contractor will continue to fill the AquaDam. Notice how little fill material was placed behind the AquaDam. What is there is mostly sloppy mud, which is definitely NOT the ideal fill material.
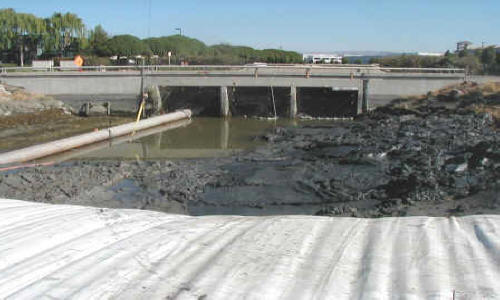
Notice the appearance of the mud. Thick & soupy!
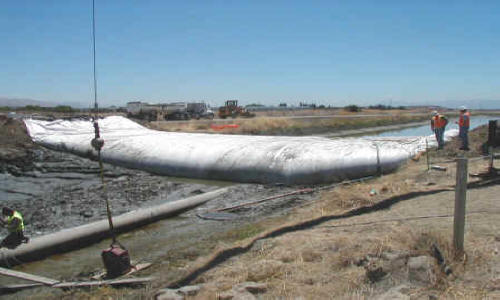
At this point, everything looks good. However, due to the lack of fill material placed behind it, the AquaDam eventually moved during a very high tide and failed. Back to square one...
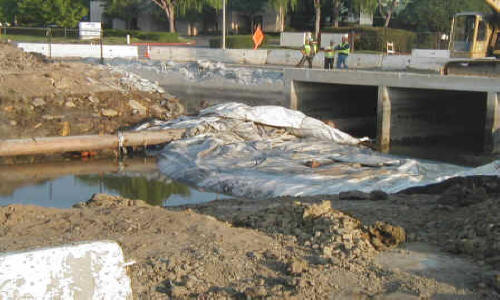
A view of the damaged AquaDam�. When the fill material failed to support it during an extremely high tide, it washed out, and was dragged along the top of the water diversion pipe, which had eyes for lifting welded items on to the top. These were very sharp, and ripped the AquaDam.
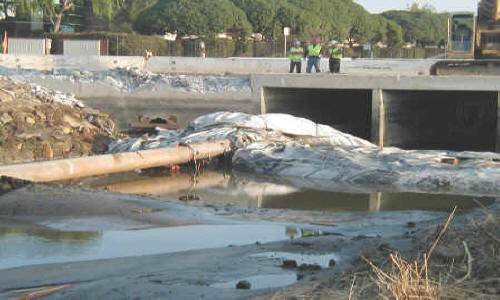
AquaDam
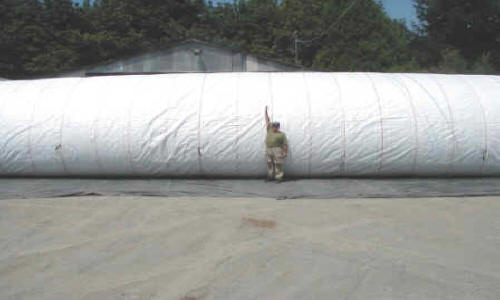
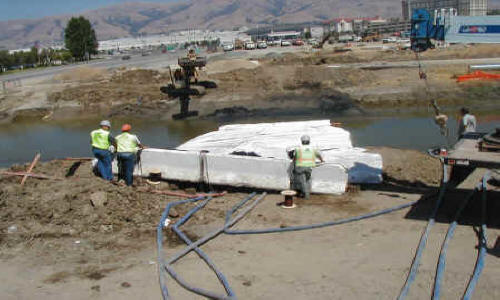
This is the replacement 12' high AquaDam blown up with air.
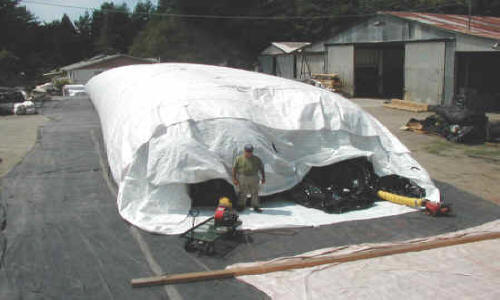
A view of the end showing the fill tubes.
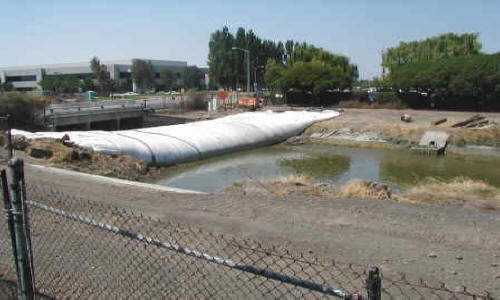
The upstream AquaDam stayed in place throughout the entire project.
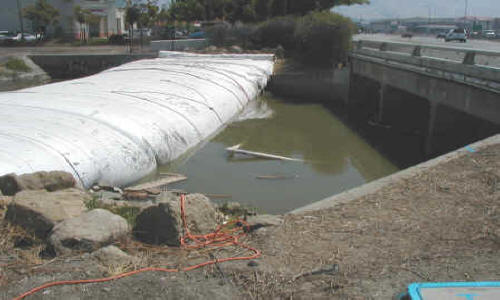
Once the downstream AquaDam was pushed out of the way, the tide had plenty of space to go. The diversion pipe helped immensely in equalizing the water pressure. If it had not been in place, this AquaDam would have failed.
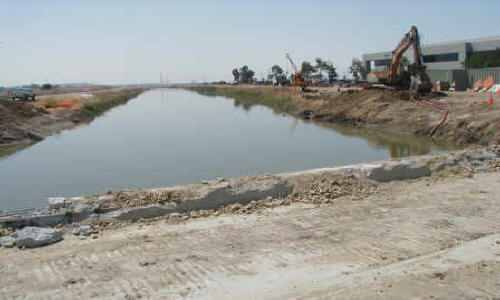
A view of the empty canal at high tide.
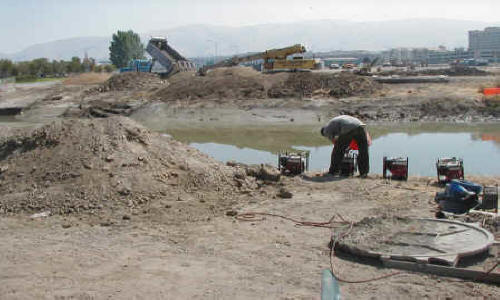
Thankfully, the earthen berms were still in place, so the replacement AquaDam could be installed with as little preparation as possible.
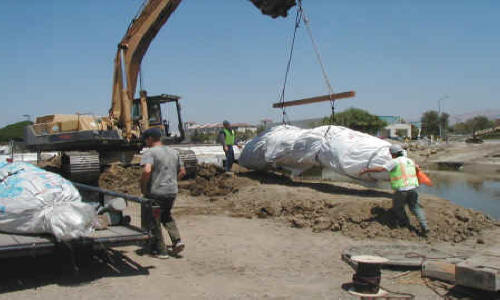
The replacement AquaDam being moved into position.
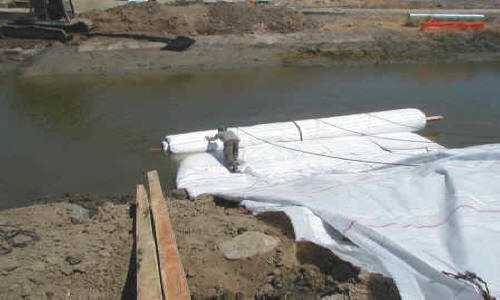
This installation goes the same as the last: unroll the AquaDam and fill it up while holding it in place with ropes to build head pressure.
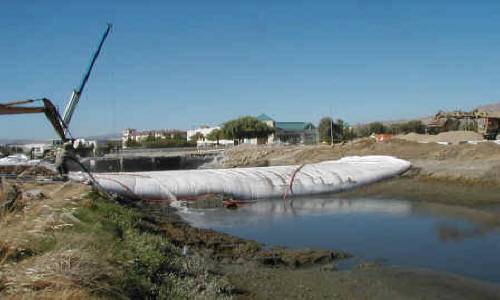
The AquaDam makes its way across the canal as it fills.
The replacement AquaDam has been completely installed.
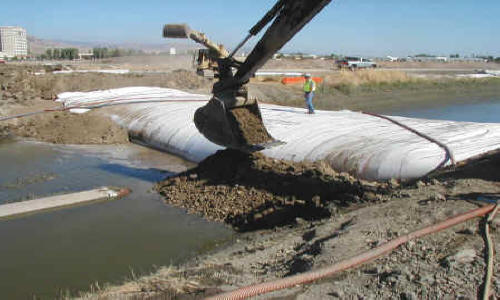
This time, nice, dry, firm fill material was used to back up the AquaDam. This made all the difference in the world compared to the soft bay mud.
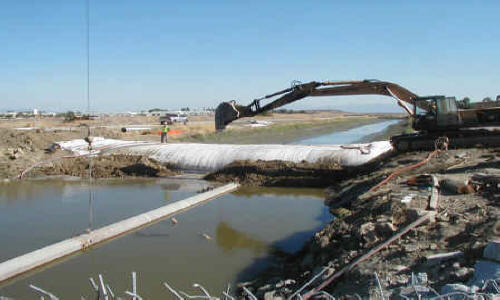
This fill material is also placed much farther out across the canal.
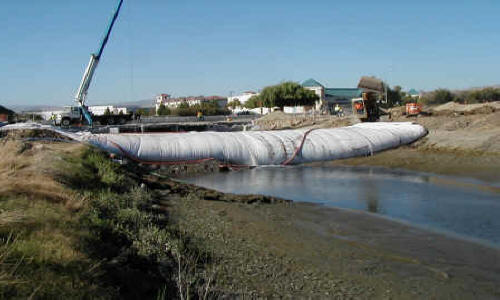
Dewatering is underway during low tide.
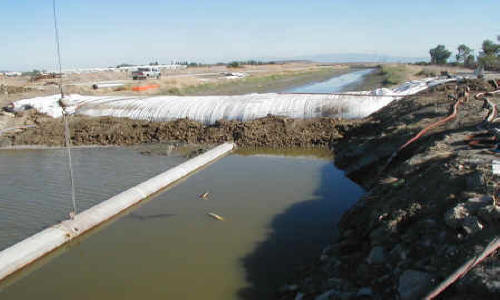
That ought to be enough fill material to keep it in place!
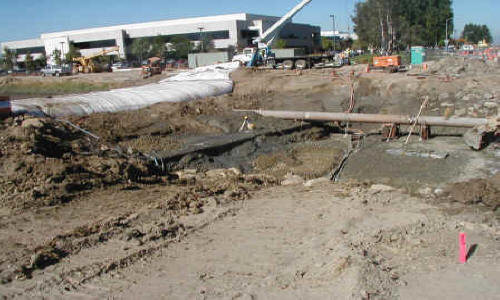
The dewatered work area.
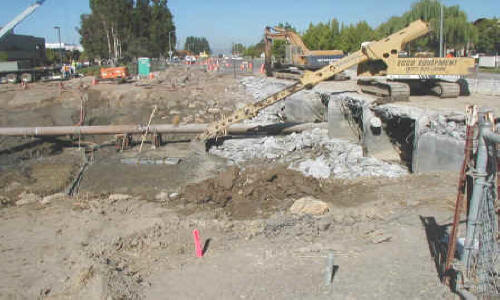
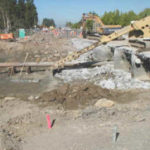
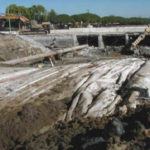
A Gradall is used to remove the chunks of demolished concrete.
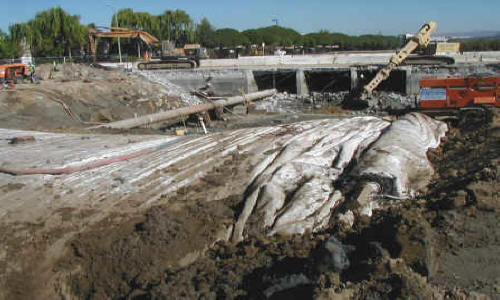
AquaDam
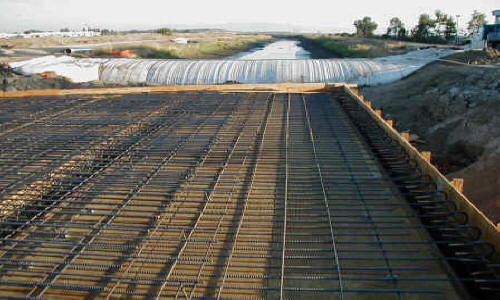
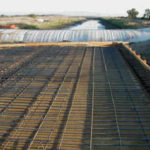
A view showing the rebar on the top of the intake structure.
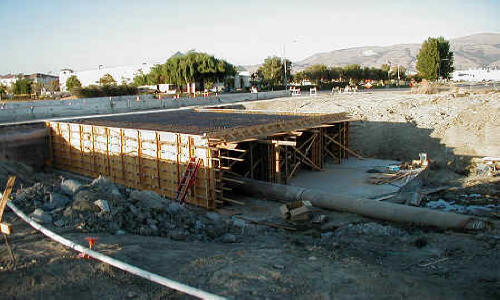
Notice the diversion pipe running through the middle of the construction.
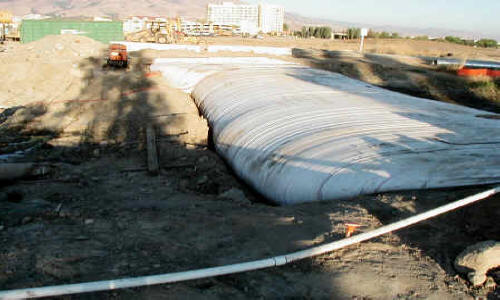
There seems to be less fill material here than there was before, but it still seems to be holding up just fine.
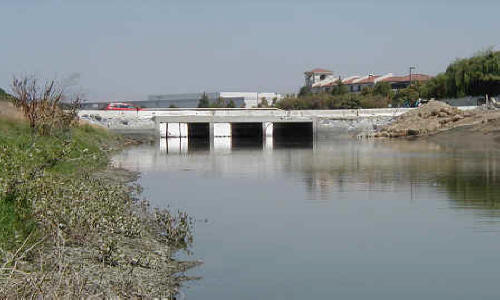
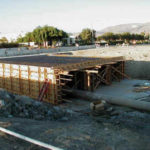
The completed intake structure after the AquaDam was removed.
